Mastering all-butter pastries like a French baker is an achievable dream. Start by kneading the silky dough to activate the gluten, then chill it for an hour so the butter firms up and creates those signature flaky layers. When rolling it out, use just a light dusting of flour to avoid toughening the dough. An egg wash adds a golden sheen and crisp texture before baking at 400°F for 20 minutes. Savor the rich, buttery aroma as your freshly baked croissants or puff pastries emerge, perfectly golden-brown. With practice and patience, you'll soon be baking like a true French artisan.
Key Takeaways
- Thoroughly knead the dough to develop gluten for a flaky, tender texture in all-butter pastries.
- Chill the dough for an hour to allow gluten relaxation and create signature layers for puffing during baking.
- Roll the dough out thinly and evenly to maintain the delicate, flaky structure of all-butter pastries.
- Brush the dough with an egg wash to achieve a golden sheen and crisp texture, enhancing the aroma and appearance of baked goods.
- Bake all-butter pastries at 400°F for 20 minutes, monitoring for a golden-brown color and easily sliding crust to ensure perfect doneness.

Dufour Pastry Kitchen, All Butter Puff Pastry, 14 Oz (Frozen)
- Versatile for savory and sweet dishes: Perfect for various recipes
- Made with layered butter dough: Encloses a butter block for flakiness
- Expands significantly when baked: Rises up to 8 times original height
As an affiliate, we earn on qualifying purchases.
As an affiliate, we earn on qualifying purchases.
History
The history of all-butter pastries can be traced back to the early days of European baking. In the Middle Ages, wealthy aristocrats in France and Italy indulged in delicate, buttery treats made with the finest ingredients.
As the art of pastry-making evolved, the use of butter became a hallmark of quality and sophistication. Over time, the French perfected the technique, creating flaky, golden croissants and decadent puff pastries that became the envy of bakers across the continent.
These all-butter delicacies were seen as a symbol of wealth and refined taste, with bakers closely guarding their secret recipes.
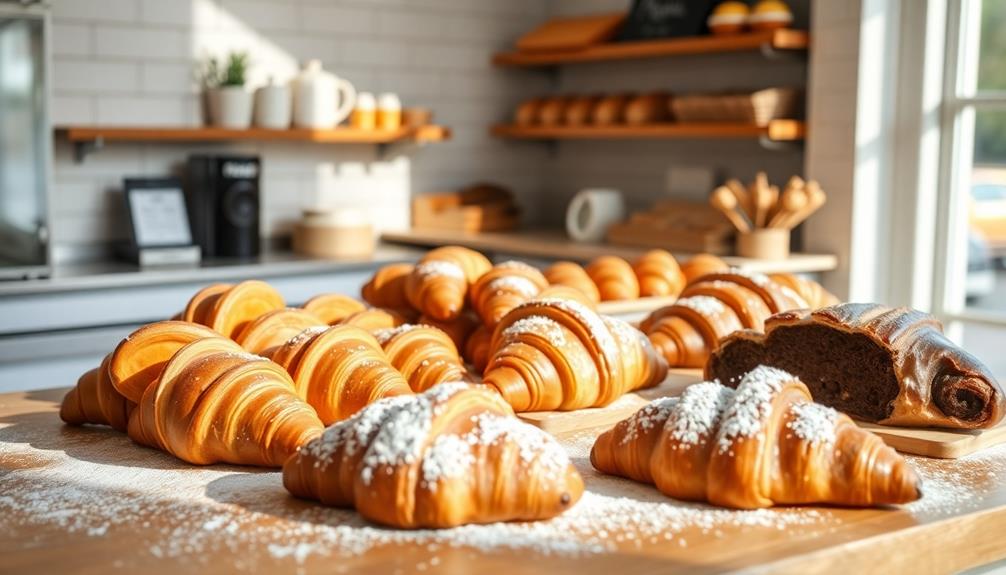
Today, the legacy of these classic pastries lives on. From the charming bakeries of Paris to the bustling cafes of Rome, the rich, buttery goodness of these treats continues to captivate and delight pastry enthusiasts around the world.
As you embark on your own journey to master the art of all-butter pastries, you'll be connected to a centuries-old tradition of culinary excellence.
Recipe
All-butter pastries are a classic and indulgent treat that can be challenging to master, but the reward is well worth the effort. The rich, flaky texture and pure butter flavor are unmatched in the world of baked goods.
Whether you're creating delicate croissants, buttery puff pastry, or decadent pie crusts, the key is to understand the science behind working with all-butter doughs.
The primary difference between all-butter and other pastry doughs is the fat content. Butter, being primarily composed of fat, creates a more tender and flaky final product compared to doughs made with vegetable shortening or margarine.
However, this also means the dough is more delicate and requires careful handling to prevent the butter from melting and compromising the structure.
Ingredients:
- 2 cups (250g) all-purpose flour
- 1 teaspoon salt
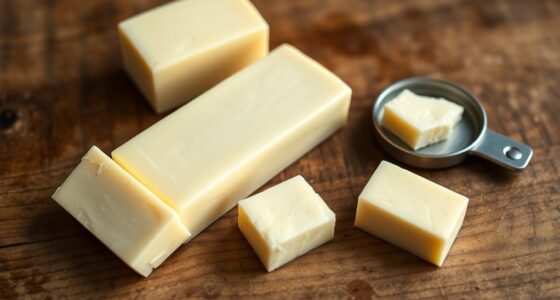
- 1 cup (226g) unsalted butter, cold and cubed
- 1/4 to 1/2 cup (60-120ml) ice water
Instructions:
In a large bowl, combine the flour and salt. Cut in the cold, cubed butter using a pastry cutter or two forks until the mixture resembles coarse crumbs with some pea-sized pieces of butter remaining.
Gradually add the ice water, 1 tablespoon at a time, until the dough just begins to hold together. Don't overmix.
Turn the dough out onto a lightly floured surface and gently shape it into a disk. Wrap in plastic wrap and refrigerate for at least 30 minutes (or up to 3 days).
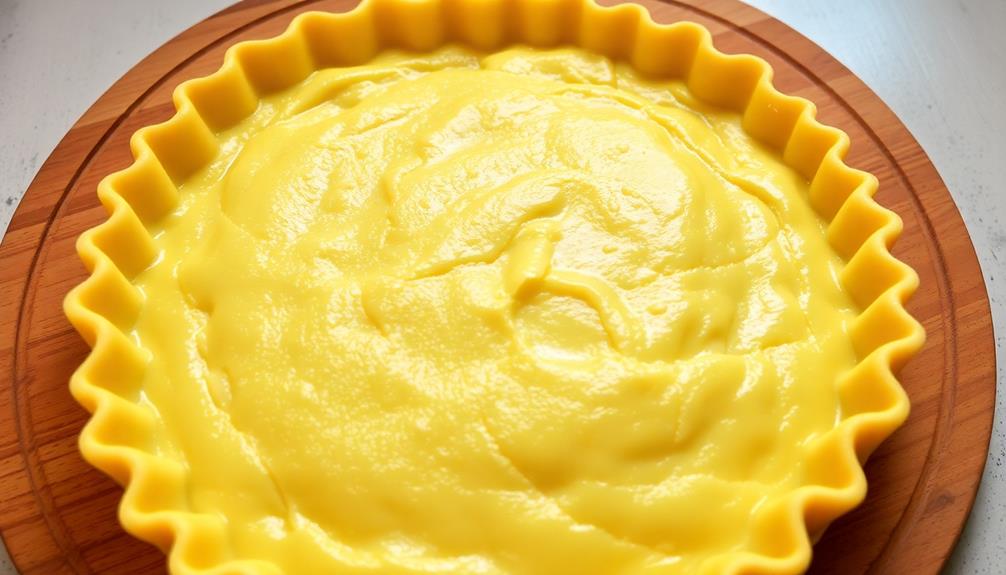
When ready to use, roll out the chilled dough on a lightly floured surface to your desired thickness and shape. Be sure to work quickly and avoid overworking the dough to keep the butter cold and the texture flaky.
Bake according to your recipe instructions, keeping a close eye to prevent over-browning. With practice and attention to detail, you'll be able to master the art of all-butter pastries.
Cooking Steps
Knead the dough thoroughly, kneading it for several minutes until it's smooth and elastic.
Then, chill the dough in the fridge for an hour to firm it up.
Once chilled, roll out the dough on a lightly floured surface, shaping it into your desired form.
Step 1. Knead the Dough Thoroughly
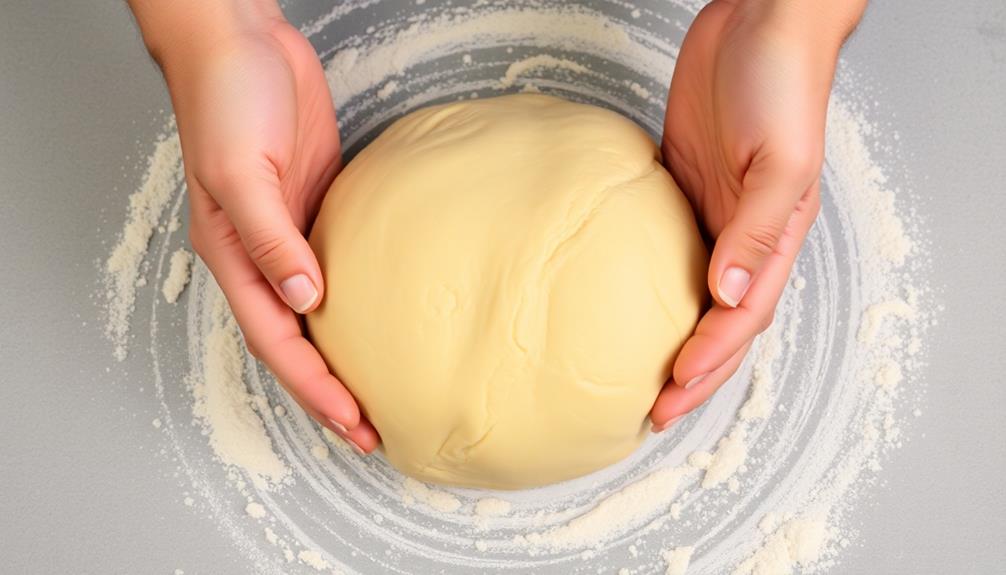
Once you've combined the ingredients, it's time to really get in there and knead the dough. Grab hold of the dough and give it a good squeeze. You want to work the dough with the heels of your hands, pushing and folding it over itself.
Kneading not only develops gluten but also enhances the texture, much like how proper maintenance ensures the longevity of a heat pump system. Knead with purpose, putting some muscle into it! The dough should start to smooth out and become more elastic as you work it.
Don't be afraid to really dig in—the more you knead, the better the texture will be. Keep at it for about 5-10 minutes, until the dough becomes silky and supple. You'll know it's ready when it no longer sticks to the surface and you can easily shape it into a ball.
Kneading is key for developing gluten and creating that lovely, flaky pastry texture. So don't hold back—put your whole body into it and knead with gusto!
Step 2. Chill the Dough for an Hour
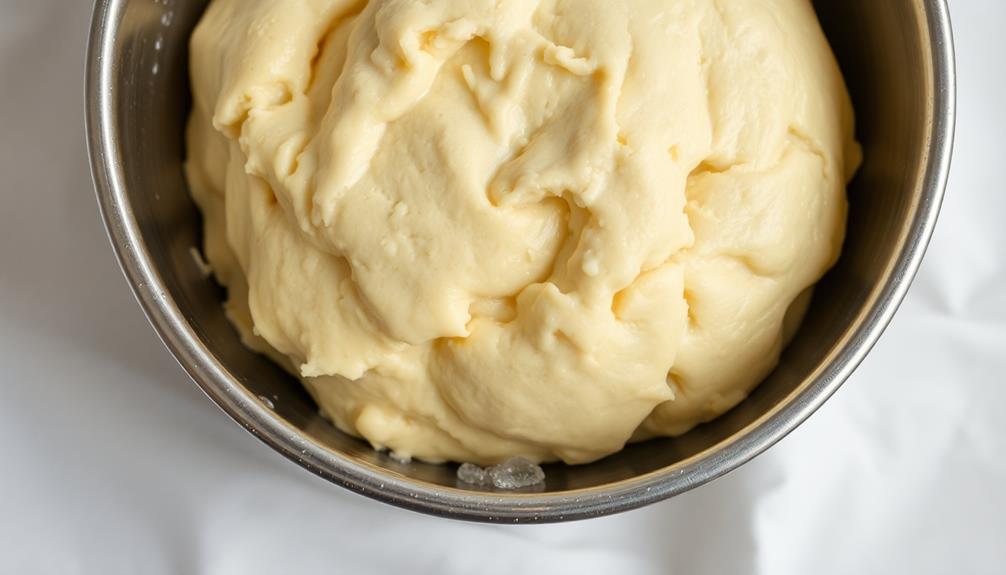
After you've kneaded the dough to perfection, it's time to let it rest. Chilling the dough for an hour is a crucial step in creating flaky, buttery pastries. This resting period allows the gluten in the dough to relax, making it easier to roll and shape.
Gently gather the dough into a disk, wrap it tightly in plastic wrap, and place it in the refrigerator. As the dough chills, the butter will firm up, creating those signature layers that will puff up when baked.
The resting time also helps develop the dough's flavor, so your pastries will have a rich, complex taste.
When the hour is up, your dough will be ready to roll out and transform into everything from tender pie crusts to flaky croissants. Don't be tempted to skip this step – the extra time in the fridge is what'll give your baked goods that melt-in-your-mouth texture you crave.
Trust the process, and you'll be on your way to mastering all-butter pastries.
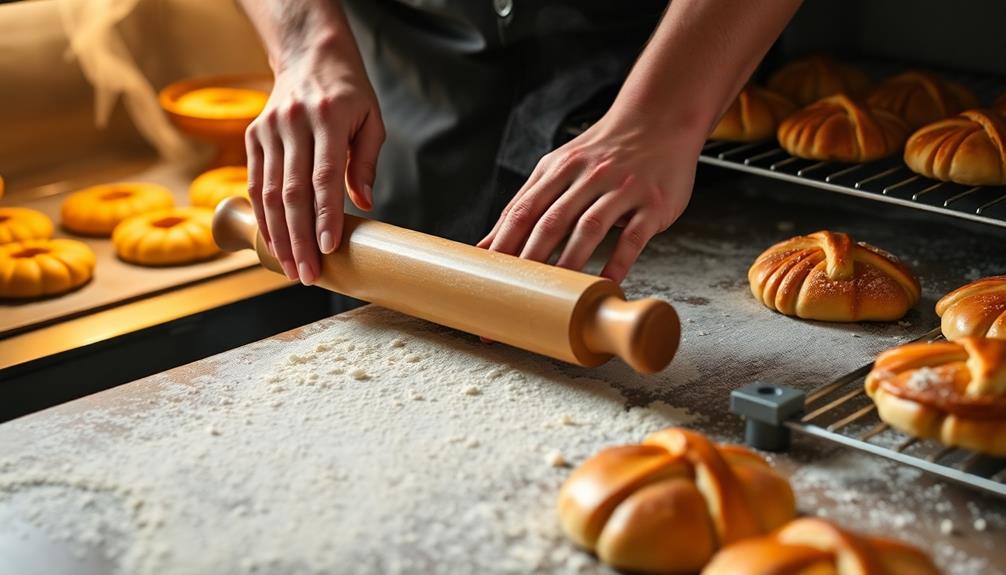
Step 3. Roll Out the Dough
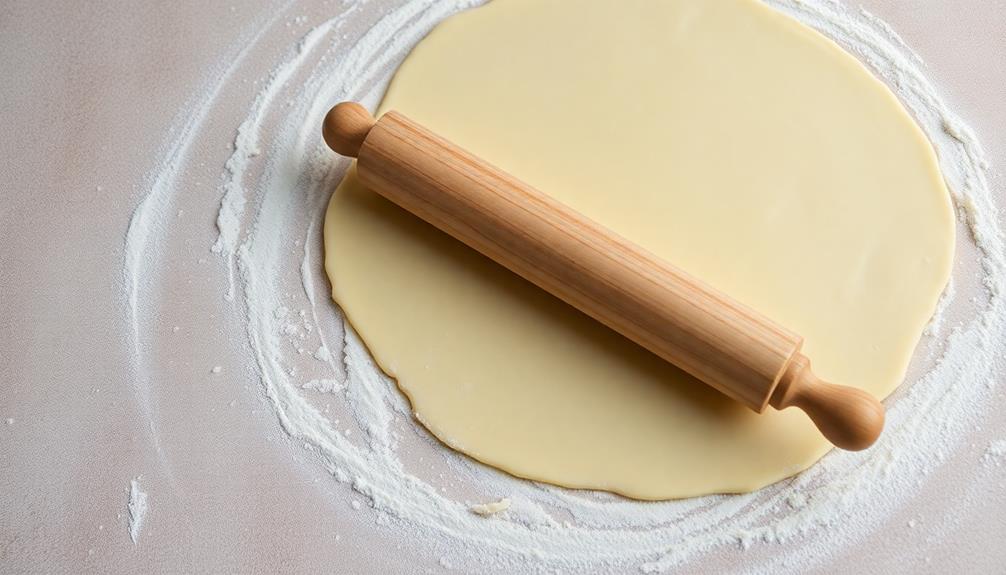
Grab the chilled dough and transfer it to a lightly floured surface. Use a rolling pin to gently roll out the dough, starting from the center and working your way outward.
Apply light, even pressure to create a thin, even layer. If the dough sticks, lightly flour the surface and the top of the dough. Roll the dough into a large rectangle, about 1/8 inch thick. Frequently check the underside to ensure it doesn't stick. Lift the dough and add more flour as needed.
When you've reached the desired thickness, use your rolling pin to lift the dough and transfer it to your prepared baking sheet or pie dish. Gently ease the dough into the corners and sides, being careful not to stretch or tear it.
Trim any excess dough from the edges, leaving a small overhang. Now your dough is ready for the next step! Remember, the key is to work the dough as little as possible to keep it tender and flaky.
Step 4. Brush Dough With Egg Wash
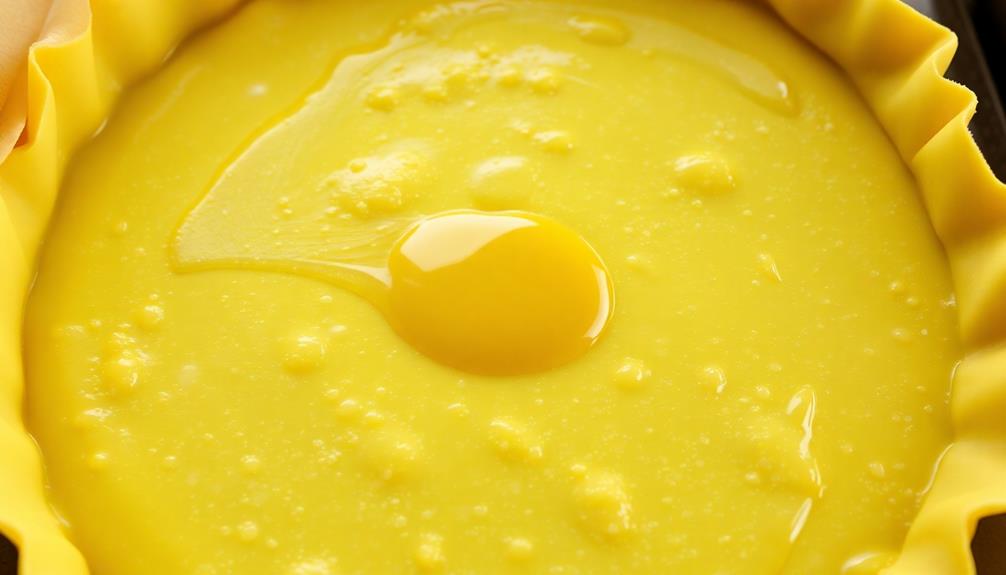
With the dough now ready, it's time to prepare the egg wash. This simple mixture will give your pastries a beautiful golden sheen and crisp, flaky texture.
Regular cleaning is essential for optimal performance in your kitchen, just as it's for air purifier maintenance.
Crack 2 fresh eggs into a small bowl and use a fork to lightly beat them until blended. Add a splash of water and mix well.
Dip a pastry brush into the egg wash, then gently brush the surface of your rolled-out dough. Be sure to cover every inch, including the edges. This will help the dough rise evenly and create that mouthwatering shine you see on professional-looking pastries.
As you brush, imagine the warm, buttery aroma filling your kitchen. When you're finished, the dough will be ready for cutting, shaping, and baking.
Get excited – your delicious homemade treats are one step closer to reality!
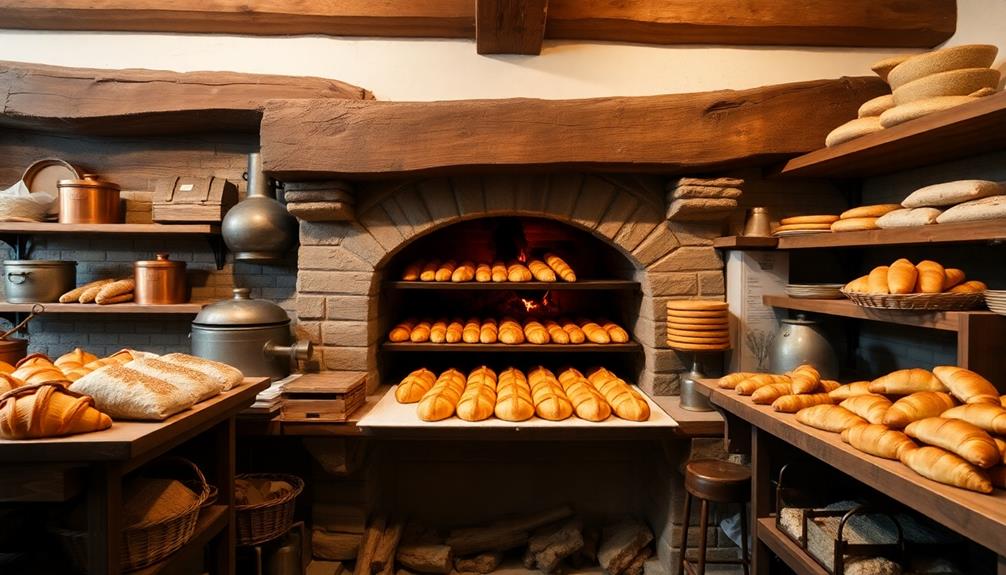
Step 5. Bake at 400°F for 20 Minutes
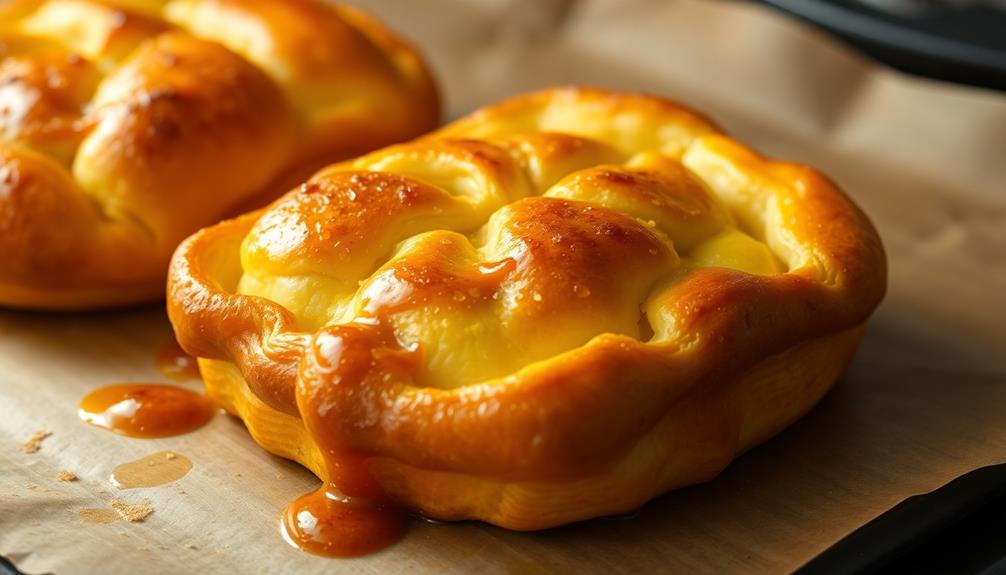
Preheat your oven to 400°F. This temperature is perfect for baking all-butter pastries to a flaky, golden-brown perfection.
Once your oven is ready, carefully place your prepared dough onto a baking sheet lined with parchment paper. Make sure to leave a little space between each piece to allow for even browning.
Now, pop that tray into the oven and set a timer for 20 minutes. As your pastries bake, you'll start to smell the aroma of buttery goodness wafting through your kitchen.
Keep an eye on them, as baking times can vary based on your oven and the size of your pastries. When the timer goes off, use oven mitts to gently remove the tray. The crust should be a beautiful golden-brown, and you'll know they're done when you can easily slide a knife or fork underneath without the dough sticking.
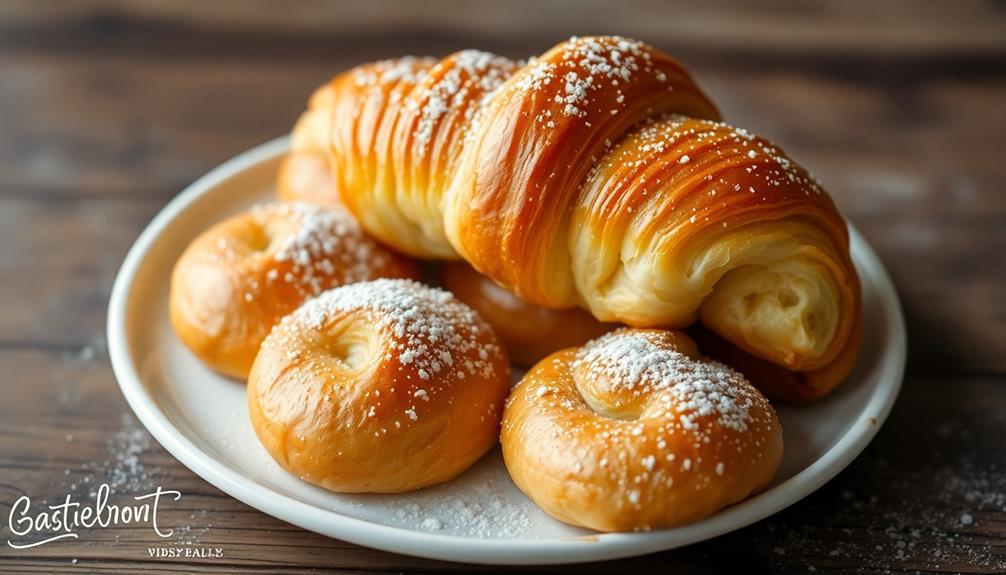
Let your pastries cool for a few minutes before serving. They'll be irresistibly flaky and tender – the perfect start to your day!
Final Thoughts
Mastery of all-butter pastries is a journey, not a destination. As you've learned the essential techniques and honed your skills, you're now ready to take your creations to new heights.
Don't be afraid to experiment and put your own spin on classic recipes. Embrace the imperfections – those delightfully unique shapes and textures are what make homemade pastries so charming.
Remember, baking is as much an art as it's a science. Keep a notebook to record your trials and successes. Adjust temperatures, tweaking ingredients, and find the perfect balance that suits your taste buds.
With each batch, you'll develop a deeper understanding of how butter, flour, and other elements interact, unlocking the secrets to flaky, buttery perfection.
Most importantly, savor the process. Baking is a mindful activity that allows you to slow down and find joy in the little things. Delight in the aroma of freshly baked goods and the satisfaction of sharing them with loved ones.
Your pastry mastery is a gift that keeps on giving.
Frequently Asked Questions
How Long Do All-Butter Pastries Last on the Counter?
All-butter pastries typically last 1-2 days on the counter. They're best enjoyed fresh, but you can extend their shelf life by storing them in an airtight container. Proper storage helps maintain their flaky texture and rich flavor.
Can I Use Salted Butter Instead of Unsalted Butter?
You can use salted butter instead of unsalted butter, but you'll need to adjust the amount of salt in the recipe. The saltiness of the butter can affect the overall flavor and texture of your pastries.
What Is the Best Flour to Use for All-Butter Pastries?
For all-butter pastries, you'll want to use an all-purpose flour or a pastry flour. These flours have a lower protein content, which helps create a tender, flaky crust. Avoid using bread flour, as it'll result in a tougher texture.
Can I Freeze the Unbaked Dough for Later Use?
Yes, you can freeze the unbaked dough for later use. Wrap it tightly in plastic wrap or place it in an airtight container. It'll keep for up to 3 months in the freezer, making it convenient for freshly baked treats anytime.
How Do I Achieve That Perfect Flaky Texture in My Pastries?
To achieve that perfect flaky texture, chill the dough thoroughly before rolling it out. Work quickly and handle it gently to prevent the butter from overheating. Bake at a high temperature to ensure the pastry puffs up beautifully.