
The key to avoiding cloudiness in your ice is to freeze it in a single, consistent direction, usually from top to bottom. This method allows impurities and air bubbles to be pushed out as the ice crystal grows systematically. By controlling the freezing process and avoiding quick, uncontrolled freezing, you’ll get clearer, more crystalline ice. If you want to master this technique and enjoy perfect, clear ice, keep exploring for more tips and tricks.
Key Takeaways
- Freezing from top to bottom pushes impurities and air upward, resulting in clearer ice.
- Controlled, single-direction freezing promotes larger crystal growth and reduces internal flaws.
- Using insulated environments and steady temperatures minimizes impurity entrapment and cloudiness.
- Proper mold selection and slow freezing help produce uniform, transparent ice layers.
- Removing cloudy edges after freezing reveals clearer interior ice with minimal cloudiness.

True Cubes Crystal Clear Ice Cube Maker, 4 Large 2"x2"x2" Ice Cubes for Cocktails and Drinks, Silicone Mold for Pure, Bartender-Quality Ice – Great for Hosting and Entertaining, Whiskey Gifts for Men
Winner of Best Clear Ice Mold as named by America’s Test Kitchen – The True Cubes clear ice…
As an affiliate, we earn on qualifying purchases.
As an affiliate, we earn on qualifying purchases.
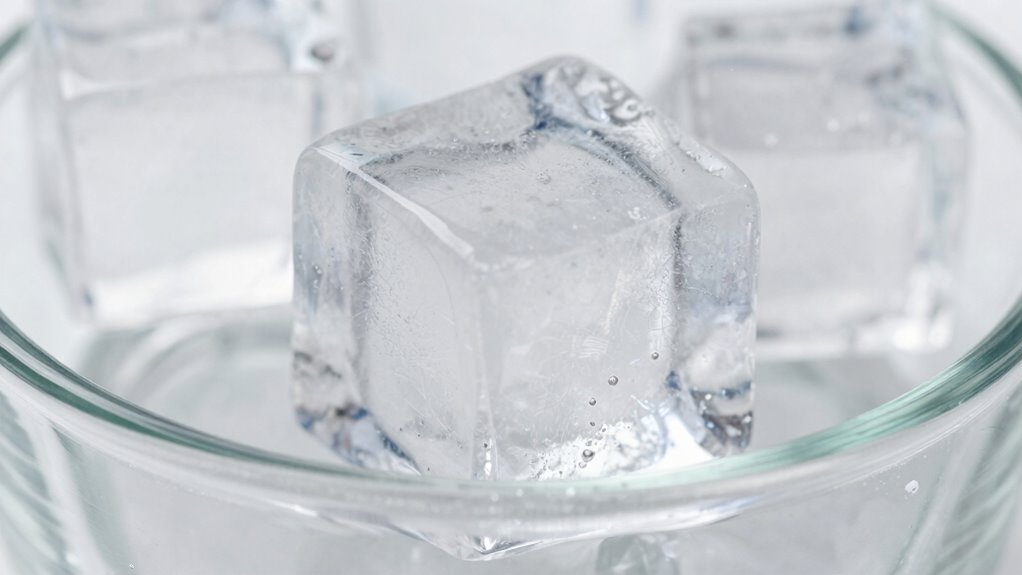
Why Does Ice Turn Cloudy When Frozen?
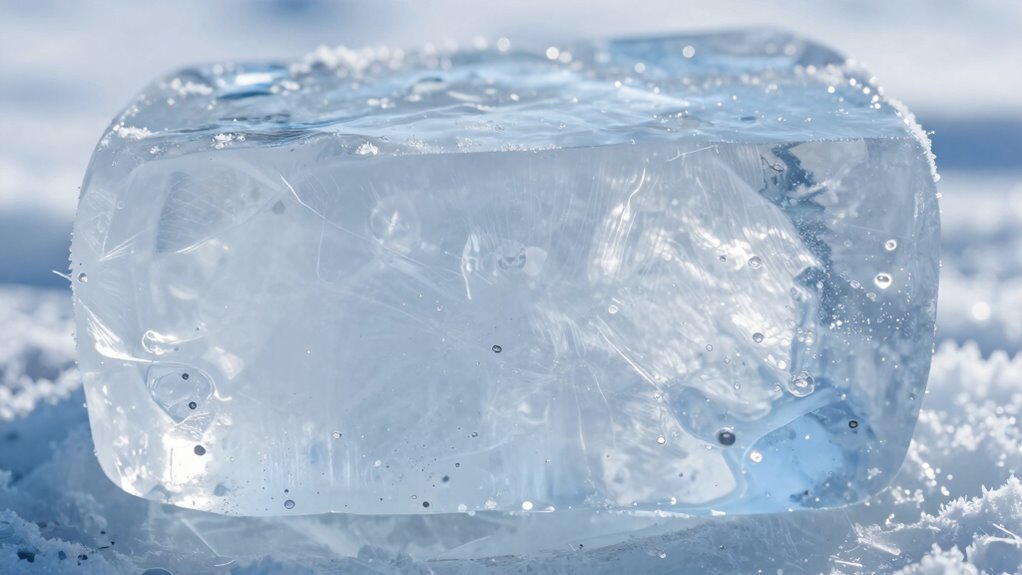
When water freezes, tiny air bubbles and impurities become trapped inside the ice, causing it to appear cloudy. This cloudiness happens because of ice crystal formation during freezing. When the freezing temperature drops quickly, crystals form rapidly, trapping air and impurities in the process. Slow freezing allows crystals to grow larger and push impurities aside, resulting in clearer ice. Rapid freezing creates numerous small crystals that scatter light, making the ice look cloudy. The temperature at which you freeze the water plays a pivotal role; colder, more consistent temperatures promote smaller crystal formation. Additionally, controlling the freezing process by adjusting temperature and timing encourages uniform crystal formation, minimizing trapped air and impurities that cause cloudiness. Proper freezing techniques can significantly improve the clarity of your ice. Using insulated containers can help maintain a steady freezing temperature, further reducing cloudiness and achieving clearer ice. Employing temperature regulation methods during freezing can also enhance the overall transparency of the ice. For best results, avoiding disturbing the water during freezing can prevent the formation of additional air bubbles and impurities.

Antarctic Star Crescent Ice Maker, Slow-Melting Countertop Ice Maker, 27 Lbs/24H, 16Pcs in 15Mins, Self-Cleaning,24-Hour Timer, for Home/Kitchen/Office/Party
【15-Minute Rapid Ice Production & Large Capacity 】 Produces 16 crescent ice cubes in just 15 minutes! With…
As an affiliate, we earn on qualifying purchases.
As an affiliate, we earn on qualifying purchases.
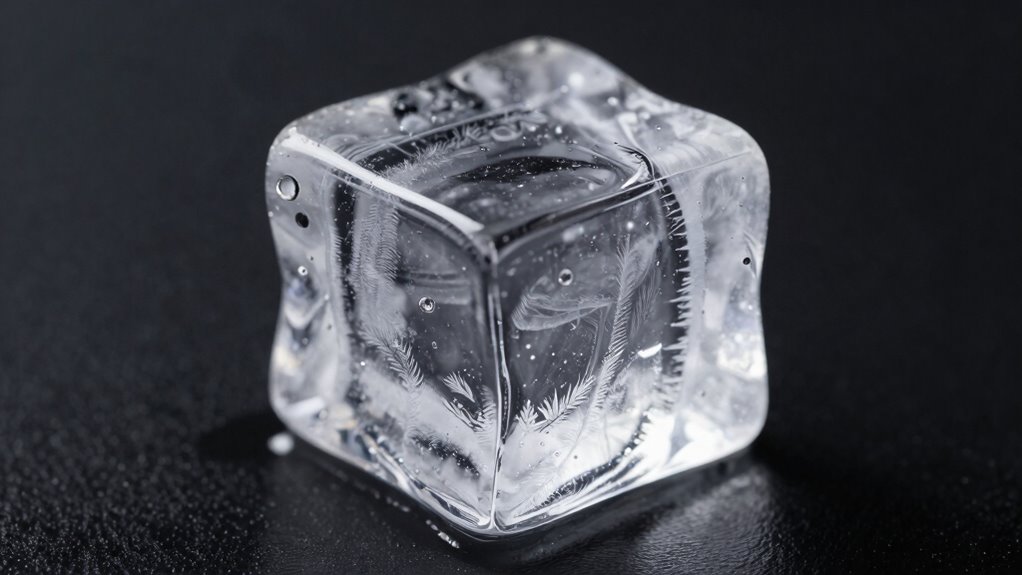
How Impurities and Air Bubbles Cause Cloudiness in Ice
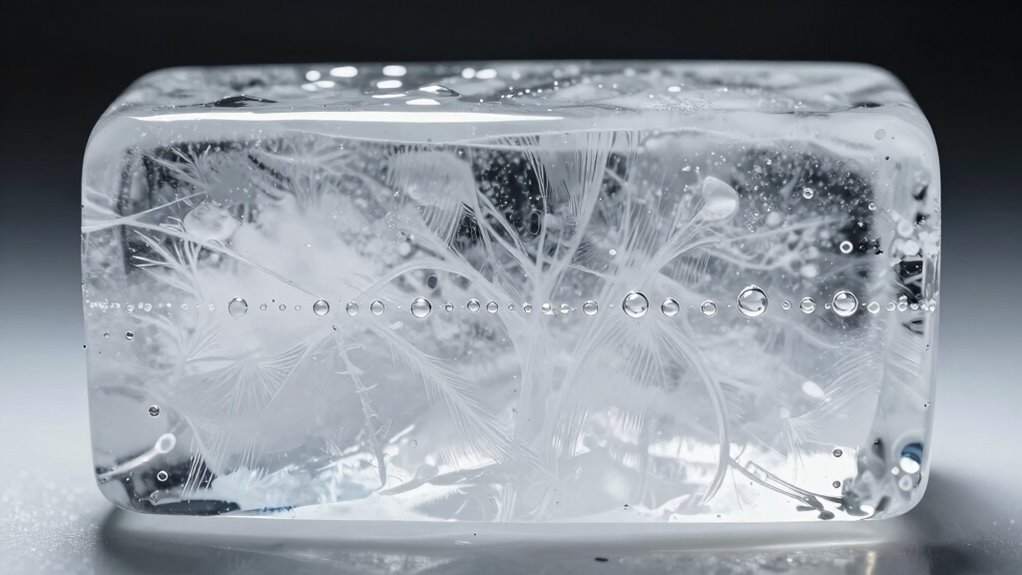
Impurities and air bubbles are the main culprits behind the cloudiness in frozen ice. When you freeze water, these impurities—like minerals or organic material—and trapped air can create tiny pockets that scatter light, making the ice appear cloudy. This cloudiness isn’t just visual; it also affects how ice melts. Here’s how:
Impurities and trapped air cause cloudiness and uneven melting in frozen ice.
- Impurities lower water’s purity, causing uneven freezing and cloud formation.
- Air bubbles get trapped as water freezes, forming visible pockets.
- Higher water temperatures slow down freezing, allowing impurities and bubbles to gather.
- Proper freezing from a consistent direction helps push impurities and air out, leading to clearer ice.
- Utilizing energy-efficient freezing methods aligned with sustainable practices can further improve ice clarity while reducing energy consumption.
- Controlling the freezing rate is essential, as rapid freezing can trap more impurities and bubbles, resulting in cloudier ice.
Understanding these factors helps you control ice cloudiness by managing water temperature and freezing methods.

ChefBee Stainless Steel Ice Bucket – 3L Double-Wall Insulated Ice Buckets for Parties with Lid & Tongs, Large Champagne Wine Drink Container Holder, Ideal for Freezer Cocktail Home Bar Accessories
High Quality & Sturdy: The ice bucket is made of stainless steel to keep your ice frozen solid…
As an affiliate, we earn on qualifying purchases.
As an affiliate, we earn on qualifying purchases.
Why Freezing From Top to Bottom Versus Bottom to Top Matters
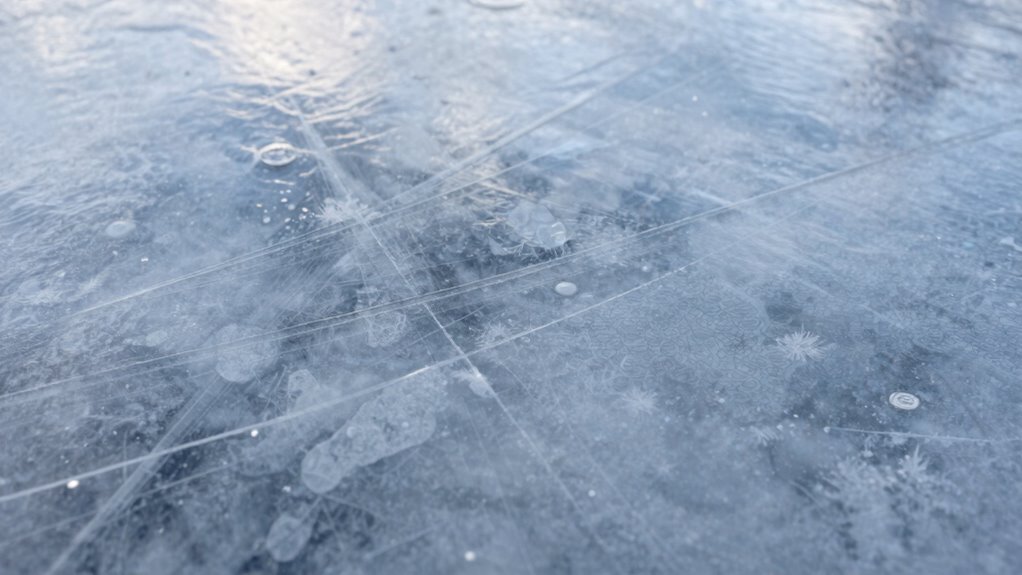
The direction of air flow during freezing impacts how ice layers form and how clear they become. Freezing from top to bottom often traps fewer impurities, leading to less cloudiness, while bottom-to-top freezing can cause uneven layer development. Understanding these differences helps you control ice quality and achieve clearer, more consistent results. Additionally, controlling airflow direction can influence the air quality considerations, ensuring a more uniform and transparent ice formation process. Proper freezing techniques can also reduce the risk of impurities and improve the overall clarity of the ice. Being aware of thermal gradients during freezing can further optimize the process for clearer, more stable ice layers, especially when managing temperature distribution effectively.
Air Flow Direction
Air flow direction plays a critical role in how ice forms inside a cloud, impacting the overall ice quality. Freezing from top to bottom allows for better ice crystal formation, as the cold air pushes downward, encouraging uniform growth. Conversely, freezing from bottom to top can trap air bubbles, hindering clarity. Consider these points:
- Top-down freezing promotes smooth ice crystal formation.
- It helps remove air bubbles, reducing cloudiness.
- Bottom-up freezing may trap impurities, causing cloudiness.
- Proper air flow ensures consistent freezing, enhancing ice transparency.
Ice Layer Formation
Have you ever wondered why the direction of freezing affects ice layer formation? When you freeze from top to bottom, ice crystals form gradually, allowing trapped air and impurities to escape, resulting in clearer ice. Conversely, freezing from bottom to top traps air and impurities, creating cloudy layers. Your choice of freezing techniques influences this process. The table below highlights the differences:
| Aspect | Top-to-Bottom Freezing | Bottom-to-Top Freezing | Effect on Ice Cloudiness |
|---|---|---|---|
| Ice crystal formation | Slow, uniform growth | Rapid, uneven growth | Clearer layers |
| Air entrapment | Minimal | Increased | Cloudier appearance |
| Impurity escape | Easier | Difficult | Cloud formation |
| Freezing speed | Controlled | Accelerated | Cloudiness reduction |
| Layer quality | Higher | Lower | Better transparency |
Choosing the right freezing approach ensures better ice clarity and reduces cloudiness. Additionally, controlling freezing speed can significantly impact how impurities and air are incorporated, further affecting the clarity of the ice. Being aware of freezing direction helps optimize the process for crystal-clear results.
True Cubes Crystal Clear Ice Cube Maker, 4 Large 2"x2"x2" Ice Cubes for Cocktails and Drinks, Silicone Mold for Pure, Bartender-Quality Ice – Great for Hosting and Entertaining, Whiskey Gifts for Men
Winner of Best Clear Ice Mold as named by America’s Test Kitchen – The True Cubes clear ice…
As an affiliate, we earn on qualifying purchases.
As an affiliate, we earn on qualifying purchases.
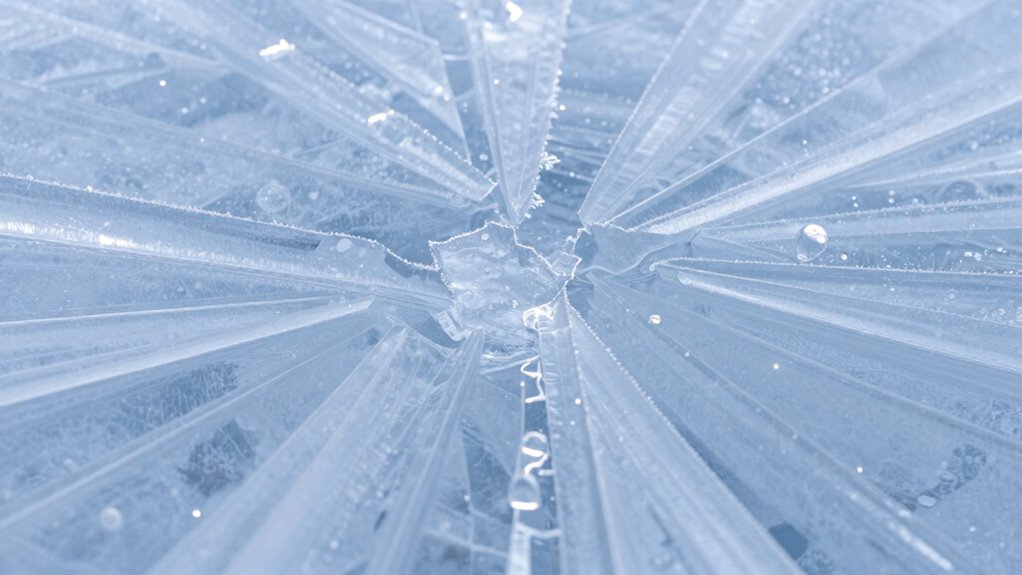
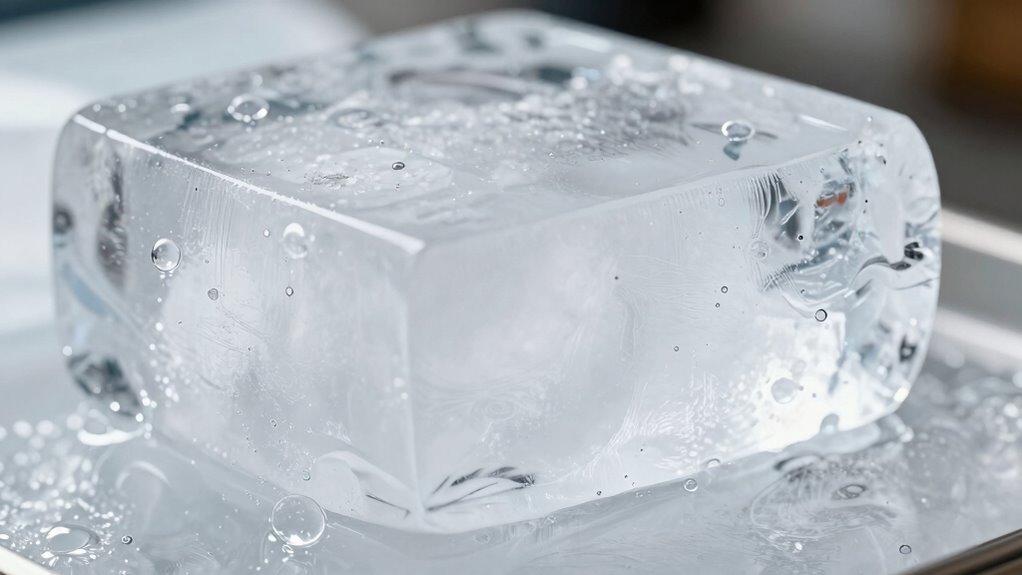
How Freezing in One Direction Creates Clear, Crystalline Ice
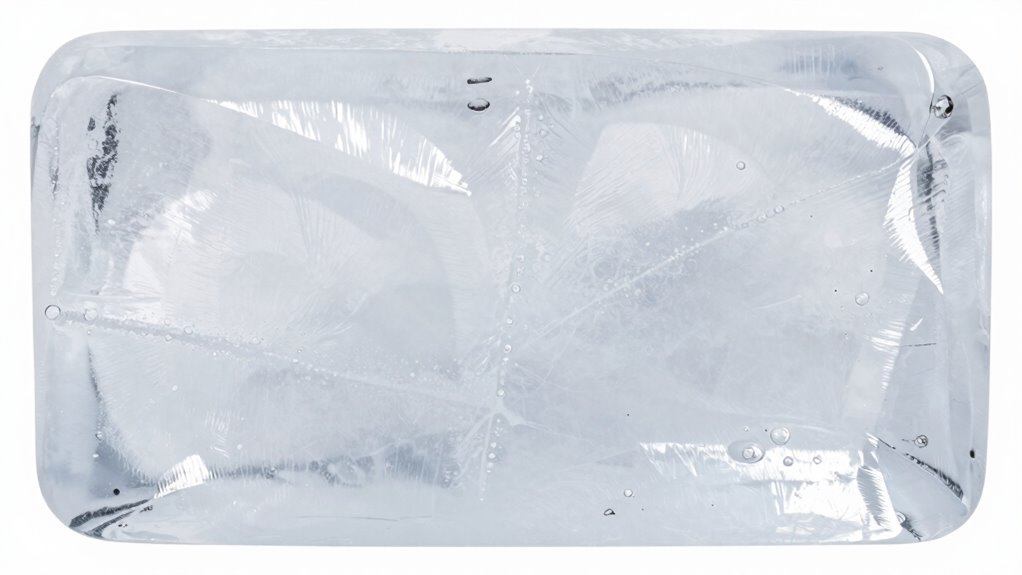
When ice freezes in a single direction, it encourages crystals to grow uniformly, making the ice clearer and more crystalline. This process, called directional freezing, controls how crystals form and align, reducing cloudiness. Understanding these mechanics shows how single-direction freezing benefits ice clarity and strength. Properly managing the freezing process ensures the formation of larger, clearer ice crystals.
Directional Freezing Mechanics
Directional freezing occurs when the ice forms gradually in one specific direction, allowing the crystals to grow uniformly. This process is key to creating clear, crystalline ice, much like an ice sculpture or frost formation. To achieve this, follow these steps:
- Keep the freezing surface insulated from heat, ensuring the cold penetrates slowly.
- Direct the cooling source from top to bottom, encouraging crystal growth in a single direction.
- Minimize disturbances during freezing to prevent cloudiness caused by trapped air or impurities.
- Use controlled temperature settings to promote steady, uniform freezing.
Crystallization Process Explained
Understanding how freezing in one direction creates clear, crystalline ice requires recognizing the role of controlled crystal growth. When you freeze water in a single direction, ice crystal formation occurs systematically from nucleation sites—small imperfections or particles that trigger ice development. As the temperature drops, these nucleation sites promote uniform crystal growth, allowing the ice to form in an orderly, layered process. This alignment minimizes trapped air and impurities, which typically cause cloudiness. Instead of chaotic, random crystal formation, the controlled process produces large, transparent crystals with a distinctive structure. By guiding the freezing process in one direction, you guarantee that ice develops with minimal internal flaws, resulting in clear, crystalline ice that’s both visually appealing and structurally sound. This process relies on precise control over crystal growth, ensuring the formation of clear, beautiful ice.
Benefits of Single-Direction Freezing
Freezing water in a single direction offers significant advantages by producing clearer, more uniform ice. This method influences ice density and freezing speed, resulting in crystalline clarity.
- Enhanced Ice Density: Single-direction freezing reduces trapped air bubbles, increasing density and transparency.
- Controlled Freezing Speed: It allows for precise control over freezing speed, minimizing internal stresses.
- Fewer Cloudiness Issues: The uniform crystal formation prevents cloudiness caused by irregular ice growth.
- Consistent Texture: The ice develops a smooth, crystalline structure, ideal for visual appeal and quality.
Step-by-Step: How to Freeze Clear Ice at Home Using the Right Technique
To achieve crystal-clear ice at home, you need to follow a precise technique that minimizes air bubbles and impurities. Start by ensuring water purity—use filtered or boiled water to reduce dissolved gases and debris. Pour the water slowly into a cooler or insulated container, leaving space at the top. Place the container in your freezer, making sure it’s upright and stable. The key is to allow ice formation to occur from one direction—usually from the top down—so bubbles are pushed away from the center. Avoid opening the freezer during the freezing process, as temperature fluctuations can introduce impurities. Using the proper freezing technique helps ensure the ice forms uniformly and clears up more effectively. Proper water quality also plays a crucial role in minimizing cloudiness and achieving clarity. Once fully frozen, remove the block of ice and cut away any cloudy edges. This method results in clear, pure ice with minimal cloudiness.
Best Practices for Using Molds and Freezers to Keep Ice Transparent
Using the right molds and freezer settings is crucial for maintaining clear, transparent ice. Your goal is to control ice composition and freezing temperature to prevent cloudiness. First, choose molds designed for clarity, preferably silicone or acrylic. Second, set your freezer to a slightly higher temperature, around 0°F (-18°C), to slow freezing and reduce trapped air. Third, fill molds carefully, avoiding overfilling to minimize impurities. Fourth, guarantee your freezer is consistently cold and free of temperature fluctuations. This steady environment encourages directional freezing, pushing impurities away from the clear ice core. Proper mold selection and temperature control optimize ice composition, resulting in beautifully transparent, distortion-free ice cubes. Additionally, understanding freezing direction can help you achieve even better clarity by controlling how impurities are pushed during freezing. Follow these practices for consistently clear, professional-looking results.
Common Reasons Your Ice Still Turns Cloudy and How to Fix Them
Even when you follow the right techniques, your ice can still turn cloudy if you haven’t addressed common issues like trapped air, impurities, or inconsistent freezer temperatures. Temperature control is essential—if your freezer isn’t cold enough or fluctuates, ice can trap air bubbles and impurities, resulting in cloudiness. Ensuring your freezer stays steady at 0°F (-18°C) helps produce clearer ice. Mold selection also makes a difference; choose molds designed for slow, even freezing and avoid those that cause rapid freezing or uneven heat transfer, which can trap air and impurities. Proper mold material and shape promote uniform freezing, reducing cloudiness. Additionally, temperature stability is crucial, because fluctuations can cause condensation and trapped air, leading to cloudiness. Maintaining a consistent freezer environment prevents these issues and improves ice clarity. Incorporating freezing techniques that promote gradual freezing can further enhance the transparency of your ice. For example, using insulating wraps around molds can help control the freezing rate, further reducing cloudiness. A controlled freezing environment can significantly lessen the risk of cloudiness by minimizing temperature fluctuations during freezing. By maintaining consistent temperature control and selecting the right molds, you markedly improve your chances of achieving crystal-clear ice.
Tips for Perfectly Clear Ice for Drinks and Displays
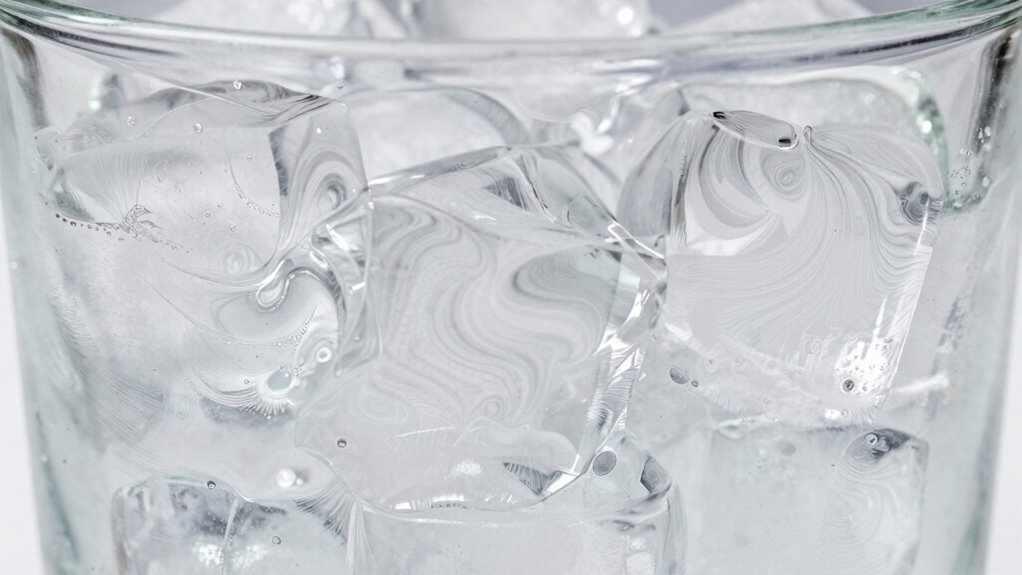
Achieving perfectly transparent ice for drinks and displays requires attention to detail and proper techniques. First, focus on controlling temperature; keep your freezer just below freezing to promote ice density. Second, use directional freezing by insulating all sides except the top, guiding impurities away and fostering clear ice. Third, ensure water quality by using filtered or distilled water, which reduces cloudiness. Fourth, pour water slowly and in layers if needed, allowing each layer to freeze evenly, which minimizes trapped air and bubbles. Maintaining consistent temperature control and understanding how ice density influences clarity are key. Additionally, understanding the freezing process and how impurities behave during freezing enables you to optimize conditions for clarity and achieve professional-looking results. These steps help you produce stunningly clear ice that elevates your drinks and displays, showcasing your attention to quality and craftsmanship.
Why Choosing the Right Freezing Method Elevates Your Ice Quality

Choosing the right freezing method makes a substantial difference in the clarity and quality of your ice. Proper freezing techniques influence ice crystal formation, which determines transparency. When you control the freezing temperature carefully, you encourage slow, uniform freezing, reducing the formation of trapped air and impurities. Rapid freezing often creates uneven ice with cloudy pockets, while controlled temperature ensures larger, clearer ice crystals. Using a freezer with precise temperature control allows you to set the ideal environment for clear ice. Additionally, methods like directional freezing, where you freeze from one direction, help push impurities away from the final ice surface. By selecting the right freezing method and maintaining excellent temperature control, you markedly elevate your ice quality, achieving that pristine, crystal-clear appearance you desire.
Frequently Asked Questions
Can Temperature Fluctuations Affect the Clarity of Your Ice?
Yes, temperature fluctuations can affect your ice’s clarity. When temperatures aren’t stable, melting and refreezing cause impurities and air bubbles to form, leading to cloudiness. To get clear ice, you need temperature stability during freezing. Also, using pure water helps minimize cloudiness, as impurities contribute to cloudiness. Keep the environment controlled and use purified water for the clearest, most beautiful ice.
Does the Type of Water Impact How Clear the Ice Becomes?
They say “garbage in, garbage out,” and it holds true for making clear ice. The type of water impacts how clear your ice becomes because pure water with minimal impurities freezes faster and more uniformly. Use filtered or distilled water to reduce cloudiness, ensuring fewer air bubbles. Faster freezing helps create clearer ice, so starting with high-purity water and controlling freezing speed is key to beautiful, transparent ice.
How Long Should the Ice Freeze to Achieve Maximum Clarity?
You should freeze the ice for at least 24 to 48 hours to achieve maximum clarity. Keep the ice thick—around 4 to 6 inches—to prevent cracks, and control the freezing speed by lowering the temperature gradually. Slower freezing promotes clear ice by allowing impurities and air bubbles to escape. Patience is key; rushing the process results in cloudiness. So, plan for ample freezing time and maintain consistent low temperatures.
Are There Specific Freezer Settings That Improve Ice Transparency?
You can improve ice transparency by adjusting your freezer settings to slow the freezing speed, which allows impurities to settle and escape. Keep the water pure, as impurities cause cloudiness, and freeze it in a direction that promotes uniform crystal formation. Use a freezer with a slightly lower temperature or the coldest setting available, and avoid rapid freezing methods. These steps help produce clearer, more transparent ice.
Can Adding Minerals or Additives Help Create Clearer Ice?
Adding mineral additives or other additives won’t improve ice clarity because water purity matters most. To make clearer ice, focus on using purified or distilled water, which reduces impurities that cause cloudiness. Mineral additives can introduce particles or minerals that make ice cloudy rather than clear. So, prioritize water purity and proper freezing techniques over additives for the clearest ice.
Conclusion
By mastering the art of freezing ice in one direction, you’ll discover the secret to crystal-clear perfection—turning your drinks into dazzling masterpieces. Say goodbye to cloudy, dull cubes and hello to ice that’s as flawless as a diamond. With the right technique, your ice will shine brighter than a supernova, elevating every sip and impressing everyone around you. Get ready to freeze like a pro and transform ordinary ice into extraordinary art!