
To successfully season your carbon steel pan, start by cleaning it thoroughly to remove residue and dry it completely. Apply a thin, even layer of high-smoke-point oil like flaxseed or grapeseed, ensuring coverage on all surfaces. Then, heat the pan in the oven at 400-450°F for about an hour to bond the oil into a durable, non-stick coating. Proper technique and materials are key—keep exploring for expert tips to master this simple, effective process.
Key Takeaways
- Proper cleaning and drying before seasoning prevent rust and ensure a clean surface for bonding.
- Apply a very thin, even layer of high-smoke-point oil to all pan surfaces, including edges.
- Heat the pan until the oil bonds, forming a durable, non-stick polymerized coating.
- Repeat multiple thin coats, baking the pan after each to build a resilient seasoning layer.
- Regular maintenance with gentle cleaning and reapplication of oil prolongs the seasoning and enhances non-stick performance.

Made In Cookware – Carbon Steel Seasoning Wax (6 Oz) – Crafted in Canada – Rice Bran Wax, Canola Oil and Grapeseed Oil
Contains: Rice Bran Wax | Canola Oil | Grapeseed Oil
As an affiliate, we earn on qualifying purchases.
As an affiliate, we earn on qualifying purchases.
Why Proper Seasoning Matters for Carbon Steel Pans
Proper seasoning is essential for carbon steel pans because it creates a natural, non-stick surface that improves with use. When you season your pan correctly, you enhance its durability, increasing pan longevity and reducing the need for frequent replacements. The seasoning benefits go beyond non-stick properties; they also form a protective layer that prevents rust and damage over time. This protective layer develops as you cook and re-season your pan, making it more resilient and easier to clean. Regularly maintaining the seasoning is crucial for optimal performance and longevity. Without proper seasoning, your pan is more prone to sticking, corrosion, and uneven heating, which shortens its lifespan. Properly seasoned surfaces ensure consistent heat distribution and better cooking results, ultimately saving you money and effort in the long run. Taking the time to season your carbon steel pan properly guarantees it performs better and lasts longer, ultimately saving you money and effort in the long run.
WALRUS OIL – Cast Iron Oil, High Smoke Point Safflower Oil for Seasoning, Maintaining Cast Iron. 100% Natural & Vegan, NSF Certified, 8 oz
Very High Smoke Point (450-500°F)
As an affiliate, we earn on qualifying purchases.
As an affiliate, we earn on qualifying purchases.
The 3-Step Method to Perfectly Season Your Carbon Steel Pan
Seasoning your carbon steel pan correctly sets the foundation for a durable, non-stick surface that improves over time. To master the 3-step method, focus on understanding seasoning chemistry and proper pan care. First, clean and dry your pan thoroughly to remove any residues. Second, apply a thin layer of high-smoke-point oil evenly across the surface. Third, heat the pan until the oil bonds to the metal, creating a polymerized coating. Polymerization is essential in developing a resilient, non-stick patina that improves with each layer. This process relies on achieving the right temperature control during heating to ensure proper bonding. Proper oil selection plays a crucial role in developing a durable seasoning layer, so choose oils with high smoke points for best results. Additionally, maintaining consistent heating helps promote even seasoning development across the surface. Finally, repeat the process for multiple layers if needed. This approach ensures proper seasoning chemistry, which builds a resilient, non-stick patina. Understanding how seasoning chemistry develops during the process can help you achieve a more effective and long-lasting coating. By following these steps, you optimize pan care, prolonging your pan’s lifespan and enhancing its cooking performance through consistent, well-executed seasoning.

OXO Good Grips Cast Iron Brush
Scrubs without soap to preserve seasoning and protect surfaces
As an affiliate, we earn on qualifying purchases.
As an affiliate, we earn on qualifying purchases.
How to Prepare Your Pan Before Seasoning
Before you start seasoning, make sure to clean your pan thoroughly to remove any dirt or residue. Dry it completely to prevent rust and guarantee even seasoning. Then, apply a thin layer of oil, just enough to coat the surface without pooling. Proper airflow around the unit can help ensure the oil is evenly distributed and absorbed during the seasoning process. Ensuring adequate heat distribution during seasoning can also promote a more consistent and durable coating. Additionally, maintaining consistent oven temperature helps achieve optimal seasoning results. Incorporating proper temperature control techniques can further enhance the seasoning process for a long-lasting non-stick surface. Furthermore, understanding seasoning chemistry can help you optimize each step for better results.
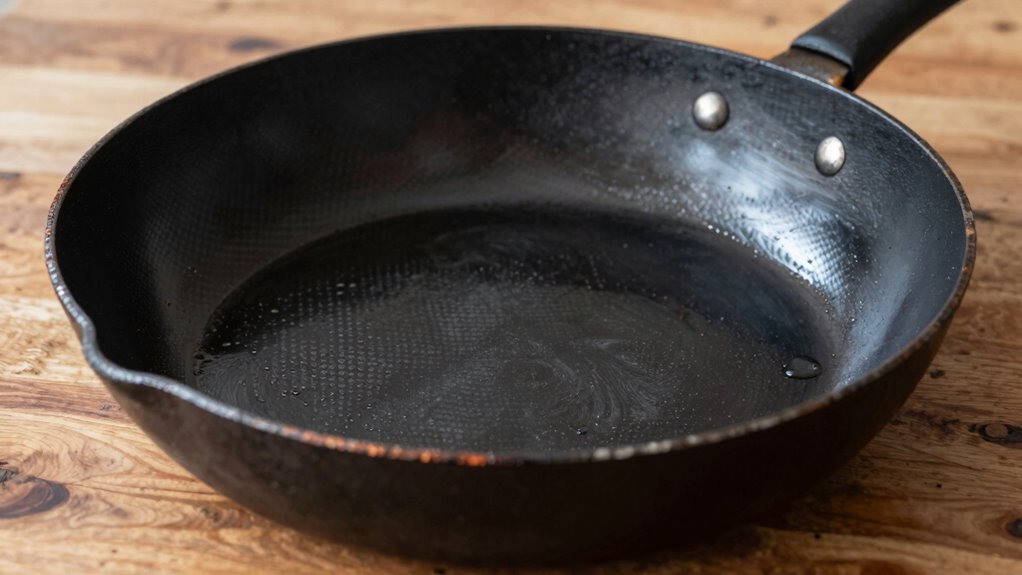
Clean the Pan Thoroughly
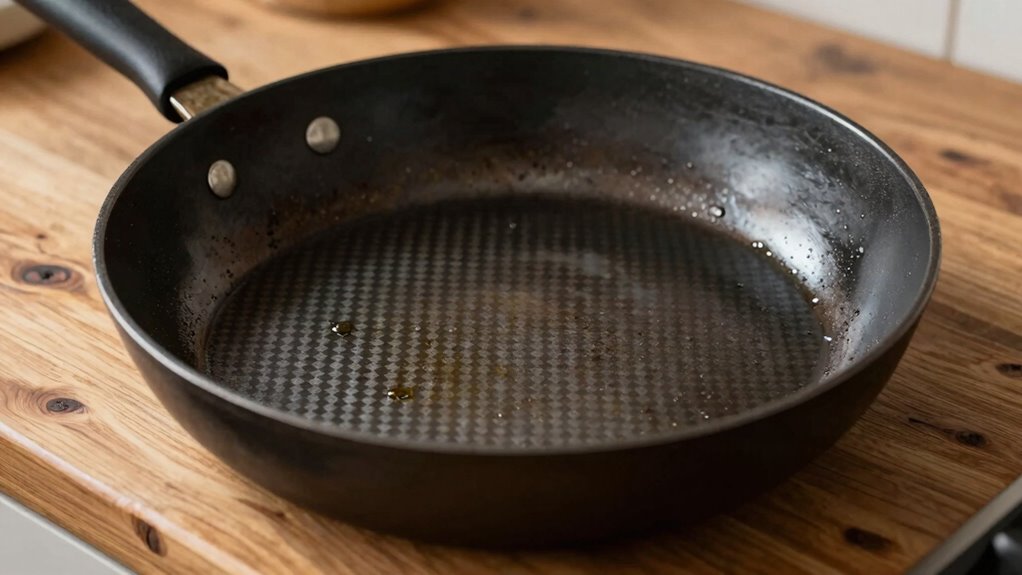
To make certain your pan is ready for seasoning, start by giving it a thorough cleaning. Proper pan cleaning removes any residue, rust, or manufacturing oils that could interfere with oil application. Follow these steps:
- Use hot water and a stiff brush or steel wool to scrub the surface, removing stuck-on debris.
- Avoid soap unless necessary; if used, rinse thoroughly to eliminate residue.
- Dry the pan immediately with a clean towel to prevent rust.
- Inspect for any remaining spots or rust, and address them before proceeding.
A clean surface ensures even oil application, which is essential for developing a good seasoning layer. Skipping this step risks uneven seasoning and sticking issues later on.
Dry Completely Beforehand
Ever wonder why your seasoning layer doesn’t stick well or wears off quickly? The key is guaranteeing your pan is completely dry before you start. Any residual moisture can interfere with the pan’s temperature, making it hard to reach the ideal seasoning temperature. When your pan is dry, you can better control the seasoning duration and achieve an even, durable coating. Use a clean towel or heat the pan gently to remove all moisture—water droplets can cause uneven seasoning or create spots that won’t bond properly. Proper drying techniques during drying help ensure that no moisture remains trapped, which can compromise the seasoning process. A thoroughly dried pan heats more efficiently, allowing you to reach the right pan temperature quickly. Proper free floating techniques during drying help ensure that no moisture remains trapped, which can compromise the seasoning process. This step ensures your seasoning layer bonds firmly, lasts longer, and provides a smooth, non-stick surface over time.
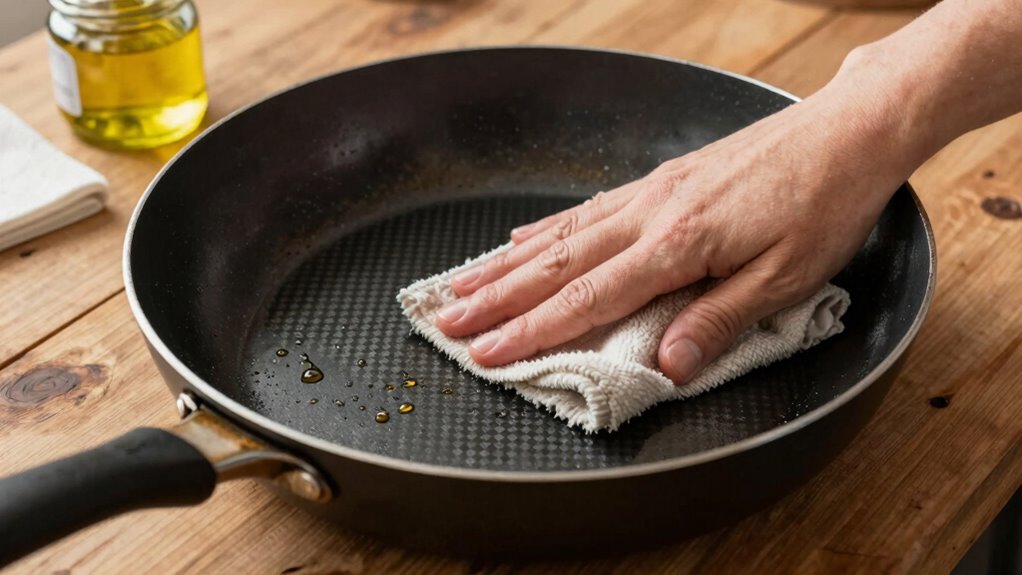
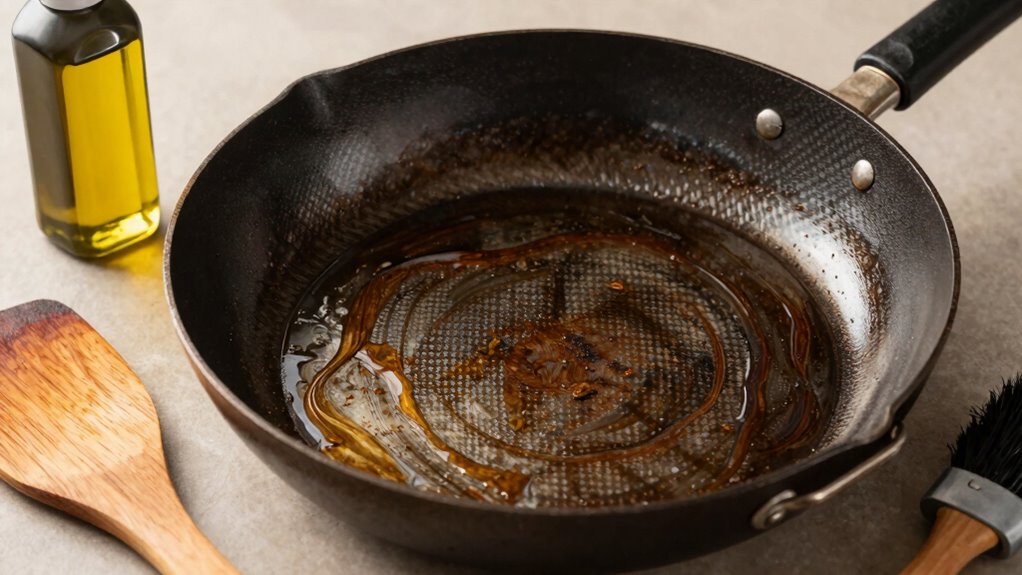
Apply Thin Oil Layer
Applying a thin, even layer of oil is essential for a successful seasoning process. Proper oil application ensures the seasoning layer adheres well and develops a durable, non-stick surface. To achieve this, follow these steps:
- Use a clean cloth or paper towel to pour a small amount of oil.
- Spread the oil evenly over all surfaces of the pan, including the sides and bottom.
- Wipe off excess oil to prevent pooling, which can cause uneven seasoning.
- Aim for a very thin, almost translucent coating that covers the surface without drip marks.
- Remember, oil application is a critical step in building a sustainable and effective seasoning layer. Ensuring an even oil layer promotes uniform seasoning and minimizes imperfections during the curing process. Additionally, using the right type of oil, such as light-bodied or high-smoke-point oils, can improve the seasoning quality and longevity of your pan. Proper oil selection can also help prevent sticking and improve the overall durability of the coating. Developing proper oil application techniques can further enhance the seasoning process and result in a more durable finish.

CARON & DOUCET – New Ultimate Cast Iron Set: Seasoning Oil, Cleaning Soap & Restoring Scrub | 100% Plant-Based & Best for Cleaning Care, Washing, Restoring & Seasoning Skillets, Pans & Grills!
RESTORES & RESEASONS | Includes our Cast Iron Scrub designed to restore & remove stubborn rust spots. Helps…
As an affiliate, we earn on qualifying purchases.
As an affiliate, we earn on qualifying purchases.
How to Apply Oil the Right Way for Seasoning
To get the best seasoning results, you need to apply oil carefully. Use a thin layer to avoid buildup, and choose an oil with a high smoke point for durability. Make sure to coat the entire surface evenly for consistent protection. Proper oil application techniques help ensure your seasoning lasts longer and performs better over time. Additionally, understanding seasoning layers can help you achieve a more durable and non-stick surface. Paying attention to family well-being can also contribute to a more holistic approach to your seasoning process, ensuring your cookware remains in top condition for years to come. Incorporating net+ certification benefits can also help you stay informed about best practices for maintaining your tools and equipment. Using the right style and finish can further enhance the longevity and performance of your seasoning.
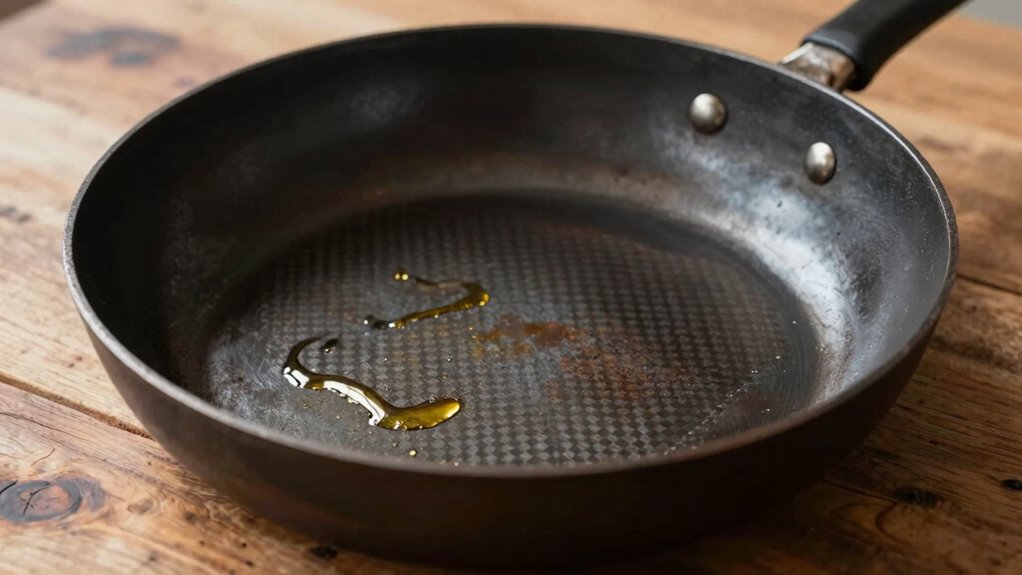
Use a Thin Layer
Using a thin layer of oil is essential for achieving a smooth, durable seasoning on your carbon steel pan. Proper oil application guarantees even coverage without excess buildup, which can cause uneven seasoning. Before applying oil, always perform surface cleaning to remove any residue or debris, creating the ideal foundation. To apply the oil correctly:
- Use a lint-free cloth or paper towel to spread a small amount of oil evenly across the surface.
- Focus on thin, uniform layers, avoiding pooling or thick spots.
- Wipe away any excess oil thoroughly to prevent sticky or uneven seasoning.
- Allow the surface to dry completely before heating, ensuring a proper bond during the seasoning process.
This careful approach ensures a well-seasoned pan that develops a resilient non-stick surface over time.
Choose the Right Oil
Choosing the right oil is key to building a strong, non-stick seasoning. You want an oil with a high smoke point to prevent excess oil smoke during heating, which can hinder proper seasoning layers. Oils like flaxseed, grapeseed, or vegetable oil are popular choices because they polymerize well and develop durable seasoning. When applying, use just enough to lightly coat the surface—too much can create uneven layers or sticky spots. Proper oil selection guarantees the seasoning layers bond effectively, resulting in a smooth, non-stick surface over time. Avoid oils with low smoke points, as they tend to produce more smoke and may break down before creating solid seasoning layers. With the right oil, your carbon steel skillet will develop a resilient, easy-to-maintain coating.
Apply Even Coats
Applying oil evenly is essential to achieving a smooth, durable seasoning layer. Proper application prevents sticky spots and uneven buildup, making pan maintenance easier over time. To guarantee you’re applying coats correctly, consider these steps:
- Use a lint-free cloth or paper towel to spread a thin layer of oil across the entire surface.
- Wipe off excess oil to avoid pooling, which can lead to seasoning myths about needing heavy coats.
- Focus on thin, even layers, especially around edges and corners.
- Repeat the process for multiple coats, allowing each to bake fully before adding the next.
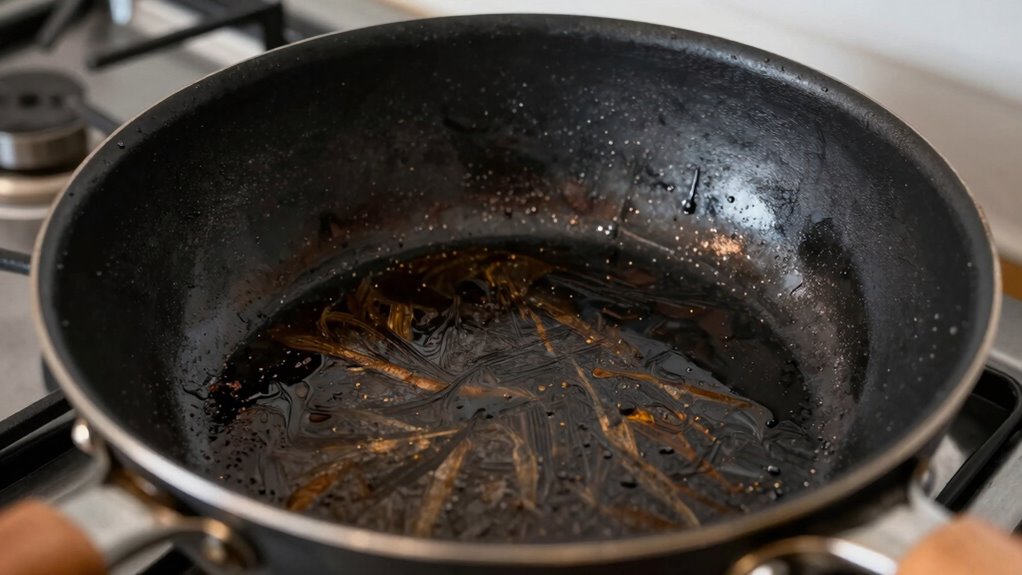
How to Cure Your Pan in the Oven
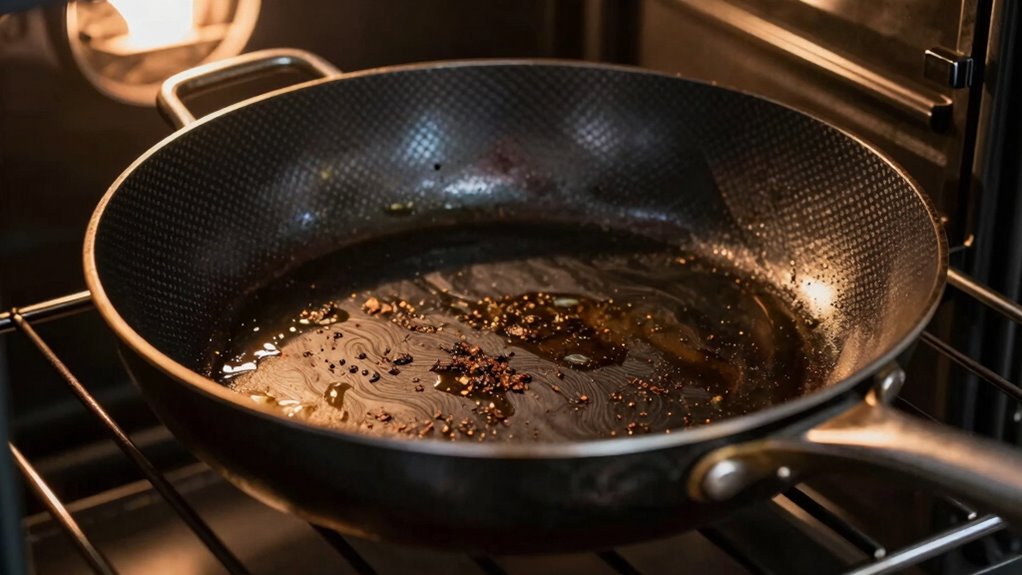
Wondering how to properly cure your carbon steel pan in the oven? First, preheat your oven to a high pan temperature, around 400-450°F. Place the pan upside down on the top oven rack to prevent excess oil from pooling inside. To catch drips, put a sheet of aluminum foil or a baking sheet on the rack below. Apply a thin, even layer of oil to the entire surface of the pan, including the handle. Once the oven reaches the desired temperature, put the pan inside and bake it for about an hour. This process allows the oil to polymerize, creating a durable seasoning layer. Afterward, turn off the oven and let the pan cool inside before handling.
How to Maintain and Re-Season Your Carbon Steel Pan
To keep your carbon steel pan in top shape, regular maintenance and re-seasoning are essential. Proper pan cleaning removes debris and prevents rust, while careful oil application builds up a durable seasoning layer. To maintain your pan:
Regular cleaning and proper oiling keep your carbon steel pan in peak condition.
- Clean the pan with hot water and a soft brush or cloth—avoid soap unless necessary.
- Dry it thoroughly to prevent rust formation.
- Apply a thin layer of high-smoke-point oil, like flaxseed or vegetable oil.
- Heat the pan on the stovetop or in the oven to polymerize the oil, creating a strong, non-stick surface.
Consistently following these steps keeps your seasoning intact and enhances your pan’s performance over time. Regular maintenance guarantees your pan remains a reliable kitchen companion for years to come.
Common Mistakes to Avoid When Seasoning Your Pan
Avoid using too much oil, as it can create a sticky surface instead of a good seasoning. Make sure you heat the pan properly to bond the oil effectively, or your coating may be uneven. Don’t skip cleaning the surface before seasoning; a clean pan guarantees a smooth, durable finish.
Using Too Much Oil
Applying too much oil during seasoning is a common mistake that can hinder the process. When you overapply oil, it creates a thick, uneven coating that’s hard to heat properly. This oil overapplication often results in a sticky residue that’s difficult to remove and can ruin your seasoning efforts. To avoid this, keep these tips in mind:
- Use a small amount of oil and spread it thinly across the surface.
- Wipe away excess oil with a cloth or paper towel before heating.
- Apply multiple light coats instead of one heavy layer.
- Allow each layer to fully polymerize before adding another.
Ignoring Proper Heating
Overapplying oil can lead to uneven seasoning, but even with the right amount, improper heating can undo your efforts. If you don’t heat evenly, you risk oil smoking or creating hotspots that damage your pan’s surface. Proper heat distribution ensures the seasoning bonds properly, forming a durable layer.
| Temperature Zone | Effect on Pan | Result |
|---|---|---|
| Low Heat | Uneven oil absorption | Chalky spots |
| Moderate Heat | Even seasoning formation | Smooth, durable surface |
| High Heat | Oil smoking and hotspots | Sticky, burnt spots |
| Too High | Burnt oil, warping | Damage to pan |
| Optimal Heat | Proper bonding, no smoking | Perfect seasoning layer |
Skipping Surface Cleaning
Have you ever skipped cleaning your pan before seasoning? Skipping surface cleaning can compromise food safety and hinder proper surface preparation. Residual oils, dirt, or rust can cause uneven seasoning, leading to sticking and rust formation. To avoid these issues, follow these steps:
- Remove any rust, debris, or old seasoning with a scrub brush or steel wool.
- Wash the pan thoroughly with soap and hot water to eliminate surface contaminants.
- Dry the pan completely to prevent moisture from interfering with seasoning.
- Inspect the surface to ensure it’s clean, smooth, and free of residue before applying oil.
Skipping surface cleaning may seem quick, but it risks poor seasoning results and food safety concerns. Proper surface prep sets the foundation for a durable, non-stick coating.
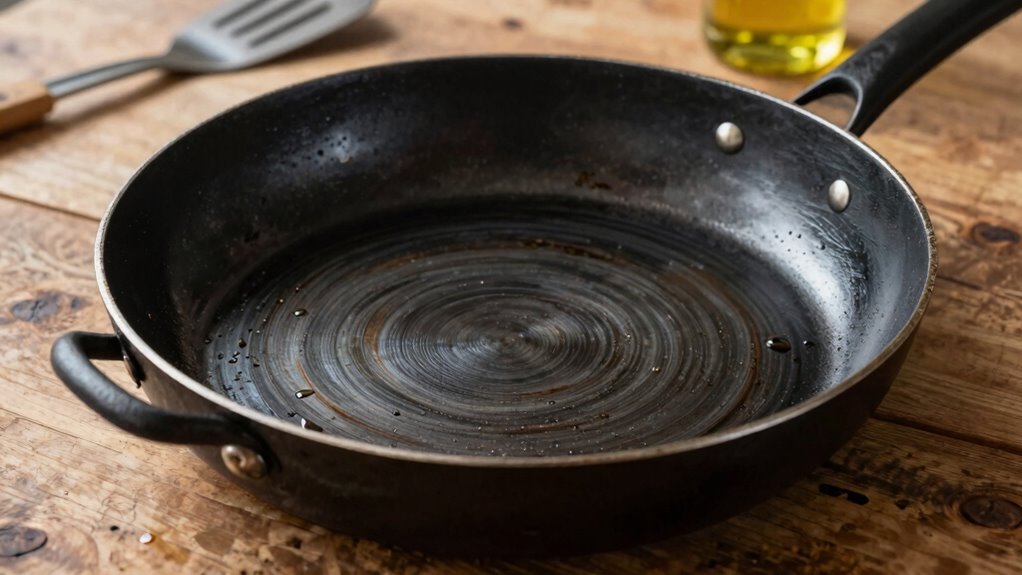
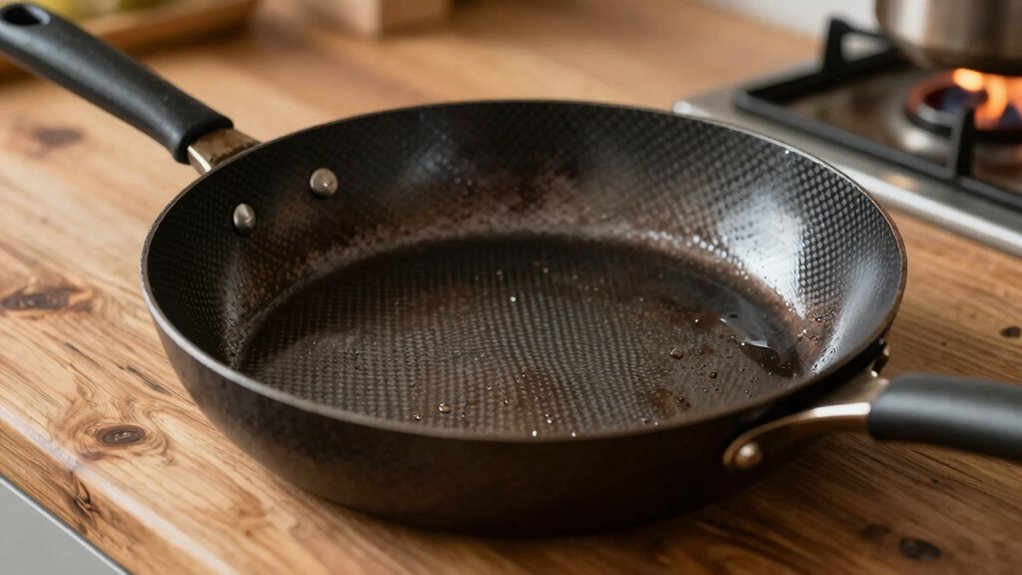
How to Tell When Your Pan Is Properly Seasoned
Knowing when your pan is properly seasoned is essential for achieving the best non-stick surface and preventing rust. The key indicator is the pan surface’s appearance. A well-seasoned pan will develop a smooth, dark, and glossy coating. You’ll notice the seasoning color deepening from light to rich brown or black, signaling that the layer has built up correctly. When the surface looks even and has a slight sheen, it’s a good sign it’s ready for use. Avoid patches that are dull or uneven, as they indicate spots that need more seasoning. Also, a properly seasoned pan will resist sticking and rust better. Regularly checking the seasoning color and surface quality helps you maintain an *ideal* coating for cooking and longevity.
Best Oils and Tools for Seasoning Carbon Steel
Choosing the right oils and tools is essential for achieving a durable, non-stick seasoning on your carbon steel pan. When selecting oil types, opt for high smoke point oils like flaxseed, grapeseed, or canola, which polymerize well during seasoning. For seasoning tools, use a clean, lint-free cloth or paper towels to apply a thin, even layer of oil. A heat-resistant brush or silicone spatula can help spread oil smoothly. Additionally, consider having a dedicated seasoning pan or cast iron skillet for heating oils evenly. Proper tools guarantee consistent coverage and prevent excess oil buildup, which can cause uneven seasoning or sticking. Selecting quality oils and appropriate seasoning tools makes all the difference in creating a long-lasting, non-stick surface.
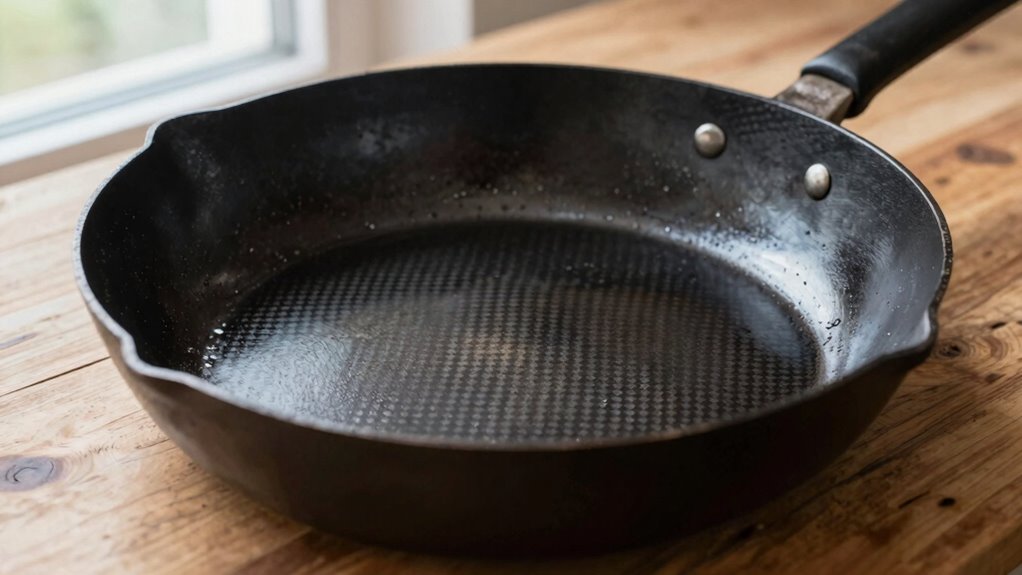
Tips to Keep Your Pan Non-Stick and Rust-Free
To keep your carbon steel pan non-stick and rust-free, regular maintenance is key. Proper pan maintenance involves cleaning it gently after each use, avoiding harsh soaps that can strip the seasoning. Dry the pan thoroughly to prevent moisture, which causes rust. Applying a thin layer of oil after cleaning helps maintain the non-stick surface and reinforces rust prevention. Store your pan in a dry area, preferably with a paper towel inside to absorb humidity. Re-season periodically if you notice sticking or rust spots. Avoid soaking the pan for long periods. Consistent care ensures your pan develops a durable, non-stick patina while staying rust-free. By sticking to these simple tips, you’ll prolong your pan’s life and keep it performing like new.
Frequently Asked Questions
How Often Should I Re-Season My Carbon Steel Pan?
You should re-season your carbon steel pan whenever the surface starts to lose its non-stick qualities or shows signs of rust or dullness. For regular pan maintenance, seasoning frequency depends on how often you cook with it—usually every few months or after about 10-15 uses. Keep an eye on the surface, and if it looks dull or sticky, it’s time for a quick re-seasoning to restore its performance.
Can I Season My Pan on a Stovetop Instead of an Oven?
Yes, you can absolutely do stovetop seasoning instead of using an oven. Stovetop seasoning is a quick, powerful way to build that non-stick layer, and it’s perfect if you want to season your pan in a flash. Just heat the pan, add a thin layer of oil, and wipe it until shiny. This stovetop pan seasoning method heats the oil evenly, creating a durable, rust-resistant surface—faster than you can say “non-stick!”
Is It Necessary to Remove Rust Before Seasoning?
Yes, you should remove rust before seasoning your pan. Rust removal guarantees a clean surface, which is essential for a proper seasoning process. If you skip this step, the rust can hinder the seasoning from bonding well, leading to a less effective non-stick layer. Use steel wool or vinegar to eliminate rust, then clean and dry the pan thoroughly before applying seasoning. This guarantees a smooth, durable coating.
What Is the Best Way to Clean My Pan Without Removing the Seasoning?
Did you know that a well-maintained seasoning layer can last for years? To clean your pan without removing the seasoning, use warm water and a gentle brush or non-abrasive scrubber. Avoid soap, which can strip the seasoning. For stubborn residue, simmer water in the pan. This method guarantees effective pan cleaning while preserving your seasoning, helping you maintain a non-stick surface and prolong your pan’s life.
How Long Does a Properly Seasoned Pan Last Before Re-Seasoning Is Needed?
A properly seasoned pan can last for years if you care for it well. Typically, seasoning durability means you won’t need to re-season until you notice the surface starting to lose its non-stick qualities or develop rust. To maximize pan longevity, avoid harsh scrubbing, clean it gently, and regularly apply a thin layer of oil. With proper maintenance, your seasoned pan can stay in great condition for many years.
Conclusion
With the right 3-step seasoning method, your carbon steel pan will become your kitchen’s secret weapon. Imagine starting with a rusty, unused pan and transforming it into a non-stick masterpiece that lasts for years. Like Sarah, who followed these steps and now cooks flawless eggs every morning, you’ll see that proper seasoning isn’t just about oil—it’s about creating a lifelong cooking partner. Stick to the process, and your pan will reward you every time.