
To safely culture butter at home, start with fresh, high-fat cream (at least 36%) and use reputable starter cultures, ensuring all equipment is thoroughly cleaned and sanitized. Keep your environment stable at around 70–75°F and monitor the pH to prevent contamination. For flavor tweaks, add herbs, spices, or citrus during mixing. Proper storage in airtight containers keeps your butter fresh longer—continue to explore tips for flavorful, safe homemade cultured butter.
Key Takeaways
- Use high-fat, fresh cream and reputable starter cultures; avoid low-fat or homemade starters to ensure safety and proper fermentation.
- Maintain strict hygiene by sanitizing all equipment and surfaces, washing hands thoroughly before handling ingredients.
- Keep the culture environment stable between 70°F-75°F and monitor pH to prevent contamination and ensure proper flavor development.
- Incorporate herbs, spices, or flavor infusions during mixing for customized taste, adding gradually to balance natural tang.
- Store cultured butter in airtight containers at or below 40°F, away from light, and freeze portions for extended freshness.

Amazon Grocery, Heavy Whipping Cream, Ultra-Pasteurized, 16 Fl Oz
One 16 fluid ounce carton of Heavy Whipping Cream, Ultra-Pasteurized
As an affiliate, we earn on qualifying purchases.
As an affiliate, we earn on qualifying purchases.
Selecting the Right Cream for Culturing
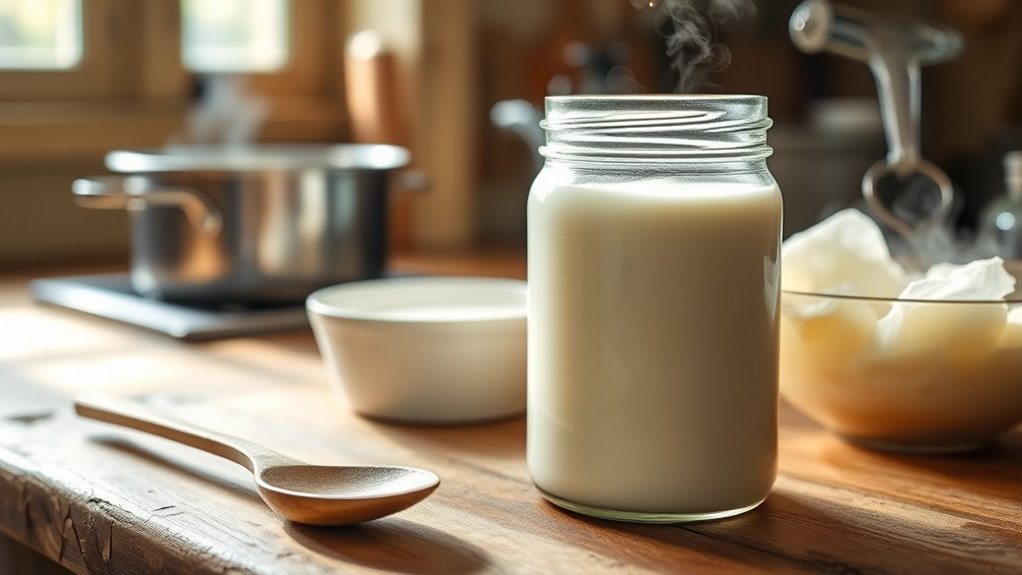
Choosing the right cream is essential for successful culturing. Your cream selection directly impacts the texture and flavor of your cultured butter. Look for fresh, high-quality cream with a butterfat content of at least 36%. The higher the butterfat, the richer and creamier your butter will be. Heavy cream or double cream are ideal choices because they provide the right balance of fat and moisture for culturing. Avoid low-fat creams, as they lack the necessary fat to develop the tangy, complex flavors you’re after. Always check the label to ensure the cream has minimal additives or stabilizers, which can interfere with fermentation. Selecting the right cream sets a solid foundation for producing smooth, flavorful cultured butter at home. Additionally, understanding the role of fat content in influencing fermentation and flavor development can help you choose the best cream for your needs.

Cultures for Health Buttermilk Starter Culture | DIY Buttermilk, Sour Cream, or Butter | Heirloom Starter Cultures at Room Temperature | Gluten-Free, Non-GMO, Rich in Probiotics for Digestive Health
VERSATILE: Includes 2 packets of starter culture. You can culture milk into buttermilk or cream into butter, and…
As an affiliate, we earn on qualifying purchases.
As an affiliate, we earn on qualifying purchases.
Proper Sterilization and Hygiene Techniques
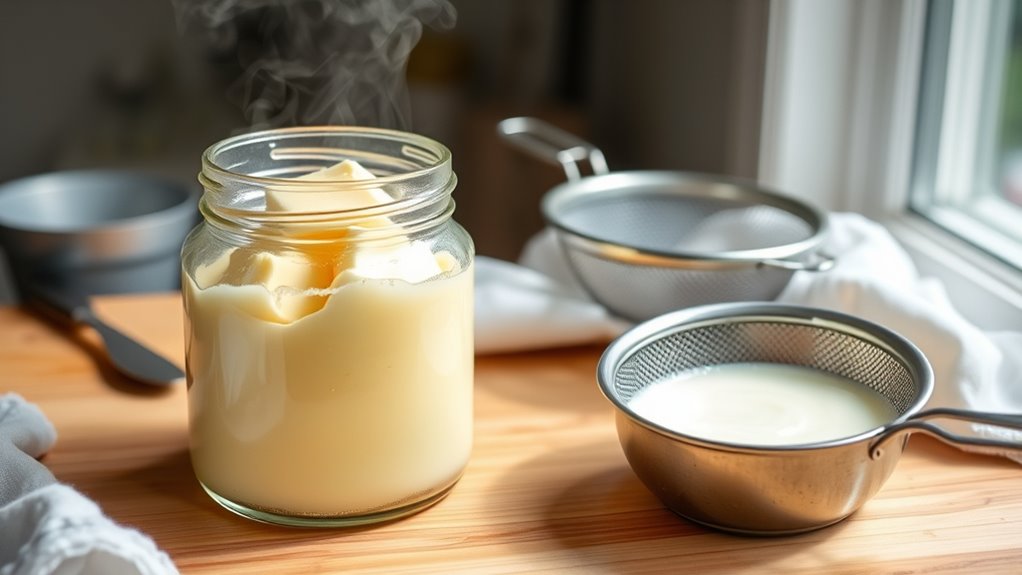
After selecting your cream, it’s vital to guarantee your utensils and workspace are properly sterilized to prevent unwanted bacteria from interfering with the fermentation process. Prioritize good hand hygiene by thoroughly washing your hands before handling equipment or ingredients. Equipment sanitation is essential; ensure all jars, spoons, and bowls are cleaned with hot, soapy water, then sanitized with boiling water or a vinegar solution. Use the table below as a checklist:
| Task | Method | Frequency |
|---|---|---|
| Hand washing | Soap and hot water | Before handling cream or utensils |
| Equipment cleaning | Hot, soapy water + sanitization | After each use |
| Surface cleaning | Disinfectant or vinegar solution | Before starting and after work |
| Storage of utensils | Air dry in a clean area | After cleaning |
Following these steps ensures a safe environment for culturing butter. Additionally, maintaining a clean environment aligns with proper sterilization and hygiene techniques, which are critical for preventing contamination and ensuring a successful fermentation process.

KITCHENDAO One-handed Airtight Butter Dish with Lid for Countertop and Refrigerator Door Shelf, Butter Holder with One Press to Open/Close Secure Latching Buckle for West/East Coast Butter (White)
Capacity: The plastic butter dish with lid is suitable for Eastern and Western butter
As an affiliate, we earn on qualifying purchases.
As an affiliate, we earn on qualifying purchases.
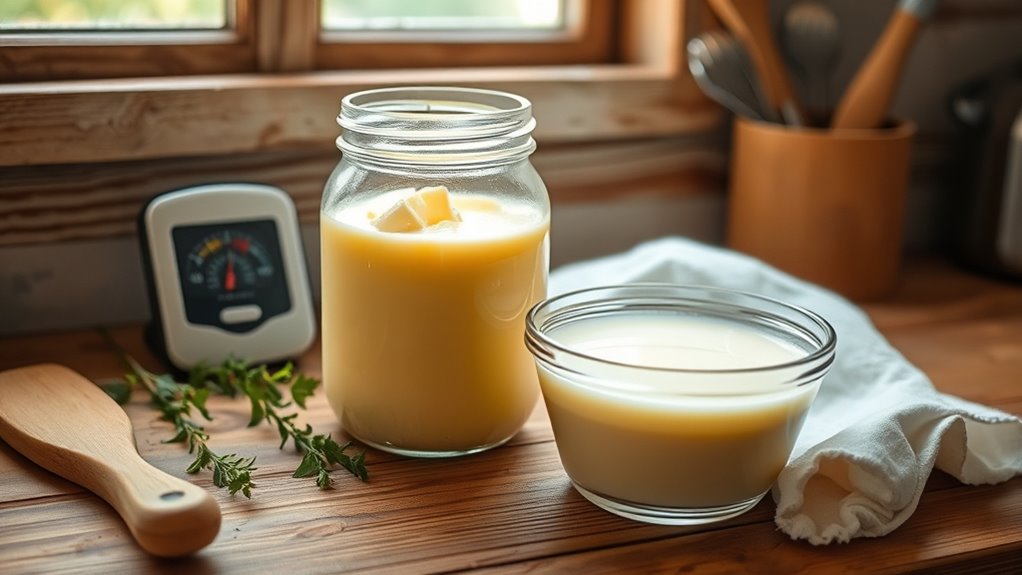
Maintaining Optimal Temperature and Environment
To guarantee your butter cultures develop properly, you need to keep the temperature consistent and within the recommended range. Set up a clean, stable environment free from drafts and temperature fluctuations. Paying attention to these details helps your butter turn out rich and flavorful. Monitoring environmental conditions ensures optimal fermentation.
Temperature Control Tips
Ever wonder how temperature affects the butter culturing process? Maintaining temperature stability is key to successful culturing. Keep your ambient conditions consistent by placing your container in a draft-free, room-temperature spot. Avoid sudden temperature fluctuations, which can disrupt the fermentation process. Use a thermometer to monitor the environment regularly and guarantee it stays within the ideal range—typically around 70°F to 75°F. If your space is too cold, consider using a heating pad set to low or a proofing box to maintain steady warmth. Conversely, if it’s too warm, relocate your setup away from direct sunlight or drafts. Consistent ambient conditions help your culture develop properly and produce flavorful, high-quality butter. Proper temperature control is essential for safe, predictable results. Additionally, understanding the environmental conditions that influence fermentation can help optimize your butter culturing process.
Hygienic Environment Setup
Creating a hygienic environment is essential for maintaining the right temperature and ensuring successful butter culturing. Start by keeping your workspace clean; wipe down surfaces regularly to prevent contamination. Use sanitized utensils and containers to avoid introducing unwanted bacteria. Personal hygiene is equally important—wash your hands thoroughly before handling ingredients and wear clean clothing or an apron. Maintain consistent temperature by placing your setup in a stable, draft-free area, and avoid sudden temperature fluctuations. Guarantee your workspace is free from dust and mold, which can compromise the culture. A clean, well-maintained environment supports healthy bacterial growth, leading to better flavor and texture in your cultured butter. Prioritize hygiene and cleanliness at every step for the best results.

1 Bottle Steramine Sanitizer Tablets w/15x QT-10 Test Strips – Multi Purpose Steramine Sanitizing Tablets for Food Contact Surface, Kitchen, Restaurant & Commercial Use by FryOilSaver (150 Count)
1 BOTTLE OF STERAMINE SANITIZING TABLETS WITH QT-10 TEST STRIPS – This set includes 1 bottle of Steramine…
As an affiliate, we earn on qualifying purchases.
As an affiliate, we earn on qualifying purchases.
Choosing Safe Cultures and Fermentation Starters
Choosing the right cultures and fermentation starters is essential for making safe and flavorful homemade butter. Selecting high-quality, reputable sources guarantees your cultures are free from contaminants and will produce consistent results. When choosing cultures and starters, consider these factors:
- Type of cultures – Look for dairy-specific cultures designed for butter or cream fermentation to ensure proper flavor development.
- Source reliability – Purchase from trusted suppliers who prioritize safety and quality.
- Compatibility with fermentation techniques – Match your cultures with your chosen fermentation method, whether it’s natural fermentation or using commercial starters.
Using appropriate cultures and starters helps you control the fermentation process, leading to better flavor and safety. Always follow manufacturer instructions and avoid using untested or homemade starters to prevent unwanted bacteria.
Monitoring Ph Levels During Culturing
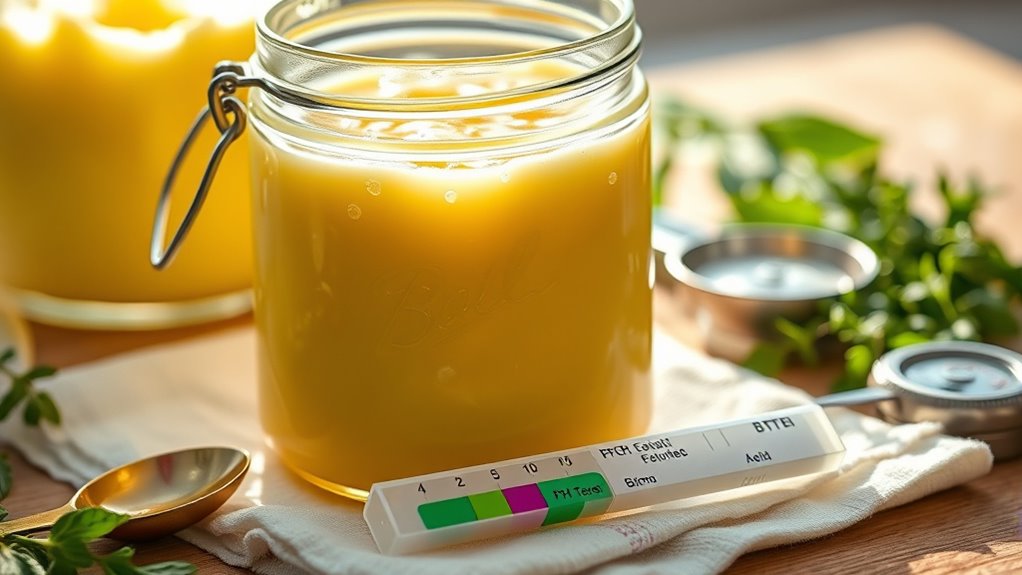
Monitoring pH levels during culturing provides vital insight into the progress and safety of your butter fermentation. Regular pH testing helps you track acidity levels, ensuring they stay within safe and ideal ranges. Use a reliable pH meter or test strips to measure the acidity periodically, especially during key fermentation stages. When the pH drops to the desired level—usually between 4.5 and 5.0—it indicates that fermentation is proceeding correctly. If the pH remains too high or drops too low, it could signal an issue with the culture or potential contamination. Keeping a close eye on acidity levels allows you to adjust conditions if necessary and prevents unwanted bacterial growth. Consistent pH monitoring is essential for safe, flavorful, and successful butter culturing at home. Additionally, understanding the role of glycolic acid in skincare highlights the importance of maintaining proper pH levels to avoid skin irritation and ensure effective exfoliation.
Avoiding Common Contamination Pitfalls
To prevent contamination, keep your workspace and tools sterile at all times. Always use fresh starter cultures and store your equipment properly to avoid bacteria buildup. Staying vigilant with these practices helps guarantee a safe and successful butter culturing process. Additionally, understanding best practices for food safety ensures that your homemade butter remains both delicious and safe to enjoy.
Maintain Sterile Environment
Maintaining a sterile environment is essential to prevent contamination and guarantee successful butter culturing. To do this, follow strict sanitization protocols and keep your workspace organized. Here are three key tips:
- Regularly disinfect all surfaces, utensils, and equipment with food-safe sanitizers before and after each use.
- Keep your workspace clutter-free to minimize dust and airborne bacteria that could compromise your culture.
- Store starter cultures and ingredients in sealed containers, and handle them with clean hands or gloves to prevent introducing unwanted microbes.
- Proper temperature control is also critical, as Halloween decorations and other outdoor elements can inadvertently introduce bacteria if not properly managed.
Use Fresh Starter Cultures
Using fresh starter cultures is essential to guarantee your butter turns out properly and remains free from contamination. Farmhouse techniques and artisanal methods rely on high-quality, active cultures to ensure authentic flavor and safety. Always source your cultures from reputable suppliers and avoid reusing old or expired starters, which can introduce unwanted bacteria. When preparing your cultures, follow the recommended guidelines for temperature and timing to keep them active and effective. Using outdated or contaminated cultures can lead to off-flavors or spoilage, compromising your butter’s quality. By prioritizing fresh cultures, you reduce the risk of contamination and ensure consistent, delicious results. Proper culture management and clean handling are key to maintaining the integrity of your butter during the culturing process.
Properly Store Equipment
Have you ever considered how easily equipment can harbor bacteria if not stored properly? Poor storage conditions can lead to contamination, risking your butter’s safety and flavor. To ensure equipment sanitation and prevent spoilage, follow these tips:
- Keep tools in a clean, dry area away from dust and pests.
- Use airtight containers or covers to protect equipment from airborne contaminants.
- Regularly inspect and sanitize storage spaces to avoid mold and bacteria buildup.
Proper storage conditions help maintain your equipment’s cleanliness, reducing the chance of cross-contamination. Always dry equipment thoroughly before storage, and avoid stacking items haphazardly. By paying attention to storage practices, you safeguard your butter-making process and achieve consistent, delicious results. Properly stored equipment is key to safe, successful home butter culturing.
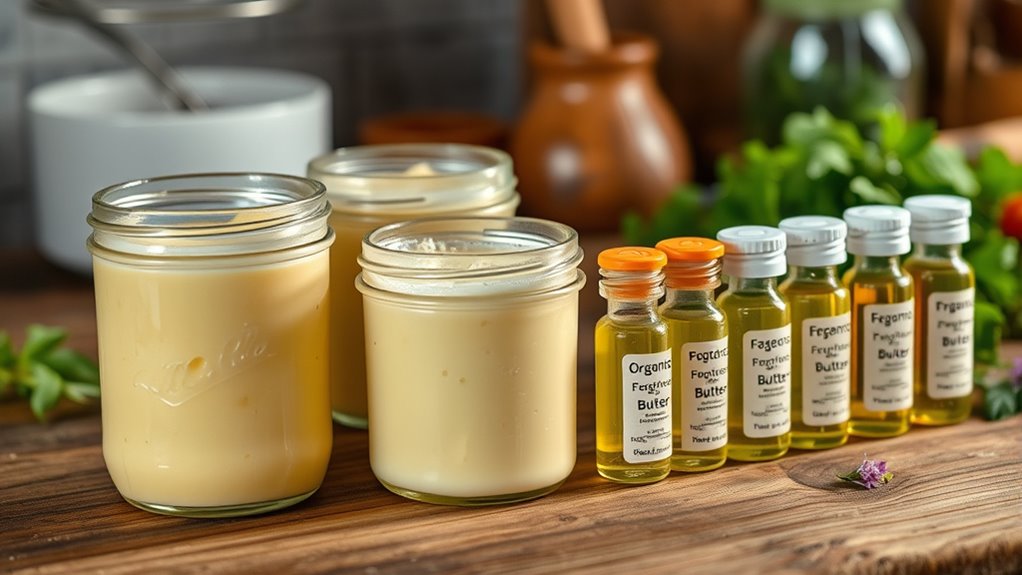
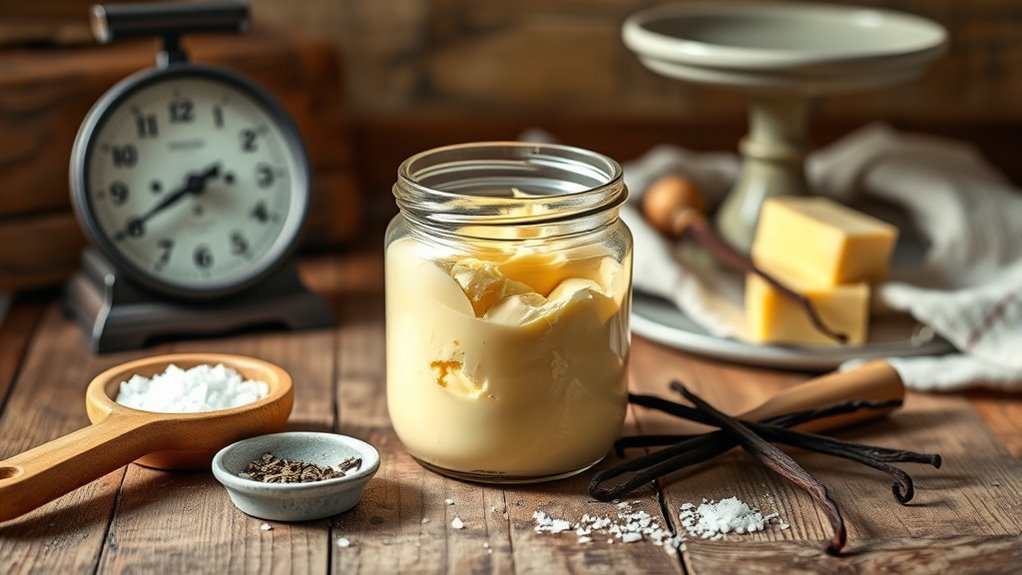
Flavoring and Customizing Your Cultured Butter

Once you’ve cultured your butter to perfection, you can easily enhance its flavor and make it uniquely yours by adding herbs, spices, or other ingredients during the mixing process. Butter flavoring allows you to tailor the taste to your preferences, whether you prefer a savory, spicy, or sweet profile. Use customization techniques like stirring in finely chopped herbs, garlic, or citrus zest for added dimension. For a more subtle twist, consider infusing melted butter with cinnamon or vanilla before mixing. Remember, start with small amounts and adjust gradually to avoid overpowering the natural tang of your cultured butter. Incorporating natural materials like linen or wood accents in your kitchen setup can also inspire a rustic, farmhouse vibe while you prepare your flavored butters. These simple steps let you create personalized, flavorful spreads perfect for any occasion.
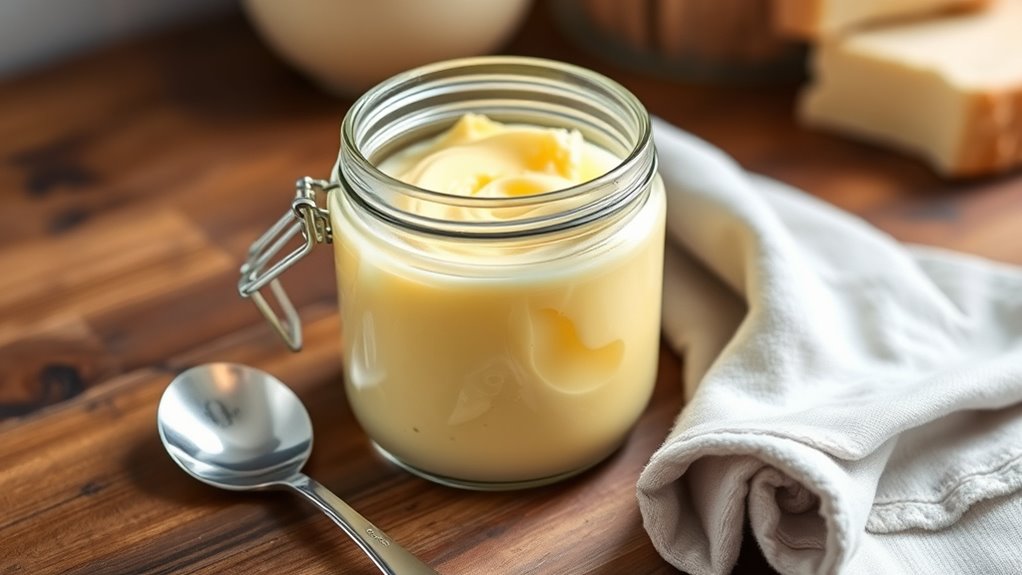
Storing and Preserving Your Homemade Butter
Proper storage is essential to keep your homemade cultured butter fresh and flavorful for as long as possible. To maintain the butter’s ideal butter texture and promote flavor development, follow these tips:
Store homemade cultured butter in the fridge or freezer to ensure lasting freshness and flavor.
- Store it in an airtight container in the refrigerator, ideally at or below 40°F (4°C). This prevents odor absorption and preserves freshness.
- Keep the butter away from light, which can degrade flavor and butter texture over time.
- For longer preservation, consider freezing small portions in wax paper or vacuum-sealed bags. Proper freezing helps retain flavor complexity and prevents freezer burn.
- Choosing the right storage containers, such as airtight options, can further prolong freshness and prevent contamination.
Frequently Asked Questions
Can I Culture Butter Using Non-Dairy or Plant-Based Creams?
You can definitely culture butter using non-dairy or plant-based creams, as they work well with non-dairy cultures designed for plant-based fermentation. These cultures help develop tangy flavors and beneficial probiotics, just like dairy-based cultures. When you choose non-dairy creams, verify they’re suitable for fermentation and avoid additives that might inhibit the process. With proper techniques, you’ll enjoy delicious, cultured plant-based butter at home.
How Long Can I Store Homemade Cultured Butter Safely?
Imagine you made homemade cultured butter last week; it’s best to consume it within 1-2 weeks. Proper storage duration and refrigeration tips help keep it fresh and safe. Keep it tightly wrapped in an airtight container and store it in the coldest part of your fridge. Avoid leaving it out for extended periods, as bacteria can develop. Regularly check for any off smells or mold, and discard if you notice any.
Are There Health Risks Associated With Homemade Cultured Butter?
You might wonder if there are health risks with homemade cultured butter. While it’s generally safe if you follow proper safety precautions, there’s a small chance of contamination if hygiene isn’t maintained. To minimize risks, always sterilize your equipment, keep everything at the right temperature, and use fresh ingredients. Staying vigilant about cleanliness and proper storage helps guarantee your homemade cultured butter remains safe and delicious.
Can I Reuse Leftover Cultures for Future Batches?
You can reuse leftover cultures for future batches, but you should focus on culture preservation and microbial viability. To guarantee safety and quality, keep cultures refrigerated and use them within a few days or weeks. Be aware that over time, cultures may weaken or change, affecting flavor and fermentation. Regularly check for signs of contamination, and when in doubt, start with fresh cultures to maintain consistent results.
What Are Signs of Spoilage or Unsafe Cultured Butter?
You should watch for signs of spoilage or unsafe cultured butter, such as visual spoilage like mold or discoloration. Microbial growth may cause an off smell, sourness, or sliminess. If you notice any of these signs, it’s safest to discard the butter. Always trust your senses—if it looks, smells, or feels unusual, avoid consuming it to prevent any health risks.
Conclusion
By following safe practices, you can successfully culture butter at home and enjoy rich, personalized flavors. Did you know that homemade cultured butter retains more beneficial bacteria than store-bought versions? With proper hygiene and temperature control, you reduce contamination risks and create delicious, healthy spreads. Experimenting with flavor tweaks lets you craft unique butter profiles tailored to your taste. So start culturing today—your taste buds (and health) will thank you!