To make butter in under five minutes, start with high-quality, chilled cream and keep your tools cold. Whisk the cream until it thickens, then observe it turn grainy and separate into buttermilk and solid butter. Rinse, knead, and flavor your butter as desired. Store it in an airtight container in the fridge or freezer. Want to master each step for perfect homemade butter? Keep exploring for more tips and tricks.
Key Takeaways
- Use cold, high-quality cream and chilled tools for efficient churning and optimal butter formation.
- Whip cream until it becomes grainy and separates into butter and buttermilk, indicating readiness.
- Rinse the butter thoroughly to remove residual buttermilk, enhancing flavor and shelf life.
- Incorporate herbs or spices during the final mixing for personalized, flavorful butter.
- Store in airtight containers in the refrigerator or freezer to maintain freshness and prevent spoilage.

Amazon Grocery, Heavy Whipping Cream, Ultra-Pasteurized, 32 Fl Oz
- Size: 32 Fl Oz carton
- Brand Transition: Part of Amazon Grocery brand
- Product Quality: Ultra-Pasteurized
As an affiliate, we earn on qualifying purchases.
As an affiliate, we earn on qualifying purchases.
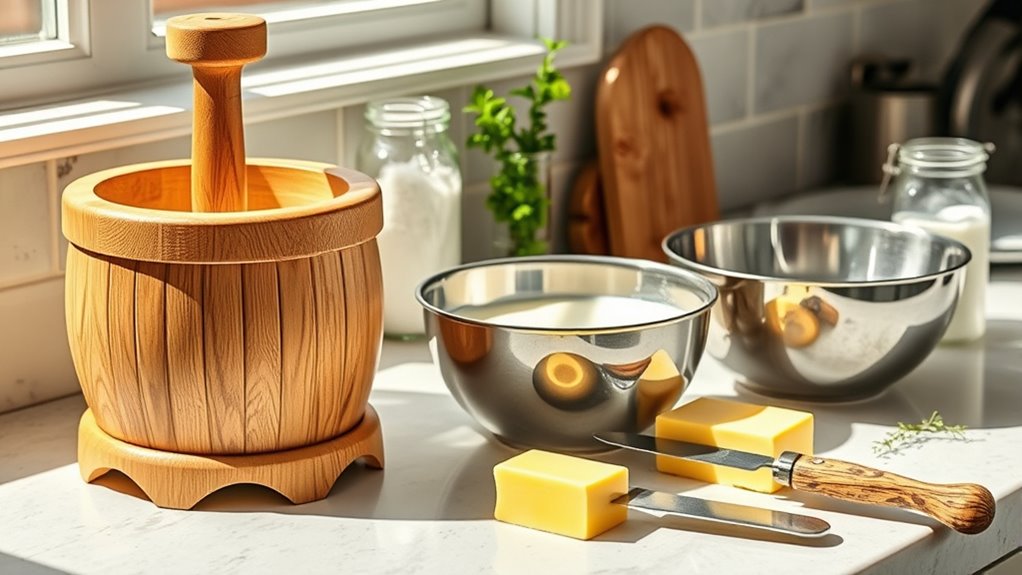
Gathering Fresh Cream and Essential Tools
Have you ever wondered where fresh cream comes from? It starts with good cream sourcing, so choose high-quality, unpasteurized cream if possible. You can often find fresh cream at local farms or specialty grocery stores. Once you have your cream, gather the essential utensils you’ll need: a sturdy mixing bowl, a whisk or electric mixer, and a spatula. Make sure your tools are clean and dry to prevent any contamination. Using fresh cream guarantees a richer flavor and better butter yield. Keep the cream chilled until you’re ready to start churning. Having everything prepared in advance makes the process smoother and more enjoyable. With the right cream sourcing and essential utensils, you’re all set for a successful butter-making adventure. Additionally, understanding the contrast ratio of your projector can greatly influence how vibrant and detailed your viewing experience will be.
Preparing Your Workspace for Butter Making
Ever wonder how to create the perfect environment for butter making? Your workspace should be clean, organized, and free of distractions, guaranteeing a smooth process. Since butter has a rich butter history rooted in traditional techniques, setting up properly honors that legacy. Use a sturdy, clean surface to prevent contamination and keep all your tools within reach. Temperature control is essential, as the butter health benefits are best preserved when cream remains at a consistent temperature. Avoid clutter to streamline your workflow, making the process quicker and more enjoyable. A well-prepared workspace not only enhances safety but also ensures you get the best flavor and texture from your homemade butter, allowing you to enjoy its full health benefits with every batch. Proper anatomy of butter knowledge can further improve the quality of your homemade product.
Chilling the Cream for Better Results
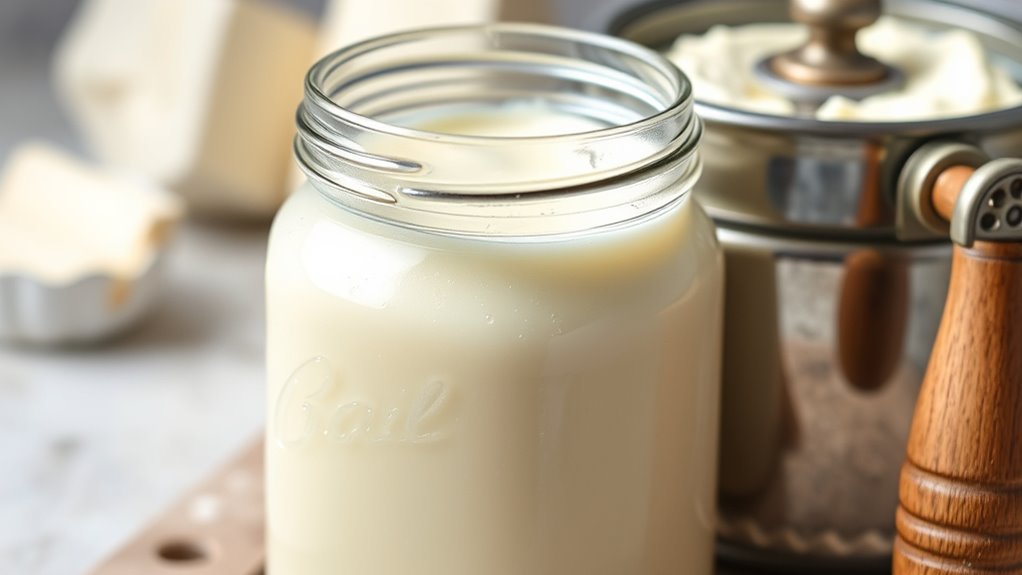
Chilling the cream before you start can substantially improve the quality of your butter. Cold cream helps achieve a better cream temperature, which results in a smoother, more uniform butter consistency. When the cream is chilled, it’s easier to churn quickly and efficiently.
Consider these tips:
- Use cream straight from the fridge for ideal results.
- Keep your mixing bowl and utensils cold to maintain the cream’s chill.
- Chill the cream for at least 30 minutes if it’s been out at room temperature.
This simple step ensures your butter turns out creamy and well-formed, reducing the chances of overworking it or ending up with a runny texture. Chilling sets the stage for a perfect butter-making process.
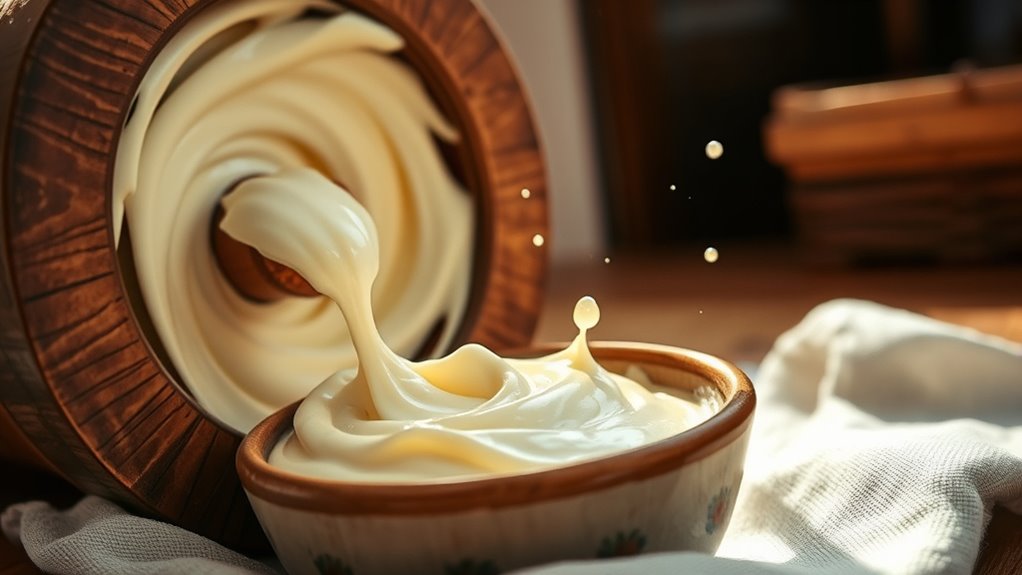
Whipping the Cream: The Key to Butter Formation
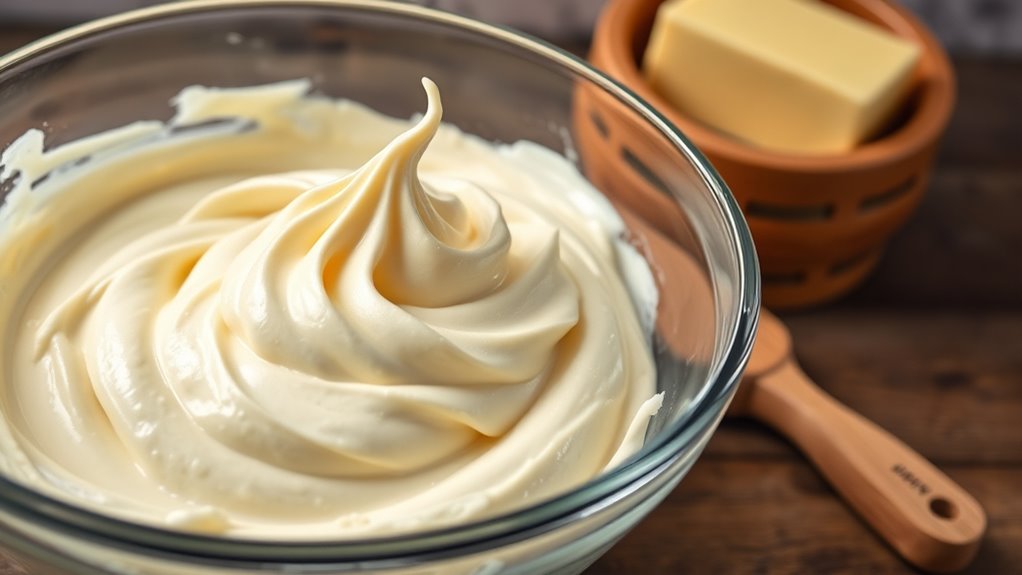
Whipping the cream is the critical step that transforms liquid into butter. As you whip, you’ll notice the cream’s consistency changing from smooth to thick, then to a grainy texture. This indicates the fat molecules are separating. The butter color deepens from pale white to a richer hue as the fat consolidates. Keep an eye on these signs:
| Cream Consistency | Butter Color | Progress Indicator |
|---|---|---|
| Thick but pourable | Pale white | Just starting to thicken |
| Soft peaks | Slightly yellow | Fat begins to separate |
| Grainy | Rich yellow | Butter formation imminent |
| Clumpy | Deep yellow | Butter fully formed |
Your goal is to reach the grainy stage, signaling that butter is almost ready.
Watching for the Signs of Butter Separation

As you whip the cream, keep a close eye on the visual and textural changes that signal butter is forming. You’ll notice the mixture thickening into a creamy texture, indicating the fat globules are separating. Once you see these signs, you’ll know butter is on its way. Watch for these key indicators:
- The mixture starts to look grainy and clumpy, with small butter granules forming.
- The liquid buttermilk separates visibly from the solid fat.
- The texture becomes rich and creamy, perfect for flavor enhancement in your dishes.
- Regularly monitoring the process helps ensure optimal product quality and prevents over-churning.
Being attentive guarantees you stop at the right moment for the best flavor and consistency. Catching these signs early ensures your butter will have that smooth, creamy texture you desire.
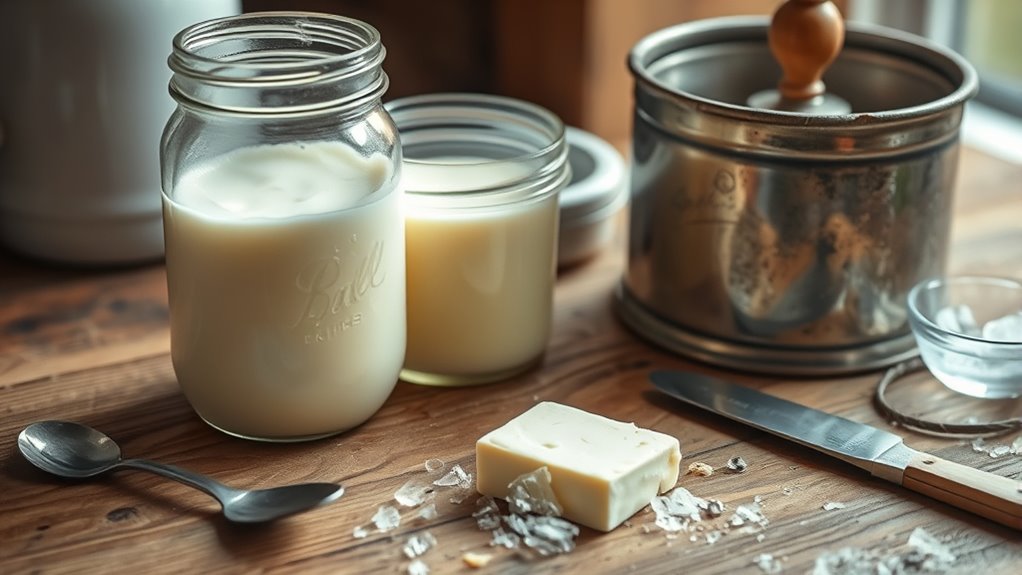
Rinsing and Removing Excess Buttermilk
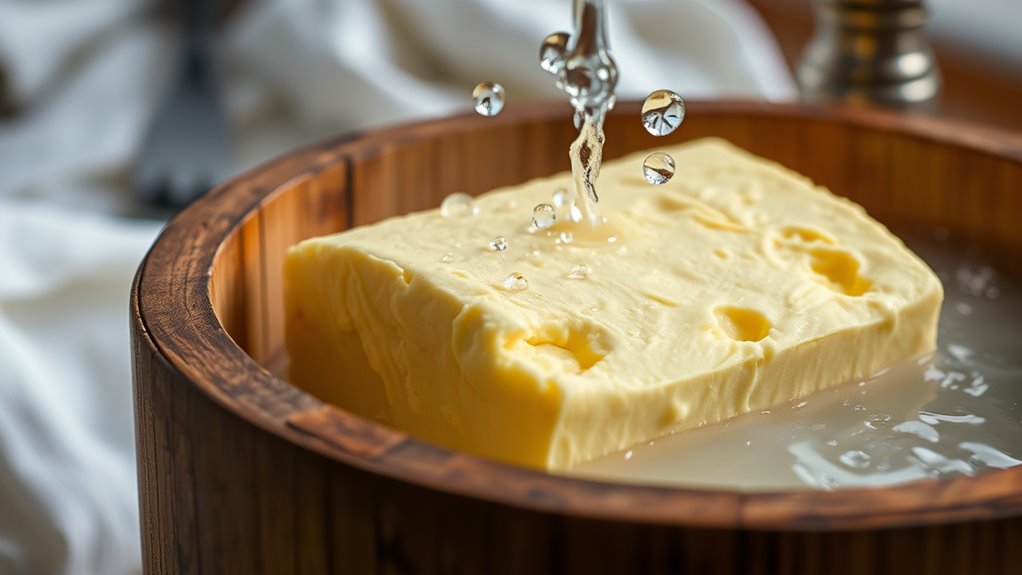
Once you’ve successfully separated the butter from the buttermilk, it’s vital to rinse the butter thoroughly to remove any remaining liquid. Proper rinsing ensures effective buttermilk removal and prevents spoilage. Use cold water and gentle rinsing techniques to wash the butter. Fill a bowl with cold water, add the butter, and knead it gently with your hands or a spatula, working to loosen and wash away residual buttermilk. Drain the cloudy water and repeat the process until the rinse water runs clear. This step helps eliminate excess buttermilk, which can cause the butter to spoil faster. Be careful not to overwork the butter during rinsing, as it can affect texture. Proper rinsing is vital for fresh, clean homemade butter. Consistent messaging about rinsing techniques can help maintain the quality and shelf life of your homemade butter.
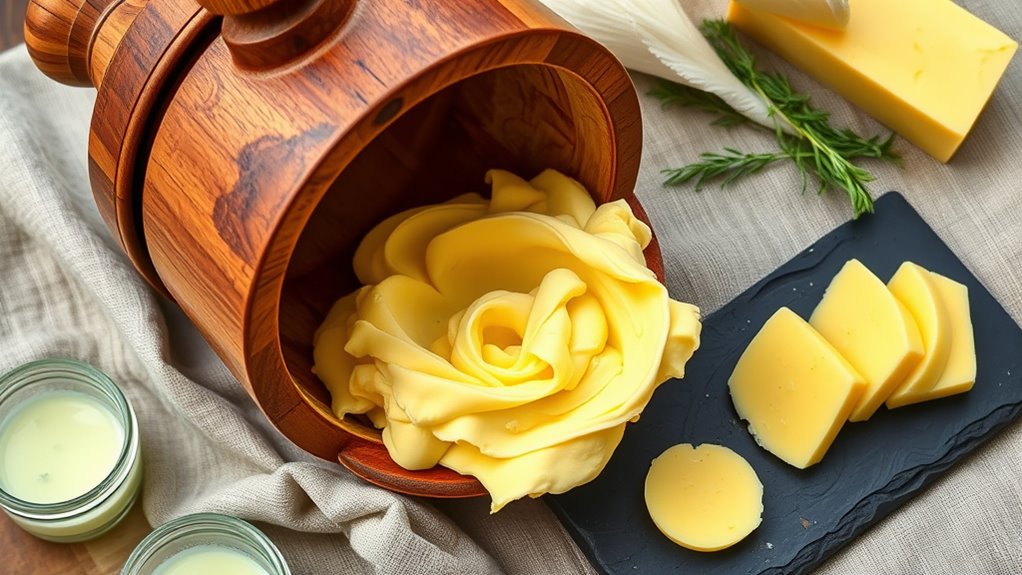
Kneading and Shaping Your Homemade Butter
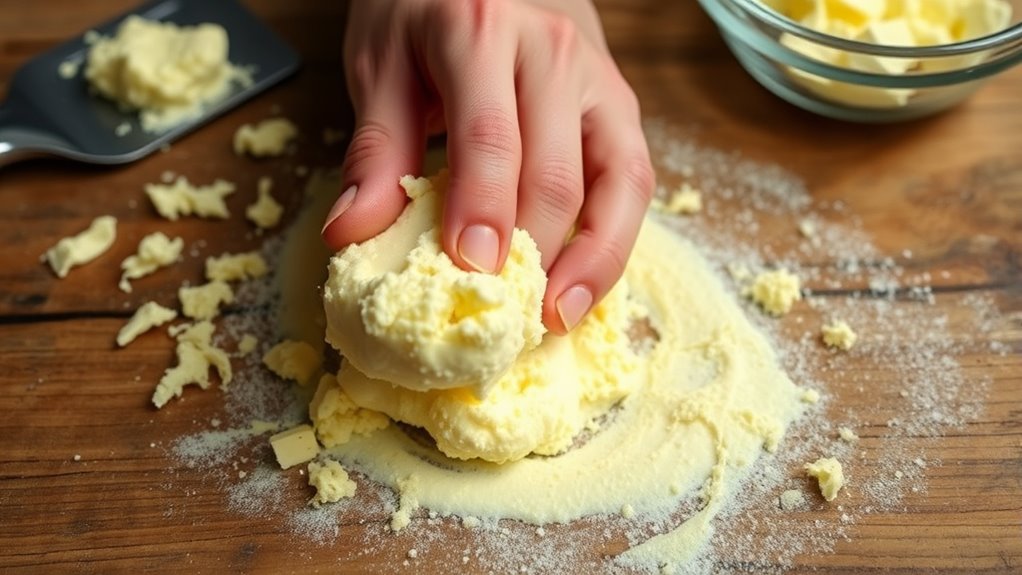
Once you’ve rinsed your butter, it’s time to knead it to achieve the right texture. Be gentle but firm to guarantee it’s smooth and consistent. When shaping, handle it carefully to create neat, attractive blocks or rolls that are ready to use. Incorporating automation technology can streamline your kitchen process and ensure uniform results.
Subheading 1: Properly Knead for Texture
Properly kneading your homemade butter is essential to achieving the right texture. It helps develop the cream fermentation process, resulting in a smooth, consistent consistency. During kneading, you can also explore different butter variations by incorporating herbs or salt. To guarantee the best outcome, follow these steps:
- Gently press and fold the butter to distribute moisture evenly, avoiding overworking it.
- Adjust kneading time based on desired texture—less for softer butter, more for firmer.
- Taste and tweak your butter by adding flavorings during the final kneading stage.
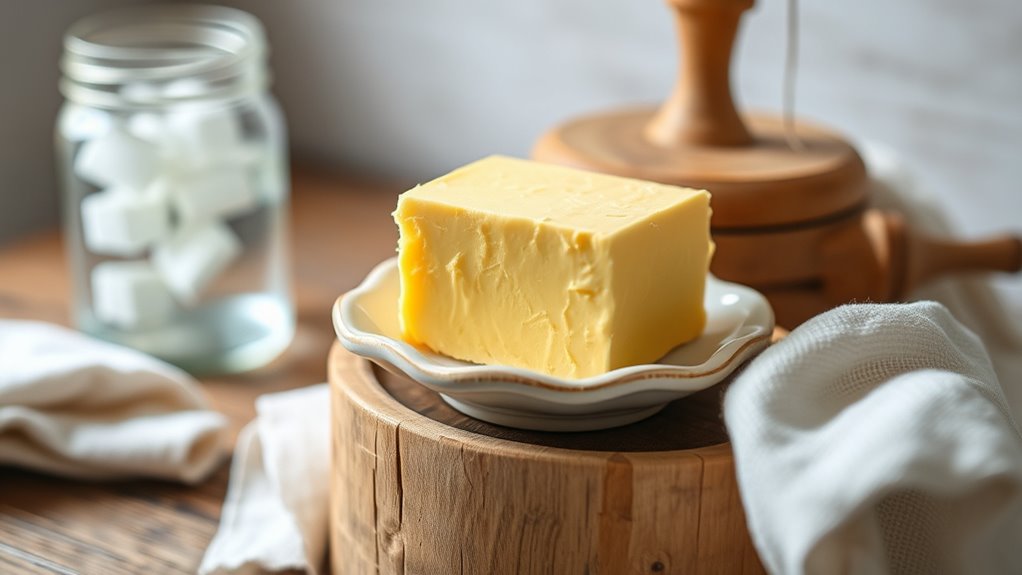
Subheading 2: Shape With Care
To shape your homemade butter with care, focus on handling it gently to preserve its smooth texture. Start by pressing the butter into your chosen storage containers, ensuring even distribution. Be mindful of the butter’s color; a consistent, vibrant hue indicates freshness and good mixing. When shaping, avoid overworking the butter, as this can affect its texture and appearance. Use a spatula or your hands lightly to mold it into a block or roll, maintaining its uniformity. Once shaped, cover the butter with a cloth or lid to prevent browning or absorbing odors. Proper shaping not only improves presentation but also makes storage easier. Incorporate rustic decor elements like vintage butter molds or farmhouse-style containers to enhance the aesthetic appeal. Store your butter in airtight containers in the refrigerator to keep it fresh and ready for your next delicious use.
Flavoring and Adding Final Touches
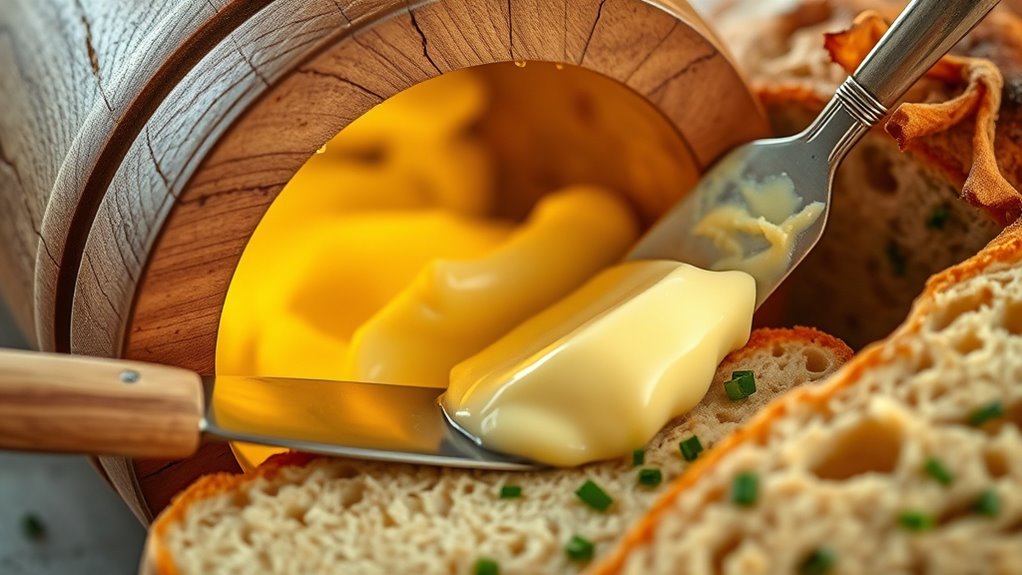
Ever wondered how a simple pat of butter can elevate a dish from good to exceptional? It’s all about flavoring and adding finishing touches. You can customize your butter with various flavoring options to enhance your cooking. Here are three ways to do it:
- Mix in herbs like parsley, thyme, or chives for a fresh, vibrant taste.
- Add a dash of spices such as smoked paprika or cayenne for a smoky or spicy kick.
- Stir in lemon zest or honey to introduce bright or sweet accents.
These finishing touches not only boost flavor but also give your butter a personal flair. Whether spreading it on bread or melting it over vegetables, these simple enhancements make your butter more memorable and elevate your dishes effortlessly.
Storing Your Fresh Butter Safely
Since fresh butter is perishable, storing it correctly is essential to maintain its quality and prevent spoilage. Follow simple storage tips to keep your butter fresh longer. Keep it in an airtight container or wrap it tightly in wax paper or foil to prevent exposure to air and odors. Store butter in the refrigerator at around 35-40°F (1.5-4°C), which slows bacterial growth and preserves flavor. For longer preservation, you can freeze butter, wrapping it well to avoid freezer burn. Use labeled containers to track freshness. Avoid leaving butter out at room temperature for extended periods, as warmth encourages spoilage. Proper storage methods guarantee your butter stays fresh, flavorful, and safe to enjoy whenever you need it.
Tips for Perfect Butter Every Time
Achieving perfect butter every time starts with paying attention to quality ingredients and precise techniques. Start by sourcing fresh, high-quality cream; the flavor depends on it. Always use cold cream to guarantee ideal churning results. Next, focus on butter storage: keep your butter in an airtight container in the fridge to maintain freshness and prevent absorption of odors. Incorporating artistic techniques such as gentle kneading can also help improve texture and consistency. Here are three tips for perfection: 1. Use fresh cream from trusted sources for richer flavor. 2. Chill your tools and cream for better churning results. 3. Rinse the butter thoroughly after churning to remove buttermilk, enhancing shelf life and flavor. Following these steps ensures you get creamy, flavorful butter every time. Proper cream sourcing and storage are key to achieving consistent, high-quality results.
Frequently Asked Questions
Can I Make Butter With Non-Dairy Cream Alternatives?
Yes, you can make butter with non-dairy cream. Using plant-based alternatives or non-dairy cream works well for this. Just chill the cream, then whip it vigorously until it separates into butter and buttermilk. Keep in mind that some plant-based options may vary in fat content, so choose a high-fat non-dairy cream for the best results. Enjoy your homemade non-dairy butter!
How Long Does Homemade Butter Stay Fresh Without Preservatives?
Homemade butter typically stays fresh for about one week when stored properly in the fridge. To prevent spoilage, keep it in an airtight container and avoid exposing it to heat or light. If you want it to last longer, consider freezing it for up to three months. Proper storage duration and spoilage prevention are key to maintaining its quality and flavor, so always check for signs of rancidity before use.
Is It Possible to Make Flavored Butter During the Churning Process?
Imagine the thrill of creating your own flavored butter—yes, during the churning process! You can infuse flavors directly using infusion techniques, adding herbs, spices, or zest as the butter forms. This method guarantees the flavors meld beautifully, giving your butter a unique twist. So, yes, during churning, you can craft delicious flavored butter, elevating your culinary experience with fresh, infused spreads straight from the churn.
What Are Common Mistakes That Prevent Proper Butter Formation?
You might struggle with proper butter formation if you overwhip the cream, turning it into butter and buttermilk instead of just churning it. Also, using improper temperature, like too warm or cold cream, can hinder the process. Make sure to keep your cream at the right temperature and stop whipping once butter solids form. Avoid overwhipping, and you’ll achieve smooth, well-formed butter every time.
Can I Reuse Leftover Buttermilk for Other Recipes?
Yes, you can reuse leftover buttermilk for other recipes. To do so, store it in an airtight container in the fridge, ideally within two days of making butter. Leftover buttermilk is great for baking pancakes, biscuits, or making salad dressings. Always use clean utensils when handling it to prevent spoilage. Proper buttermilk storage tips guarantee it stays fresh longer and maintains its flavor for your culinary creations.
Conclusion
Now that you know how to turn cream into butter in just minutes, remember—you’re not just making butter, you’re creating magic at your own kitchen table. With each step, you’re transforming simple ingredients into something special. So, embrace the process and savor the moment; after all, isn’t it amazing how a little churn can turn everyday cream into golden delight? Your homemade butter is more than a condiment—it’s a tribute to your skill and patience.