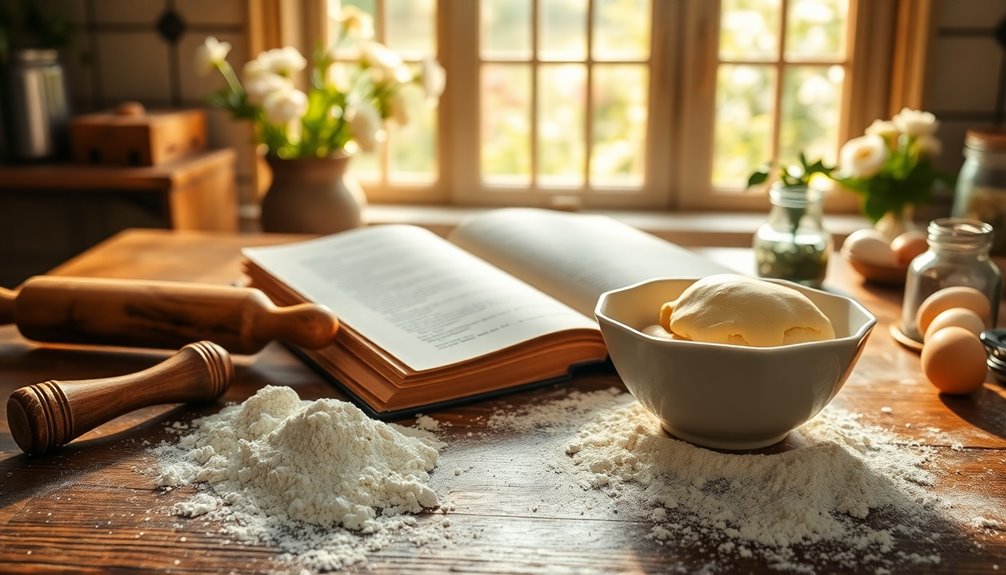
Gluten-free baking can be rich and delicious with a buttery twist. Start by creaming unsalted butter and mixing in sugars for a rich base. Use a gluten-free flour blend and don't forget to chill the dough – it makes a difference! You can add fresh herbs or low-moisture cheese to elevate the flavor. Once you shape and rest your dough, you'll be ready for a mouthwatering treat. Stick around to discover more tips and tricks!
Key Takeaways
- Utilize brown butter in your gluten-free recipes to enhance richness and depth of flavor.
- Chill your buttery dough for at least 30 minutes to improve texture before baking.
- Experiment with fresh herbs like rosemary or thyme to add savory notes to your baked goods.
- Incorporate low-moisture cheese at room temperature for better mixing and flavor.
- Allow your dough to rest for 24 hours for optimal texture and taste before baking.
History
The history of gluten-free baking began to take shape in the early 20th century as awareness of celiac disease emerged, creating a need for diets free of gluten.
By the 1970s, commercial gluten-free flours like rice flour and tapioca starch made baking accessible for those with gluten intolerance.
The 1990s brought a surge in gluten-free cookbooks, offering innovative recipes that catered to a growing audience.
As the gluten-free food movement gained momentum in the 2000s, grocery stores filled with gluten-free products and specialized baking mixes.
Today, gluten-free baking showcases diverse cooking techniques, allowing for delicious, buttery treats that appeal not just to gluten-free eaters but to everyone who appreciates great flavors and textures.
Recipe
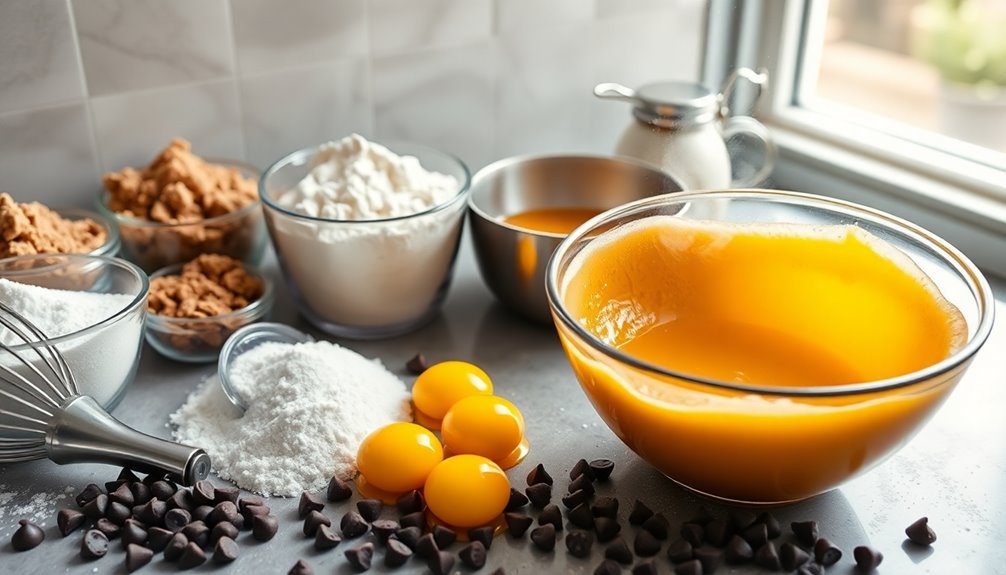
Ingredients:
- 1 cup unsalted butter
- 2 cups gluten-free flour blend
- 1 teaspoon baking soda
- ½ teaspoon salt
- ¾ cup brown sugar, packed
- ½ cup granulated sugar
- 2 large egg yolks (weighed for accuracy)
- 1 teaspoon vanilla extract
- 1 cup chocolate chips
Instructions:
Begin by preheating your oven to 350°F (175°C).
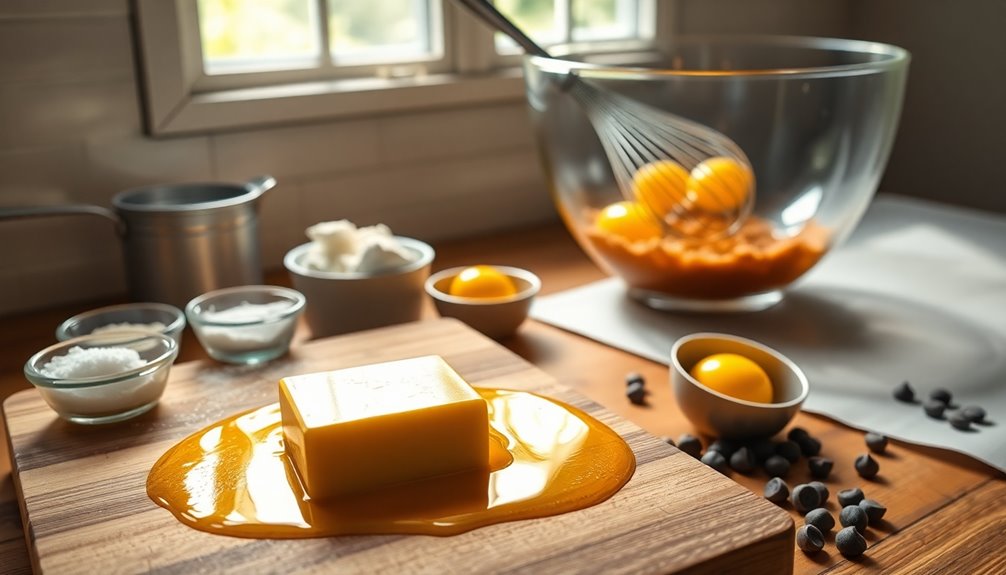
In a saucepan, melt the butter over medium heat, stirring frequently until it turns a deep golden brown and has a nutty aroma.
In a separate bowl, whisk together the gluten-free flour, baking soda, and salt.
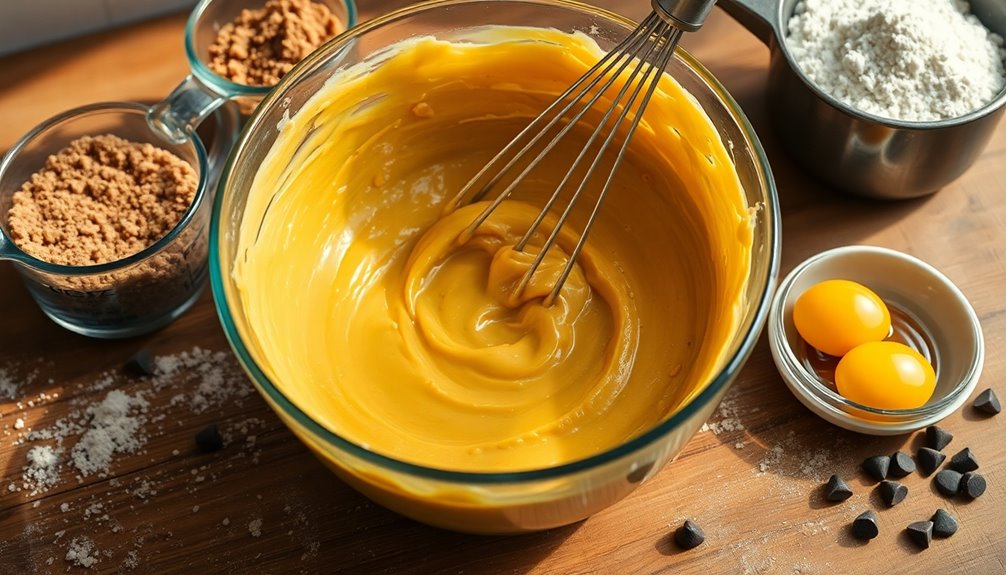
In a large mixing bowl, combine the browned butter with the brown sugar and granulated sugar, mixing until smooth.
Add the egg yolks and vanilla extract, stirring until well combined.
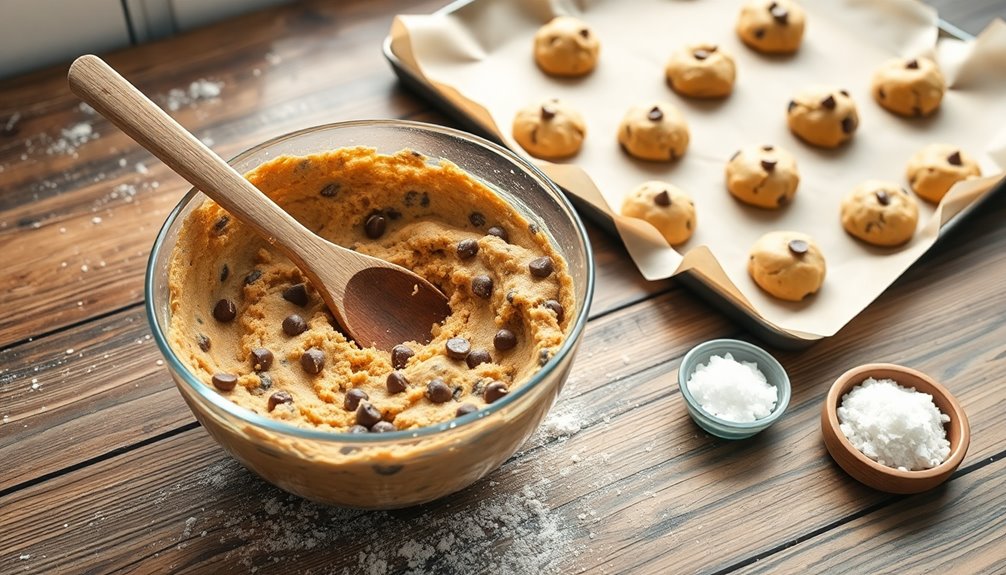
Gradually incorporate the dry ingredients, then fold in the chocolate chips.
Drop spoonfuls of dough onto a lined baking sheet and bake for 10-12 minutes or until the edges are golden.
Extra Tips:
For the best results, allow the cookie dough to chill in the fridge for at least 30 minutes before baking.
This helps the flavors develop and prevents the cookies from spreading too much during baking.
Additionally, if you're not planning to eat all the cookies within three days, consider freezing them.
They freeze well and can be enjoyed later by simply thawing them at room temperature.
Enjoy your baking!
Cooking Steps
When you start cooking gluten-free dough, focus on preparing a buttery base that sets the stage for flavor. Adding herbs and folding in a cheese mixture can elevate your dish, making it truly special. Once you've twisted and shaped the dough, brushing it with melted butter will give it that irresistible golden finish. Using high-quality grass-fed butter can enhance both the taste and nutritional value of your baked goods.
Step 1. Prepare the Buttery Dough
To prepare the buttery dough, start by creaming unsalted butter until it's light and fluffy, as this step is essential for incorporating air and achieving a tender texture.
Gradually add sugar to the creamed butter, mixing until fully incorporated to enhance the richness of the dough.
Next, incorporate beaten eggs one at a time, ensuring each is fully mixed before adding the next.
In a separate bowl, combine your gluten-free flour blend, xanthan gum, and a pinch of salt.
Gradually add this dry mixture to the wet ingredients, mixing until just combined to avoid overworking the dough.
Finally, chill the dough for at least 30 minutes before baking to improve texture and prevent spreading, resulting in a more stable final product.
Step 2. Add Herbs for Flavor
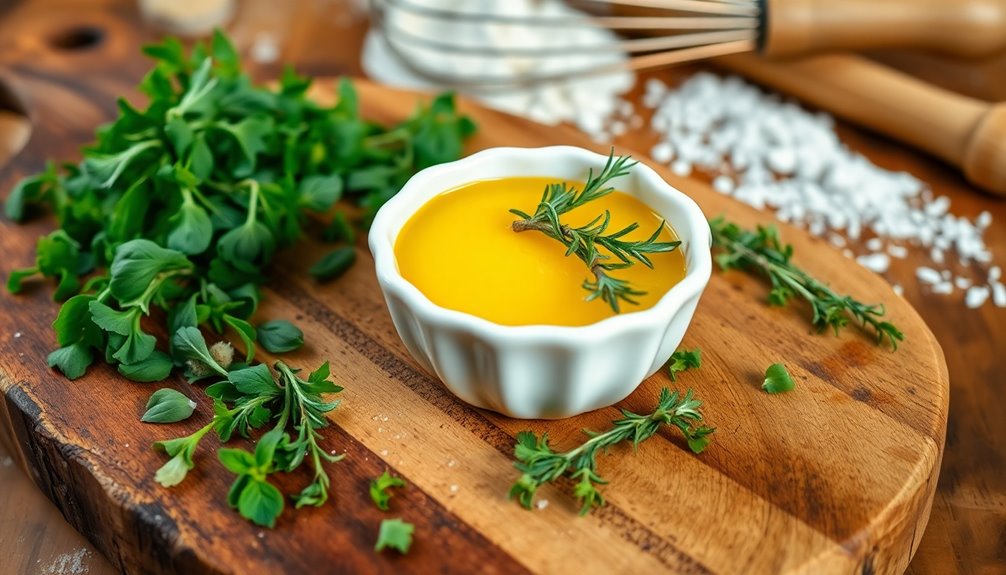
Adding herbs to your gluten-free dough can transform the flavor profile and elevate your baked goods. To start, consider incorporating fresh herbs like rosemary, thyme, or basil for maximum flavor complexity.
Finely chop these herbs before adding them; this helps release essential oils, enhancing their aromatic qualities. If you prefer dried herbs, mix in 1-2 teaspoons per cup of gluten-free flour for even distribution.
Experiment with combinations, like garlic paired with parsley or dill with lemon zest, to create a savory profile. This not only boosts the taste but also adds a multi-dimensional flavor to your baking. Additionally, using herbs can enhance the nutritional benefits of your baked goods, providing essential vitamins and minerals.
Step 3. Fold in Cheese Mixture
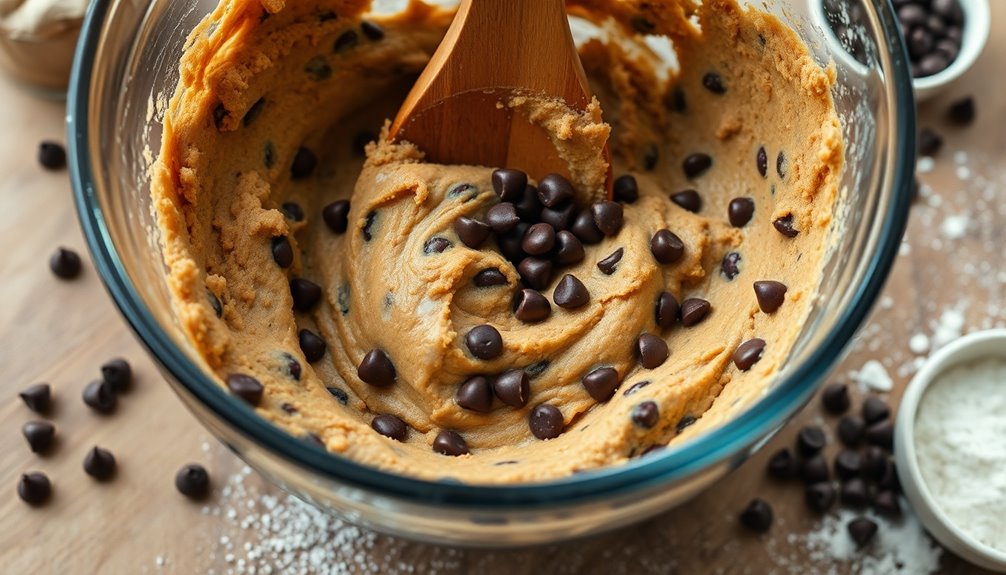
Incorporating cheese into your gluten-free dough takes your baking to the next level, complementing those flavors from the herbs you just added.
Start by ensuring your cheese mixture is at room temperature; this helps you easily fold it in without clumping. Use a rubber spatula to scoop from the bottom of the bowl and lift the mixture over the top.
Begin with a small portion of the cheese, mixing it in thoroughly before gradually incorporating the rest. This technique helps create a beautiful marbled effect.
Be careful not to overmix; the goal is an evenly distributed cheese that maintains the dough's lightness. Opt for low-moisture cheese to prevent excess moisture from affecting your final product. Additionally, using unsalted sweet cream butter allows for precise flavor control in your baking.
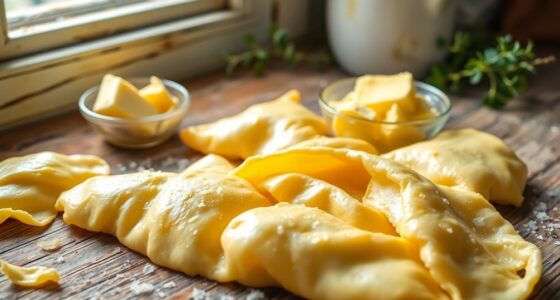
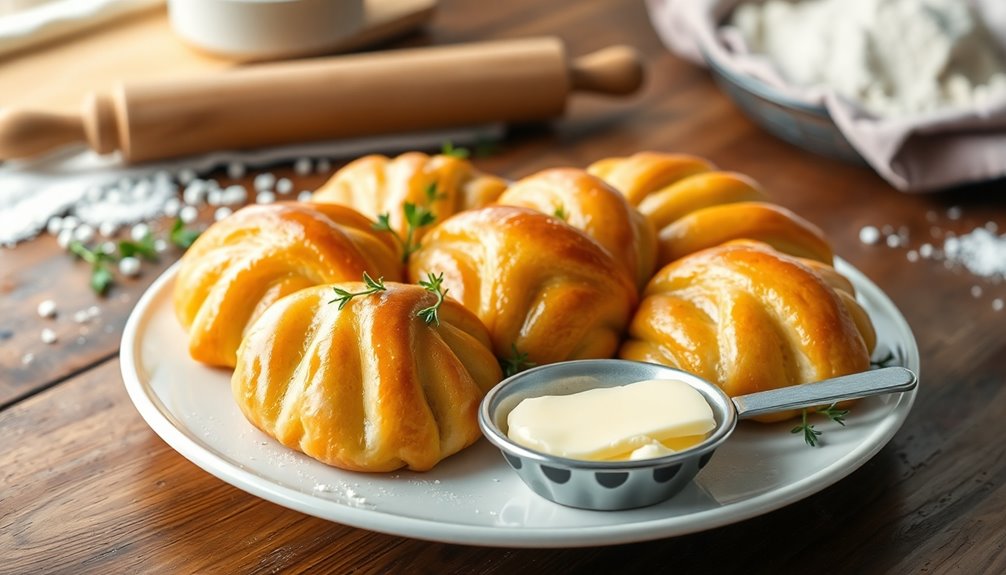
Step 4. Twist and Shape the Dough
Start shaping your dough by rolling it out into a 12×20-inch rectangle.
Make sure it's thinly rolled-out to maximize layers and flavor. Spread your filling evenly over the surface, then roll it tightly into a 20-inch log, with the seam facing down for a neat finish.
Use a lightly oiled serrated knife to cut the log lengthwise, exposing the filling and allowing for a beautiful twist.
Twist the two halves with the cut sides facing up to create a stunning braided effect, enhancing the rustic charm of your gluten-free bread.
Finally, roll the twisted braid into a snail shape, tucking the end underneath, and transfer it to a skillet for proofing before baking.
Enjoy the process!
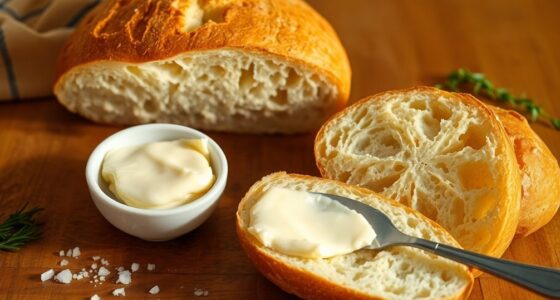
Step 5. Brush With Melted Butter

Brushing your gluten-free bread with melted butter not only enhances its flavor but also gives it a beautiful, glossy finish. For the best results, use unsalted butter, allowing the natural flavors of your ingredients to shine.
You can melt the butter in the microwave or on the stovetop—just avoid boiling it to prevent separation. Once melted, grab a pastry brush for evenly spreading the butter across your baked goods.
Brushing before baking will create a richer flavor, while post-baking application adds moisture and shine. This technique will make your gluten-free creations visually appealing and delicious.
Final Thoughts

While gluten-free baking can seem daunting, it opens up a world of delicious possibilities. By incorporating a high-quality gluten-free flour blend and brown butter, you can enhance the flavor and achieve a delightful texture in your baked goods.
Allowing your cookie dough to rest for at least 24 hours develops a chewy, tender result that's hard to resist. For that perfect balance, bake until you achieve a crispy outer layer with a soft center.
Frequently Asked Questions
What Is the Secret to Moist Gluten-Free Baking?
The secret to moist gluten-free baking lies in using the right combination of ingredients. Incorporate moisture-rich elements like sour cream or yogurt, and mix different gluten-free flours for a richer texture.
Don't forget to add fats like butter or oil, which help create a tender crumb. Chilling the dough before baking allows moisture to distribute evenly, and including extra liquids like milk or eggs prevents dryness, ensuring your baked goods stay moist and delicious.
What Flour Is Best for Gluten-Free Baking?
When you're choosing the best flour for gluten-free baking, consider almond flour for its moisture and richness or coconut flour for a light texture.
Gluten-free all-purpose blends like King Arthur Measure for Measure work great too. Don't forget to mix in some starches, like tapioca, for structure.
Experimenting with different flours can lead to unique flavors, so have fun finding what you love best. Just remember to measure by weight for accuracy!
How to Make Gluten-Free Baked Goods Fluffy?
Imagine trying to bake a cloud-shaped cake. To make your gluten-free baked goods fluffy, combine gluten-free flours like tapioca, sorghum, and millet.
You'll need to add psyllium husk or xanthan gum for structure. Ensure your dough's slightly sticky by using enough liquid ingredients.
Whip the egg whites separately and fold them in for extra air. This way, your treats will rise beautifully, achieving that light, airy texture you're aiming for!
How Can You Improve the Texture of Gluten-Free Baked Goods?
To improve the texture of gluten-free baked goods, you can start by incorporating fats like butter or oil for moisture and richness.
Using eggs, especially yolks, adds structure and a tender crumb.
Blend gluten-free flours with stabilizers like xanthan gum to enhance elasticity.
Adding yogurt or sour cream boosts moisture, while chilling the dough helps solidify fats, creating a stable structure and reducing spreading during baking.
These tips will elevate your gluten-free creations!