Nostalgic butter desserts are a delightful way to revisit grandma's treasured recipes that create cherished memories. These classic treats, rich with butter, not only enhance flavor and texture but also connect you to your family's culinary heritage. They encourage bonding during family gatherings, inspiring the sharing of stories and traditions. By adapting these beloved recipes, you can honor the past while creating new memories for future generations. Discover how to bring these sweet traditions back to life in your kitchen.
Key Takeaways
- Nostalgic butter desserts evoke childhood memories and reinforce family traditions through cherished recipes passed down from grandmothers.
- Classic butter desserts enhance richness and flavor, making them a staple in family gatherings and celebrations.
- Preparing these desserts fosters a sense of belonging, connecting generations through shared cooking experiences and stories.
- Adapting traditional recipes for contemporary tastes encourages creativity while preserving culinary heritage for future generations.
- Desserts serve as a centerpiece for family bonding, enhancing celebrations with creamy textures paired with nostalgic flavors.

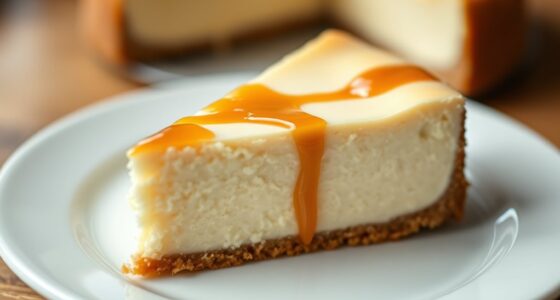
365 by Whole Foods Market Graham Cracker Pie Crust, 6 OZ
Two 6 ounce graham cracker pie crusts
As an affiliate, we earn on qualifying purchases.
As an affiliate, we earn on qualifying purchases.
History
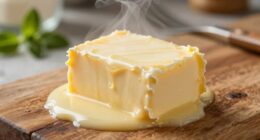
Nostalgic butter desserts have deep roots in early American home cooking, where you'd often find butter as a key ingredient that added richness to baked goods.
These treasured recipes, often passed down from grandmas, reflect the regional influences and locally sourced ingredients of their time. In the 19th and early 20th centuries, advancements in baking technology made it easier for families to create these comforting butter desserts at home.
As you savor these treats, you connect with cherished family memories and cultural heritage, experiencing the warmth of shared culinary moments. Modern bakers can appreciate how butter's role in culinary traditions has evolved, allowing them to revisit and adapt these nostalgic flavors for contemporary tastes.
Today, as dietary preferences evolve, a renewed interest in classic butter dessert recipes allows modern bakers like you to revisit and adapt these nostalgic flavors for contemporary tastes.

Philadelphia Cream Cheese, 1 Block, for Recipes and Baking, Original Style, No Artificial Preservatives, Flavors or Dye, 8 oz
PHILLY CREAM CHEESE: One 8 oz block of Philadelphia Original Cream Cheese
As an affiliate, we earn on qualifying purchases.
As an affiliate, we earn on qualifying purchases.
Recipe
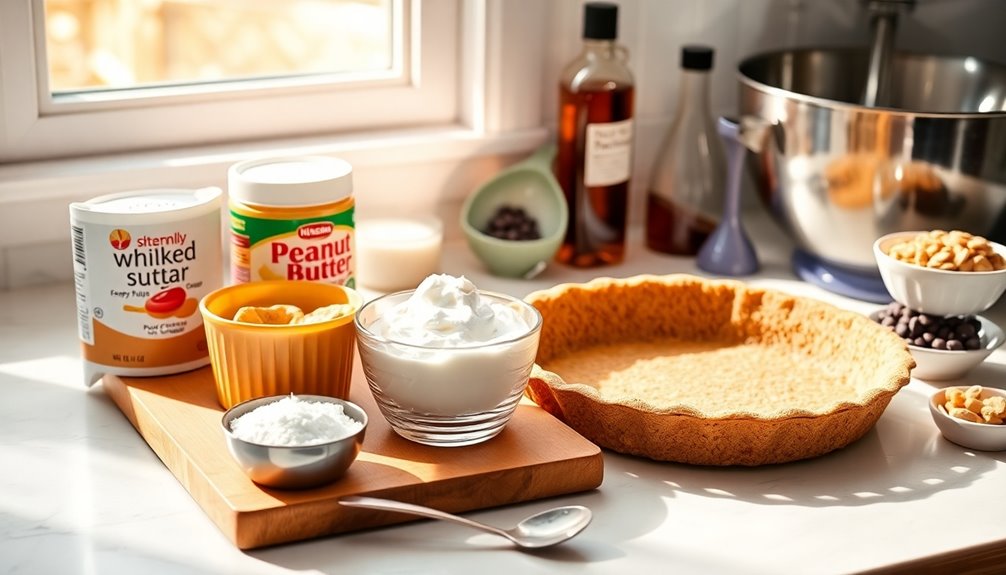
Ingredients:
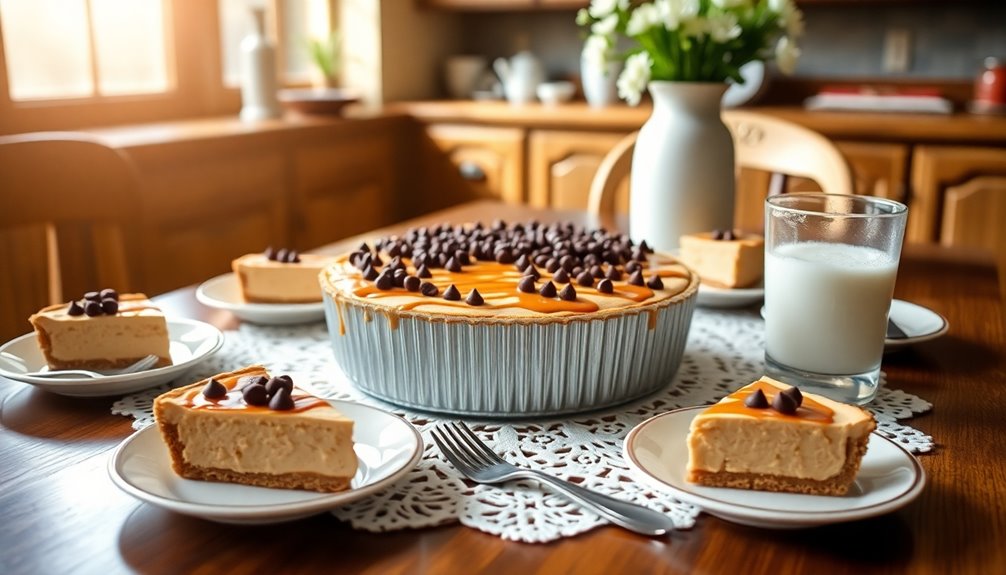
- 1 pre-made graham cracker pie crust
- 1 cup creamy peanut butter
- 1 cup powdered sugar
- 8 oz cream cheese, softened
- 1 cup whipped topping
- 1 teaspoon vanilla extract
- Optional: chocolate chips, chopped peanuts, or caramel for topping
Instructions:
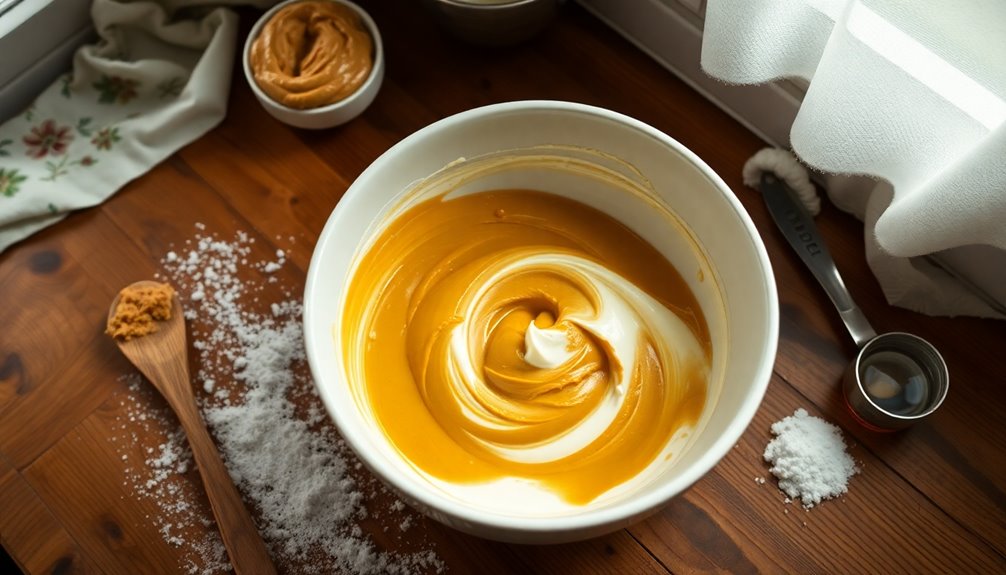
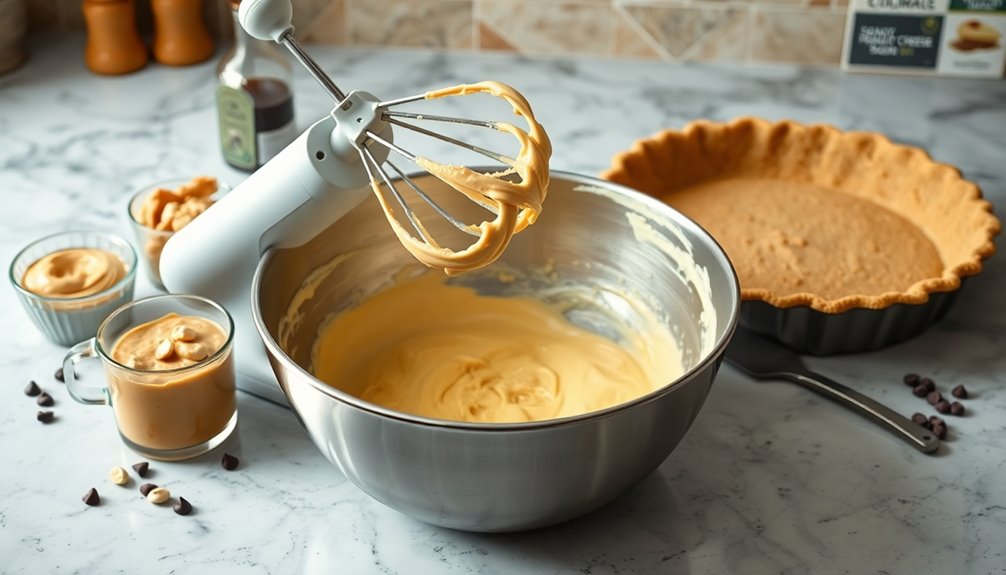
In a large mixing bowl, combine the softened cream cheese and peanut butter, and beat with a hand mixer until smooth and creamy.
Gradually add in the powdered sugar and vanilla extract, mixing until fully incorporated.
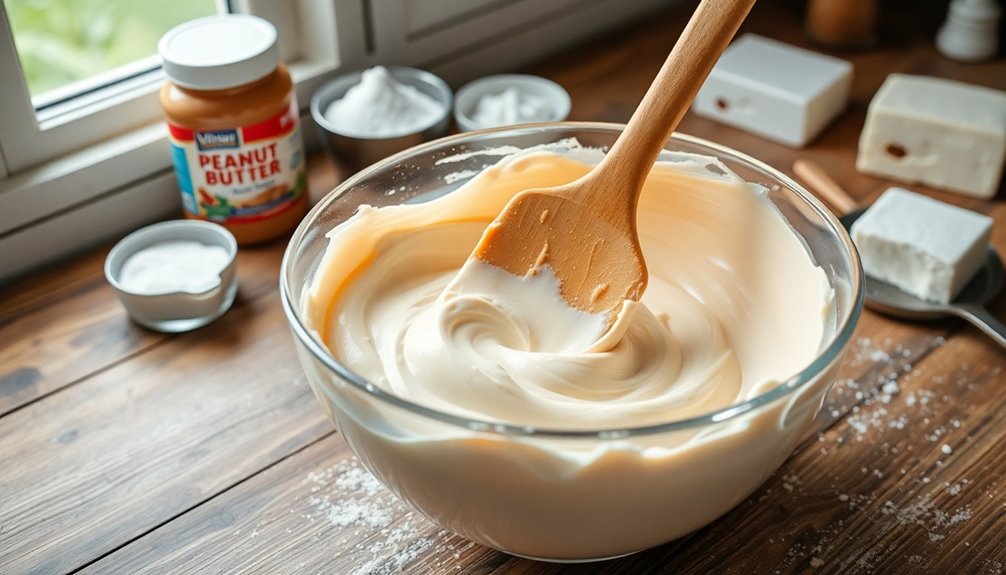
Gently fold in the whipped topping until the mixture is light and airy.
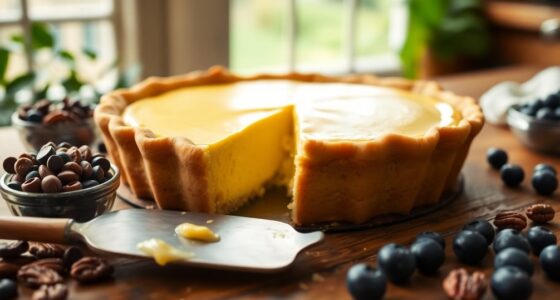
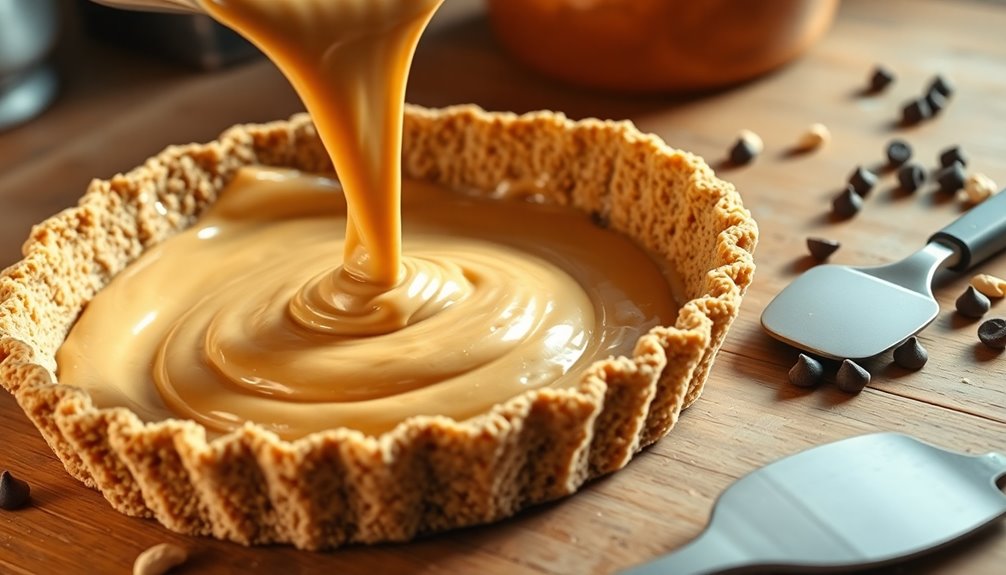
Pour the peanut butter filling into the pre-made graham cracker crust and spread it evenly.
Refrigerate for at least 4 hours or until set, allowing the flavors to meld beautifully.
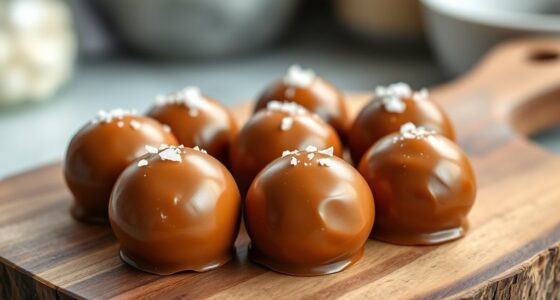
Before serving, feel free to garnish with chocolate chips, chopped peanuts, or a drizzle of caramel for an extra touch.
Extra Tips:
For the best results, make sure your cream cheese is at room temperature before mixing, as this will help achieve a smooth consistency without lumps.
If you want to add a bit of crunch, consider mixing in some chopped peanuts into the filling.
Additionally, this pie can be made a day in advance, making it a perfect dessert for gatherings.
Just remember to keep it refrigerated until you're ready to serve! Furthermore, using butter storage techniques can help maintain the freshness of your ingredients.

Hamilton Beach 6-Speed Electric Hand Mixer with Whisk, Traditional Beaters, Snap-On Storage Case, 250 Watts, White
NO MORE LOST BEATERS: The snap-on storage case that comes with the Hamilton Beach hand mixer neatly holds…
As an affiliate, we earn on qualifying purchases.
As an affiliate, we earn on qualifying purchases.
Cooking Steps
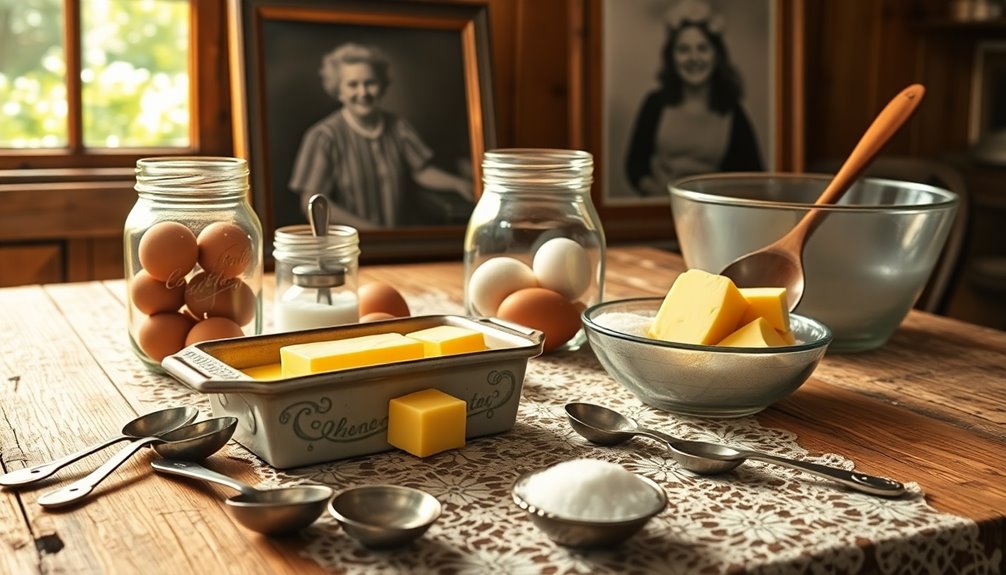
To kick off your nostalgic butter dessert, start by gathering all your ingredients and tools.
Once you've got everything ready, mix the dry ingredients thoroughly before combining the wet ones.
Don't forget to fold in that creamy peanut butter for an extra layer of flavor! Additionally, using unsalted sweet cream butter will give you precise control over the flavor profile of your dessert.
Step 1. Gather Ingredients and Tools
Gathering the right ingredients and tools is crucial for whipping up those delightful butter desserts. Start by gathering ingredients like flour, sugar, butter, baking powder, and eggs.
Don't forget any special additions, such as chocolate chips or nuts, that you might want to include from Grandma's recipes.
Next, ensure you have the necessary tools on hand: mixing bowls, measuring cups and spoons, a whisk or electric mixer, and a baking sheet suited for your chosen dessert.
Before diving in, preheat your oven to the required temperature, usually between 350°F to 375°F.
Lastly, prepare your workspace by cleaning and organizing your tools and ingredients, making the cooking process smooth and enjoyable. Consider using specialized butter tools to enhance your butter preparation and ensure the best results.
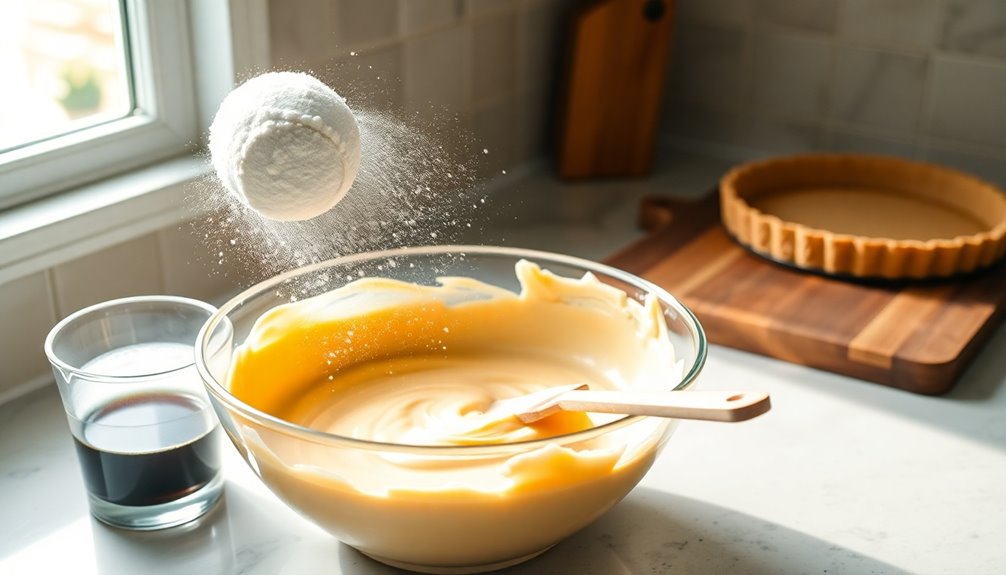
Step 2. Mix Dry Ingredients Thoroughly
Once you've got your ingredients and tools ready, it's time to focus on mixing the dry ingredients thoroughly.
Start by combining flour, baking powder, baking soda, and salt in a bowl. Use a whisk or sifter to aerate the flour, creating that light and fluffy texture you want in your dessert.
If your recipe calls for spices like cinnamon or nutmeg, mix them in now for a sweet and tangy flavor boost. This step is crucial because mixing dry ingredients evenly activates leavening agents, ensuring a perfect balance in your baked treat.
Don't forget to sift powdered sugar or cocoa powder to eliminate lumps, resulting in a smooth, uniform batter or frosting.
Happy baking!
Step 3. Combine Wet Ingredients Together
As you prepare to combine the wet ingredients, measuring out items like melted butter, eggs, and liquids such as milk or vanilla extract is essential for accurate proportions.
In a mixing bowl, whisk the melted butter with the eggs until fully blended, creating a smooth mixture. Gradually add your liquid components, like milk or whipped cream, while continuing to whisk to maintain an even consistency.
If you're using sugar, mix it in now, ensuring it dissolves completely for a uniform sweetness throughout your dessert. Allow the combined wet ingredients to sit for a few minutes before adding them to the dry ingredients.
This step enhances the flavors, creating that delightful essence reminiscent of Grandma's recipe.
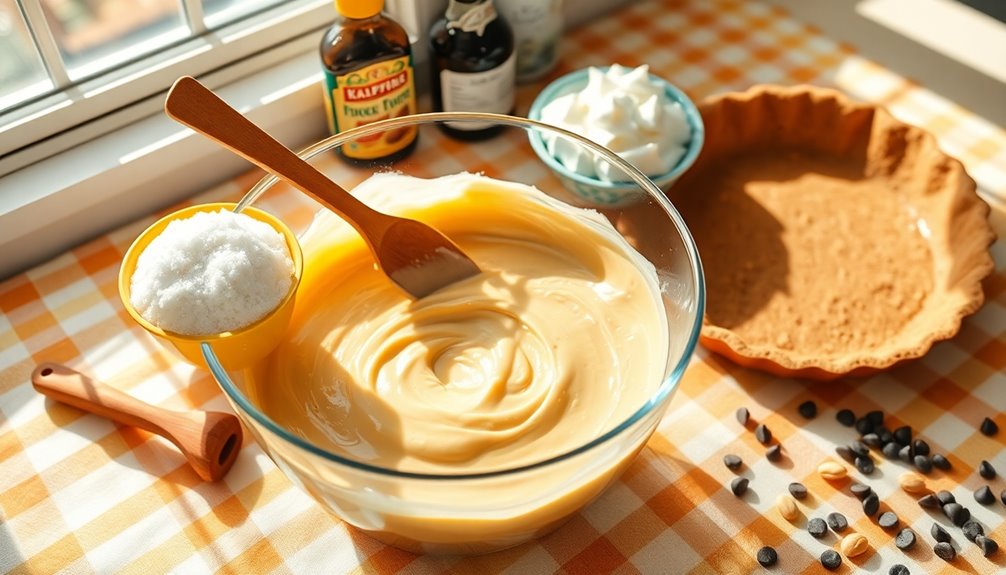
Step 4. Fold in Peanut Butter
Before you fold in the peanut butter, make sure it's at room temperature; this makes it easier to blend smoothly into your mixture.
Start by mixing the peanut butter with a portion of the sugar or dry ingredients to enhance the flavor before folding it into the wet ingredients.
Use a spatula to gently lift and turn the mixture over the peanut butter, taking care not to overmix, which can create a dense texture.
If you prefer a smoother dessert, go for creamy peanut butter; for added texture, crunchy peanut butter works great too.
Always taste the batter after folding in the peanut butter to adjust sweetness if needed, ensuring your sweet potato dessert recipes are just right! Additionally, using herbal teas like chamomile after enjoying your dessert can promote relaxation and aid digestion.
Step 5. Pour Batter Into Prepared Pan
Pouring the batter into your prepared pan is a crucial step that sets the stage for your dessert's success. Before you start pouring, make sure your baking pan is well greased or lined with parchment paper to prevent sticking.
Use a spatula to gently spread the batter evenly across the pan, ensuring it reaches all corners for uniform baking. This will help your cake rise evenly and achieve a perfect texture.
Don't forget to tap the pan lightly on the counter to release any trapped air bubbles. Fill the pan no more than two-thirds full to give the batter room to rise without overflowing.
Always check your recipe for specific pouring techniques needed for different types of batters! Additionally, consider incorporating nutrient-rich ingredients like fruits or nuts to enhance the flavor and texture of your dessert.
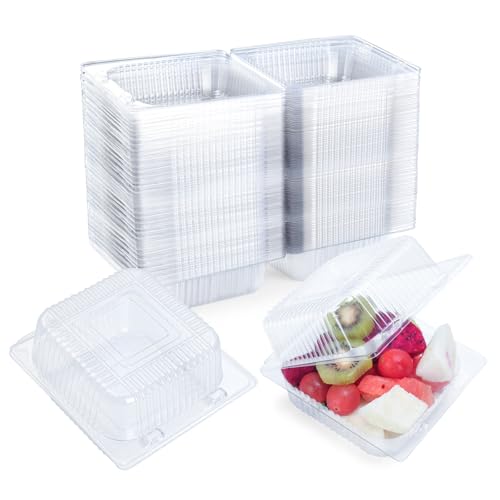
Evnlo 100 Count Clear Plastic Containers with Lids for Food, Thickened Disposable Sandwich Containers Clamshell Boxes for Cake Slice, Dessert, Hamburger, Salad, Pastry, Fruits, Takeout Tray
Thickened Design: Made from sturdy, extra-thick PET plastic, these food containers are sturdy and transparent, showing off your…
As an affiliate, we earn on qualifying purchases.
As an affiliate, we earn on qualifying purchases.
Final Thoughts
While you might think of nostalgic butter desserts simply as treats, they hold a deeper significance by connecting us to our past and the loved ones we've shared them with. Each bite of homemade apple pie or a slice of rich Bundt cake brings back cherished memories, reminding you of family gatherings filled with laughter and warmth.
The creamy texture of vanilla ice cream paired with these desserts enhances the experience, making it even more special. By recreating these classic recipes, you not only preserve your culinary heritage but also create new memories to share with future generations.
Embrace the comfort and richness that butter adds, and let these nostalgic butter desserts bring your family together for sweet celebrations.
Frequently Asked Questions
What Are Nostalgic Desserts?
When it comes to nostalgic desserts, they're like a warm hug from your childhood.
These classic recipes, often passed down through generations, evoke strong memories, connecting you to family traditions.
Think of rich flavors like apple pie or chocolate chip cookies, easily made with simple ingredients.
Whether enjoyed at special occasions or during cozy gatherings, these desserts create lasting memories and remind you of simpler times with every delicious bite.
What Was the Most Popular Dessert in 1955?
In 1955, the most popular dessert you'd likely encounter was the Jell-O mold. This vibrant, colorful treat graced family gatherings and potlucks, often layered with fruits for added flair.
The rise of convenience foods also made no-bake desserts like icebox cakes a favorite, thanks to their simplicity.
Chocolate cake, especially with rich frosting, was a staple for birthdays, while fruit cobblers and pies celebrated seasonal flavors, reflecting cherished home-baked traditions.
What Desserts Did They Eat in the Old World?
Imagine sitting around a rustic table, savoring a slice of warm apple strudel, its flaky pastry revealing sweet, cinnamon-spiced apples.
In the Old World, desserts like this were common, made with simple ingredients like flour, sugar, and seasonal fruits. Families often baked rich butter tarts and pound cakes, using wood-fired ovens for that unique flavor.
These treats not only satisfied sweet cravings but also connected generations through shared recipes and cherished traditions.
What Was the Most Popular Dessert in 1956?
In 1956, the classic Jell-O dessert stood out as one of the most popular treats. Its vibrant colors and easy preparation made it a favorite at family gatherings and potlucks.
You'd often see it on tables, showcasing its appeal across generations. Alongside Jell-O, boxed cake mixes like Betty Crocker's chocolate cake gained traction, making baking quick and convenient.