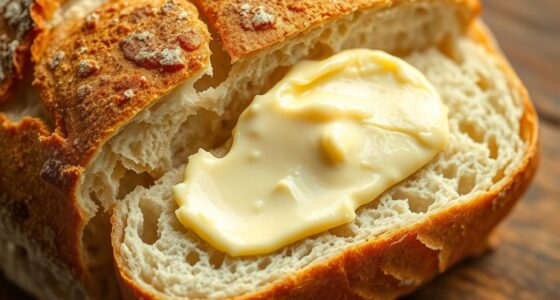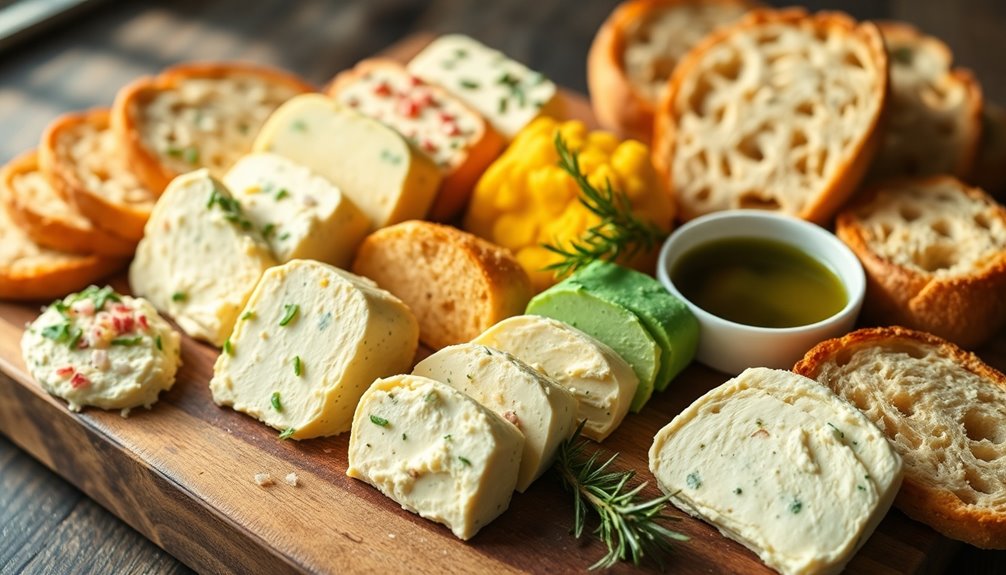

To elevate your bread-dipping experience, try making compound butters infused with herbs, garlic, or even sweet flavors like honey. Simply blend softened unsalted butter with your choice of ingredients, chill, and shape it into logs for easy storage. Whether you're enjoying savory or sweet combinations, these butters add a gourmet touch to your meals. Discover unique recipes and helpful tips to make your bread-dipping a memorable experience.
Key Takeaways
- Compound butters enhance bread-dipping experiences with unique flavor combinations, offering both savory and sweet options.
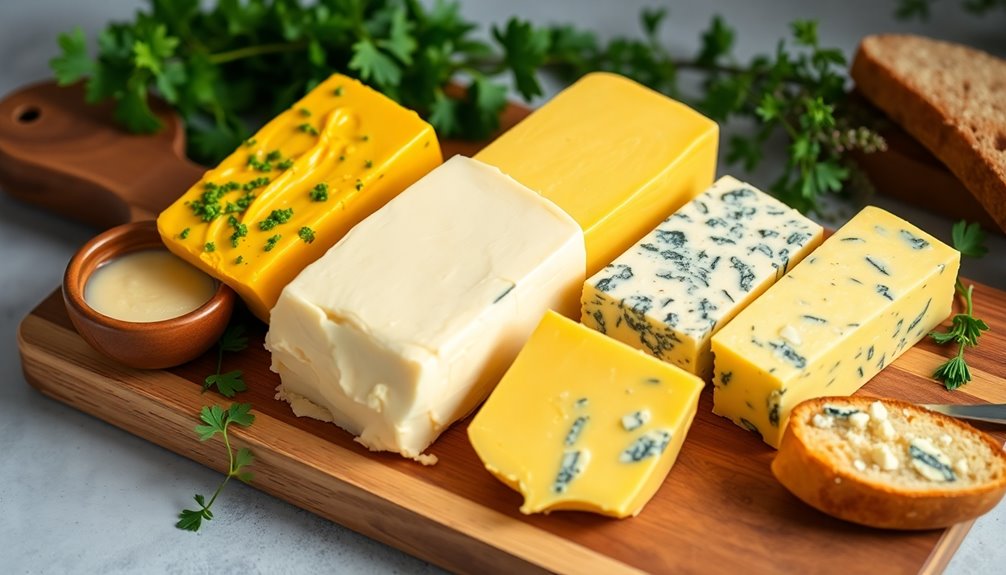
- Popular varieties include Garlic Herb Butter, Honey Butter, and Lemon Herb Compound Butter, each adding distinct flavors.
- Use high-quality unsalted butter for better control over flavor and seasoning in your compound butter creations.
- Chill the butter mixture for at least 30 minutes to allow flavors to meld before shaping into logs for storage.
- Pair compound butters with different breads or even desserts like ice cream to elevate your dining experience.
History
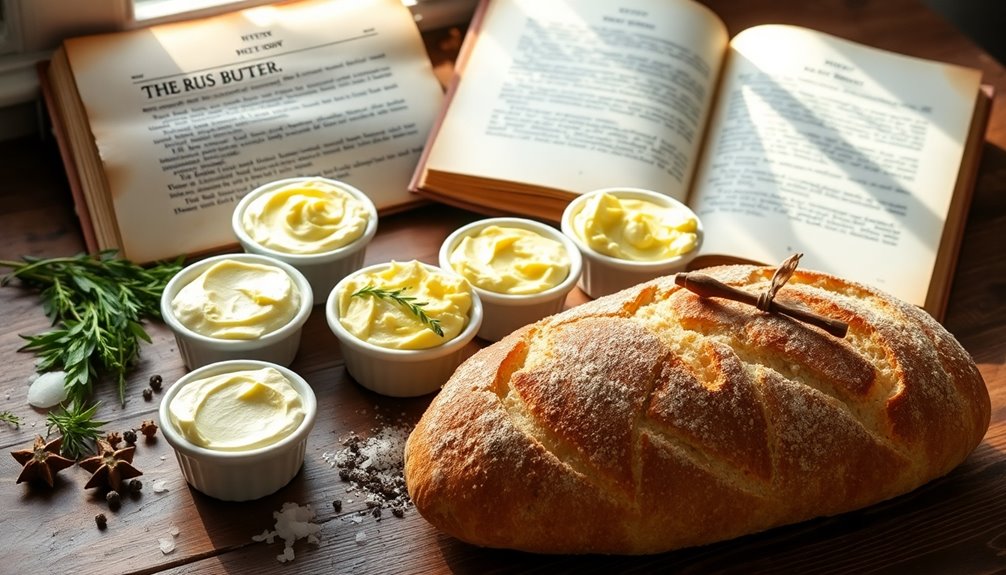
Since ancient times, people have been blending butter with herbs and spices to enhance flavors, a practice that first emerged in French cuisine.
The concept evolved into what we now know as compound butter, or "beurre composé." By the 19th century, this versatile ingredient became a staple in French cooking, complementing a wide array of dishes.
As gourmet cuisine gained popularity in the 20th century, flavored butters found their way into upscale restaurants, showcasing their rich history and culinary potential.
Today, you see a resurgence in modern cooking, as home cooks experiment with unique flavor combinations. Butter infusers not only celebrate their historical significance but also demonstrate incredible versatility, making them a favorite for bread dipping and beyond.
Recipe
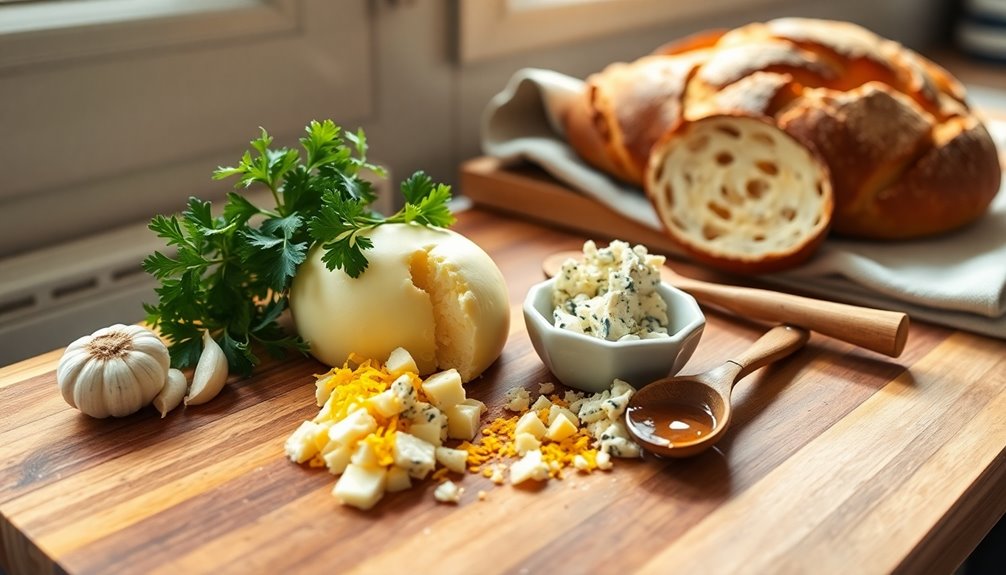
Ingredients:
- 1 cup unsalted butter, softened
- 3 cloves garlic, minced (for Garlic Herb Butter)
- 1/4 cup fresh parsley, chopped (for Garlic Herb Butter)
- 1/4 cup honey (for Honey Butter)
- Zest of 1 lemon (for Lemon Herb Compound Butter)
- 1/4 cup fresh herbs (like thyme or basil, for Lemon Herb Compound Butter)
- 1/4 cup blue cheese crumbles (for Blue Cheese Compound Butter)
- 1 small shallot, minced (for Blue Cheese Compound Butter)
- Pinch of salt
Cooking Instructions:
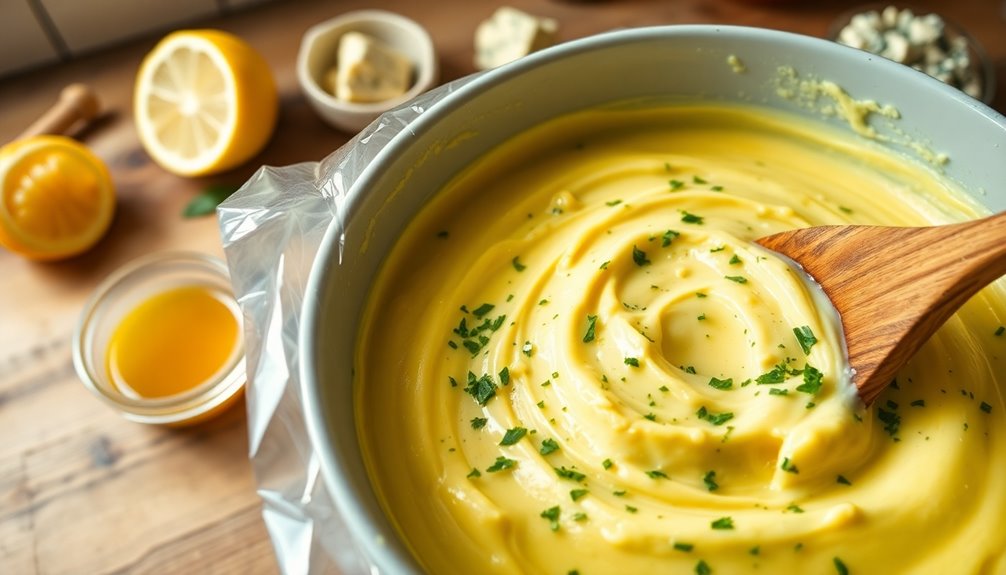
In a mixing bowl, combine the softened unsalted butter with your choice of flavorings based on the type of compound butter you want to make.
For Garlic Herb Butter, mix in the minced garlic, chopped parsley, and a pinch of salt.
For Honey Butter, blend the butter with honey and a touch of salt until smooth.
If you're going for Lemon Herb Compound Butter, add the lemon zest, fresh herbs, and salt.
For Blue Cheese Compound Butter, incorporate the blue cheese crumbles and minced shallots.
Once all ingredients are well combined, place the mixture onto a sheet of plastic wrap and shape it into a log.
Twist the ends of the wrap to seal and refrigerate until firm.
Extra Tips:
When making compound butters, feel free to experiment with different herbs, spices, and cheeses to create your unique flavor combinations.
You can also adjust the amount of salt and other ingredients to suit your taste.
For a more visually appealing presentation, consider rolling the log in chopped herbs or spices before refrigerating.
Additionally, use parchment paper instead of plastic wrap for a more eco-friendly option.
Compound butters can also be frozen for longer storage, allowing you to enjoy them even months later! Incorporating glycolic acid in your skincare routine can help maintain healthy skin, which is beneficial when preparing food.
Cooking Steps
To start making your compound butter, gather your favorite herbs and prepare to mix them with softened butter.
Once you've combined the ingredients thoroughly, chill the mixture before shaping it into logs.
Finally, wrap the logs in parchment paper to keep them fresh and ready for your next bread dipping adventure.
Step 1. Gather Your Favorite Herbs
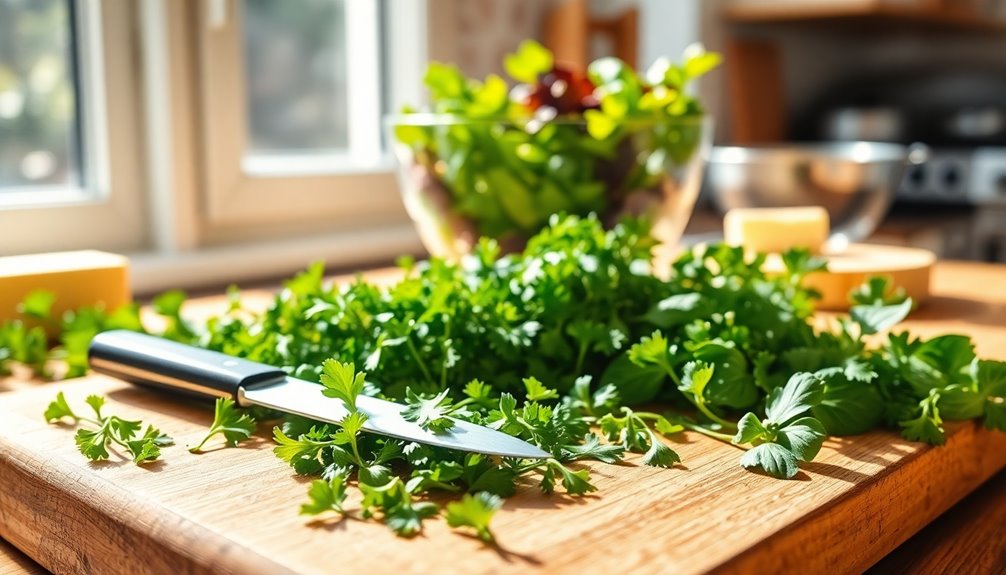
Herbs are the soul of a delicious compound butter, so choosing vibrant, fresh varieties like parsley, chives, dill, or thyme can elevate your bread dipping experience.
For a balanced flavor, aim for about 1 tablespoon of finely chopped fresh herbs per 1/2 cup of softened butter. Make sure to mince or chop the herbs finely; this ensures they blend seamlessly into the butter, enhancing both texture and taste.
You can also add other flavor enhancers, like garlic or citrus zest, to create a more complex and aromatic herb-infused butter.
Once you've prepared your mixture, store the compound butter in a log shape in the refrigerator for at least 2 hours, allowing the flavors to meld beautifully before serving.
Step 2. Combine Herbs and Butter
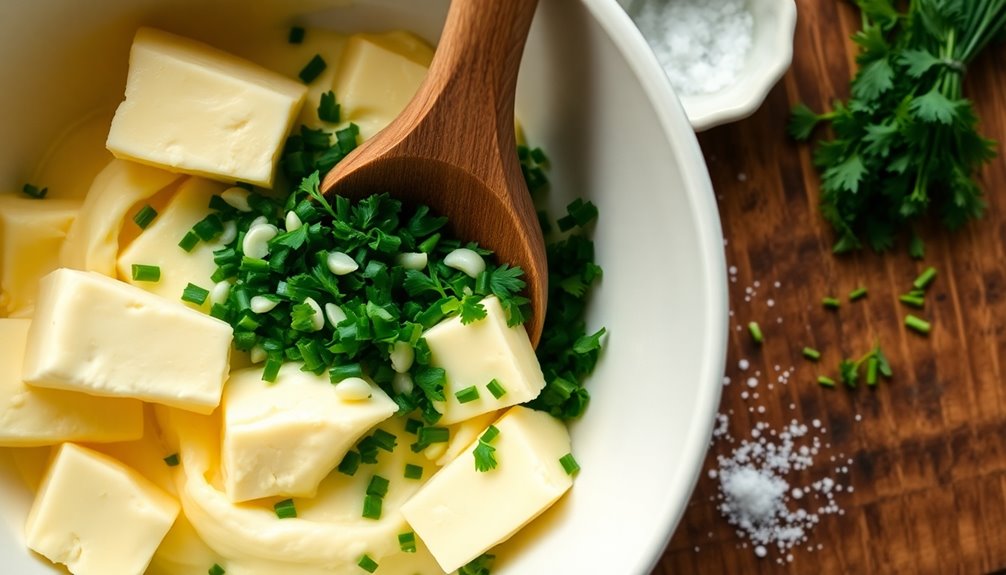
Now that you've gathered your favorite herbs, it's time to blend them with butter for a rich and flavorful compound.
Start by using unsalted butter softened to room temperature for optimal mixing. Finely mince your chosen herbs, like parsley or thyme, and mix them thoroughly with the butter.
If you like, add minced garlic for an extra kick, then season with salt and pepper to taste. Once everything's well combined, shape the herb-infused butter into a log using plastic wrap, twisting the ends to secure it.
Refrigerate for at least 2 hours to meld the flavors. When you're ready to serve, slice the chilled compound butter into discs and spread it on warm bread for an enhanced dipping experience.
Step 3. Chill Mixture Before Shaping
Once you've blended your herbs with the softened butter, it's essential to chill the mixture for at least 30 minutes. This step allows the flavors to meld together, resulting in a more cohesive and flavorful compound butter.
To make it easier to chill and shape later, spread the mixture evenly in a shallow dish or bowl. Once it's firm, the chilled butter will shape better, making it easier to roll into a butter log using plastic wrap. This prevents sticking and simplifies handling.
Step 4. Shape Into Logs
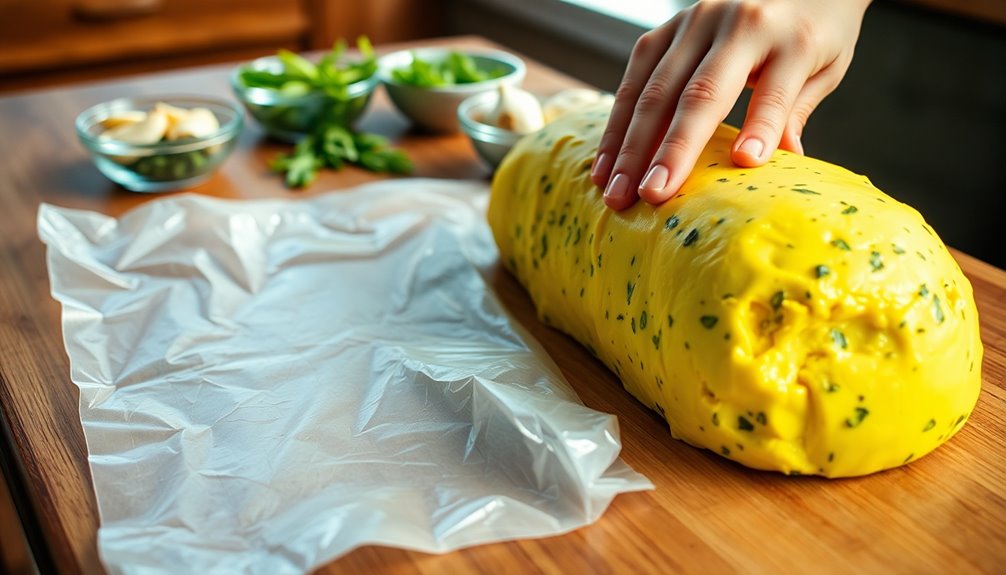
To shape your compound butter into logs, start by transferring the chilled mixture onto a sheet of plastic wrap or parchment paper.
Use the wrap to roll the butter mixture into a log shape, ensuring it's tightly packed to prevent air pockets. Aim for a diameter of about 1 to 2 inches for easy portioning into tablespoon-sized pats.
Twist the ends of the wrap to secure the log, creating a tight seal that maintains its shape during refrigeration.
Once shaped, refrigerate the log for at least 2 hours to firm it up. This step is essential for ensuring your sweet compound butter holds its shape when sliced, giving you fresh, perfectly portioned butter for dipping.
Step 5. Wrap in Parchment Paper
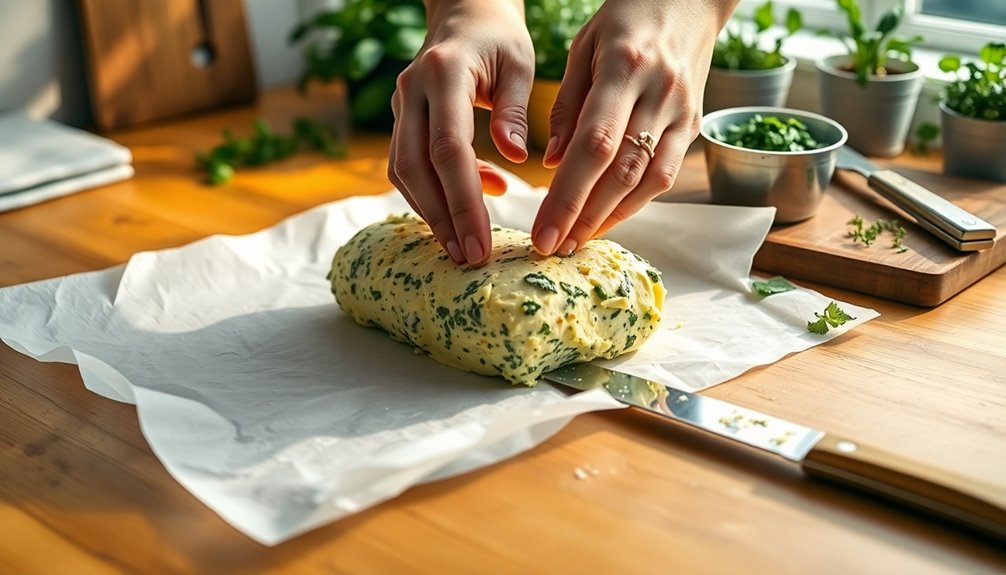
After you've shaped the compound butter into a log, the next step is to wrap it in parchment paper.
Place the log on a sheet of parchment, ensuring it's long enough to cover completely. Roll the paper tightly around the butter and twist the ends, just like wrapping a candy, to maintain its shape and keep out air.
For extra protection, you can wrap the parchment-covered butter in aluminum foil or store it in an airtight container to prevent freezer burn if you plan to store it in the freezer.
Don't forget to label the wrapped butter with the flavor and date.
When you're ready for some delicious garlic herb butter, simply unwrap and slice off a piece for bread dipping!
Final Thoughts
While exploring the world of compound butters, you'll discover how they can transform your bread-dipping experience.
By experimenting with various compound butter recipes, like garlic herb compound butter or sweet variations such as honey butter, you'll elevate the flavors of any bread, from garlic bread to artisan loaves.
Using high-quality unsalted butter allows you to make your own compound butters with precise flavor control, ensuring every bite is delicious.
Plus, you can easily store compound butter in the fridge or freezer, making it convenient for unexpected guests.
Whether you prefer savory options that complement dinner rolls or sweet spreads for breakfast, compound butters are a delightful addition to your culinary repertoire.
Adding a scoop of Birthday Cake Ice Cream alongside your bread can enhance the overall dining experience with a delightful balance of flavors.
Enjoy the rich flavors and versatility they bring!
Frequently Asked Questions
What's the Best Butter for Compound Butter?
When you're making compound butter, the best choice is unsalted butter. It gives you better control over the flavor.
Opt for high-quality, European-style butter, like Kerrygold, for its richer taste and creamier texture. Make sure it's softened to room temperature for easy mixing.
Avoid margarine or spreadable butter, as they contain additives that can compromise the flavor and texture. Stick to pure butter for the most authentic and delicious results.
What Is Gordon Ramsay's Compound Butter Recipe?
Imagine your kitchen turning into a gourmet restaurant with just one ingredient: Gordon Ramsay's compound butter.
To whip it up, mix softened unsalted butter with minced garlic, fresh parsley, chives, and a pinch of sea salt.
Shape it into a log using plastic wrap and chill it.
Let it sit for an hour to meld those vibrant flavors.
Trust me, this simple preparation elevates any dish, making your meals unforgettable.
How Long Does Compound Butter Need to Sit?
Compound butter needs to sit for at least 2 hours in the refrigerator after you prepare it.
This resting time allows the flavors to blend and develop a richer taste.
If you can wait longer, up to 24 hours is even better for optimal flavor.
Just remember to take it out about 15-20 minutes before you plan to use it, so it's soft and easy to spread or dip into.
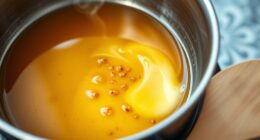
Should You Melt Butter for Compound Butter?
Melting butter for compound butter is like setting the stage for a great performance; it can enhance flavors but may change the final outcome.
If you want a smoother texture, melting works well, but remember to let it cool slightly to avoid cooking your ingredients.
If you prefer a spreadable consistency, stick with softened butter at room temperature.
Ultimately, it's about the texture and flavor you're aiming for in your dish.

From sneaky childhood butter licks to penning some of our most popular articles, Jamie’s journey with butter has been lifelong. His culinary background gives him a unique perspective, allowing him to craft mouthwatering articles that educate and tantalize equally. Jamie’s travel adventures revolve around finding the world’s best buttery treats when he isn’t writing.