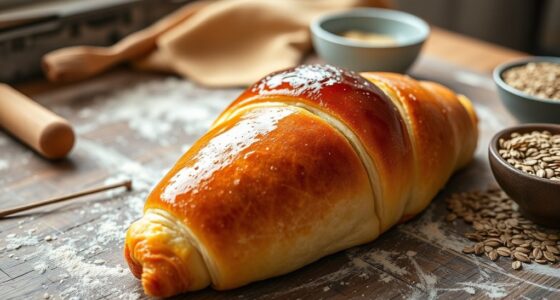
To achieve a perfect crust on your buttery rolls and buns, start by scalding milk to enhance texture, and don't forget to activate your yeast properly. Kneading is crucial—aim for a smooth, non-sticky dough. Monitor the dough's rise, using the poke test for readiness. An egg wash before baking promotes that golden crust. Finally, a bit of melted butter brushed on post-bake adds flavor. Stick around, and you'll discover more tips to elevate your baking skills!
Key Takeaways
- Use scalded milk to enhance the texture of the dough and create a rich flavor in the rolls.
- Incorporate steam in the oven during baking for a crustier outer layer.
- Maintain proper dough hydration for tender and flaky results in your rolls.
- Apply an egg wash before baking to achieve a beautiful golden-brown crust.
- Position the oven rack in the middle or upper middle for even baking and optimal crust development.
History

The history of buttery rolls and buns traces back to ancient civilizations, where early bakers combined simple ingredients like flour and water, often baking their creations on hot stones.
As time passed, particularly in medieval Europe, bread-making techniques evolved. Bakers began creating enriched doughs with butter and eggs, resulting in soft, rich rolls that delighted many.
The term "roll" emerged in the 16th century, derived from the French "rouleau," reflecting the shape of these early creations.
By the 19th century, the introduction of commercial yeast and improved milling processes made rolls widely accessible, turning them into staples in households and bakeries.
American buttery dinner rolls, influenced by European baking traditions, became especially popular, often gracing holiday tables as the perfect dinner rolls. Additionally, the importance of high-demand crops in the agricultural sector influenced the availability of ingredients for baking during various historical periods.
Recipe
Ingredients:
- 4 cups all-purpose flour
- 1/4 cup granulated sugar
- 1 tablespoon instant yeast
- 1 teaspoon salt
- 1 cup whole milk
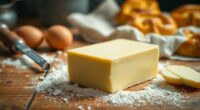
- 1/2 cup unsalted butter, softened
- 2 large eggs
- 1 egg (for egg wash)
Cooking Instructions:
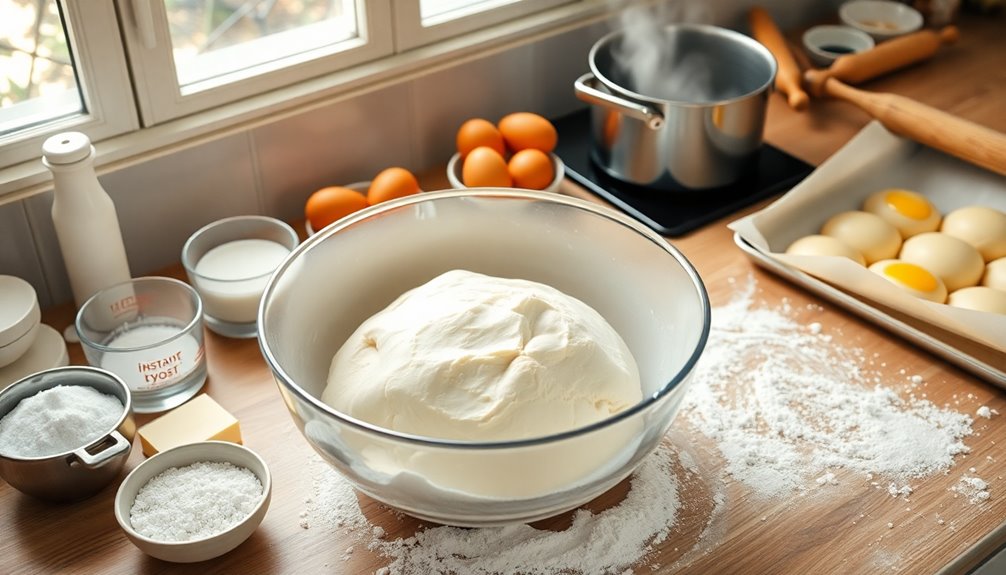
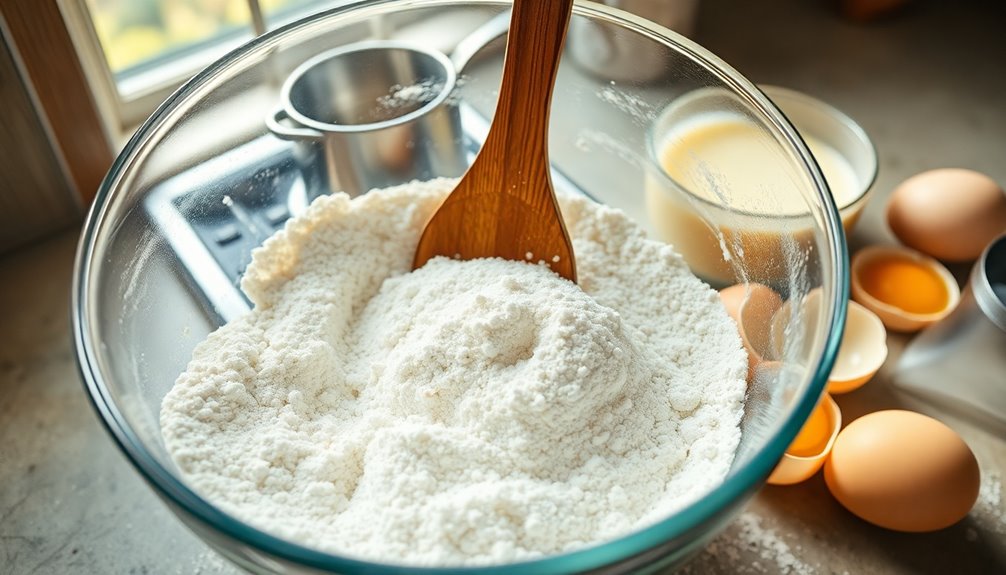
In a large mixing bowl, combine the flour, sugar, yeast, and salt.
In a saucepan, scald the milk and then let it cool slightly before adding the softened butter. Stir until the butter is melted, and then mix in the eggs.
Gradually incorporate the wet ingredients into the dry ingredients, mixing until a dough forms. Knead the dough on a floured surface or in a stand mixer until it's smooth and elastic.
Place the dough in a greased bowl, cover it, and let it rise in a warm place until it doubles in size, about 1 hour.
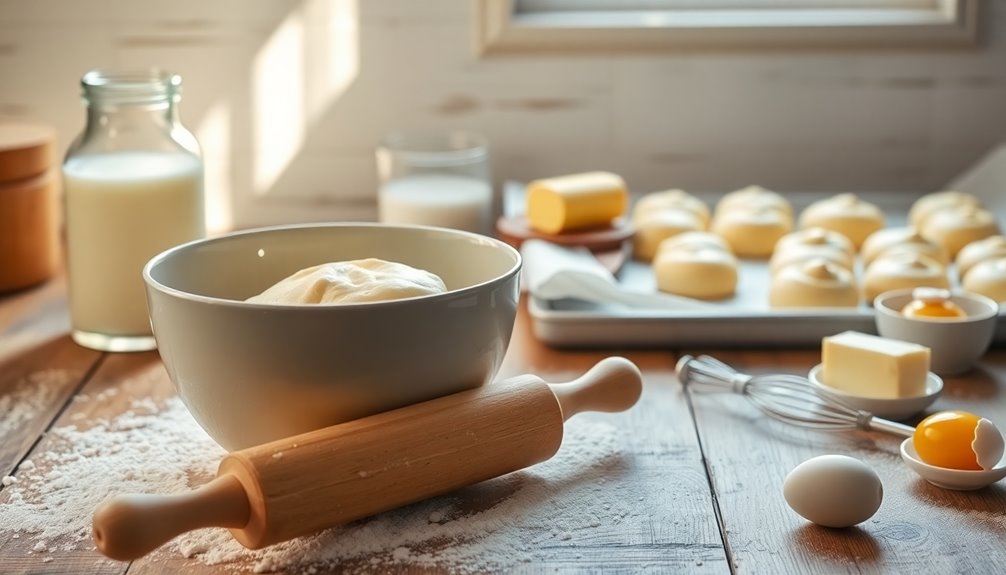
After rising, punch down the dough and divide it into portions of about 3 ounces each. Shape the portions into rolls and place them on a baking sheet lined with parchment paper.
Cover and let them rise again for about 30 minutes. Preheat your oven to 375°F (190°C).
Brush the tops with an egg wash made from the beaten egg, then bake for 15-20 minutes or until golden brown.
Extra Tips:
When making buttery rolls, ensure that the milk is scalded but not boiling, as this can affect the yeast's ability to rise.
Always check the temperature of your ingredients; they should be warm but not too hot when mixed with yeast to avoid killing it.
For added flavor, consider mixing herbs or garlic powder into the dough.
Let the rolls cool on a wire rack after baking to maintain their soft texture, and enjoy them fresh for the best taste!
Cooking Steps
To get started on your buttery rolls, you'll first need to activate the yeast mixture with warm milk, sugar, and yeast.
Once that's ready, knead the dough until it's smooth and elastic, then let it rest and rise.
After shaping the dough into rolls, cover them and give them a chance to puff up before baking. Additionally, using grass-fed butter in your recipe can enhance the flavor and nutritional benefits of your rolls.
Step 1. Activate the Yeast Mixture
While you prepare to activate the yeast mixture, start by scalding milk to about 180°F, which helps break down protein structures for a lighter roll texture.
Once it's scalded, let the milk cool to between 100-110°F. This temperature's crucial to activate the yeast without killing it.
In a bowl, combine the warm milk, sugar, and fresh yeast, stirring until everything dissolves. Allow the mixture to rest until it becomes bubbly and foamy, signaling that the yeast's active.
Remember, avoid mixing salt directly with the yeast during this stage, as it can inhibit the yeast's performance and prevent proper rising.
Using an instant-read thermometer ensures you maintain the right temperature for optimal yeast activation.
Step 2. Knead Until Smooth and Elastic
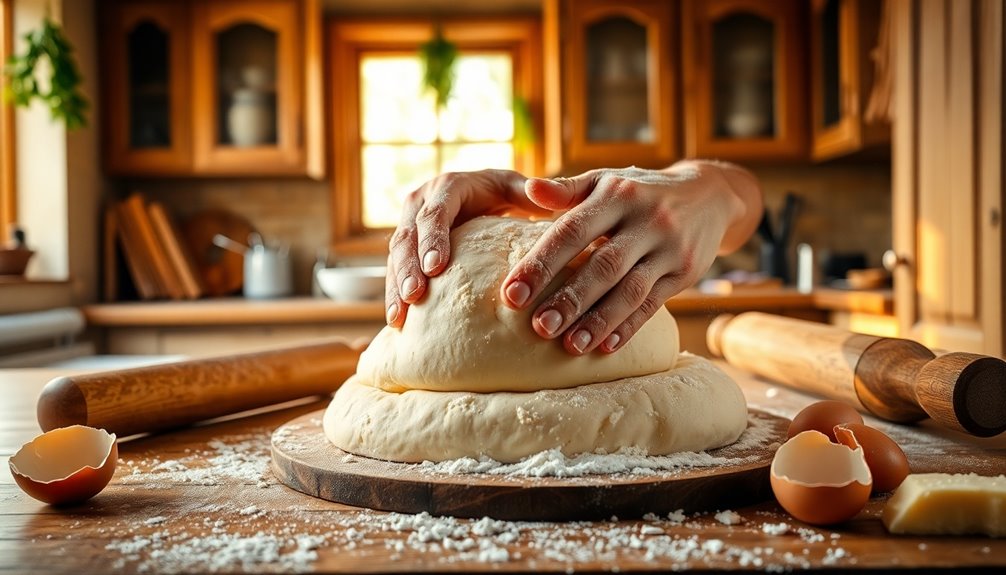
Kneading the dough is crucial for achieving that perfect texture in your buttery rolls and buns. You'll want to knead it for about 5 to 8 minutes in a stand mixer or around 10 minutes by hand.
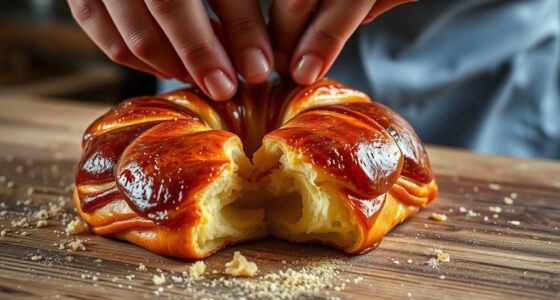
This process develops the gluten, giving your rolls the structure and elasticity they need. After kneading, the dough should feel smooth and non-sticky; if it sticks to your hands, add a touch of flour.
Properly kneaded dough can hold its shape in a ball and stretch without tearing. This step directly impacts the texture of your fluffy dinner rolls, ensuring they come out light and airy after baking. Additionally, consistent maintenance of air quality can enhance your overall cooking environment by reducing allergens and dust while you bake.
Pay attention to the dough's feel—it's your key to success!
Step 3. Let Dough Rest and Rise
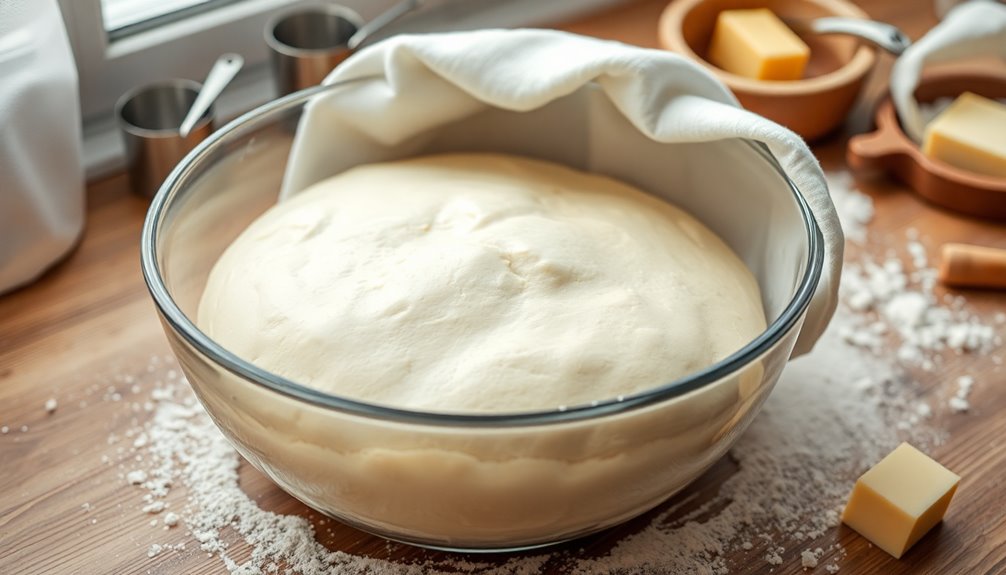
After you've kneaded the dough to perfection, it's essential to let it rest and rise.
Start by allowing the dough to rest for at least 30 minutes to relax the gluten. This prepares it for bulk fermentation, which should take about 1 to 1.5 hours in a warm, draft-free environment until it has doubled in size.
Once this first rise is complete, you can shape the dough into rolls. After shaping, lightly cover the rolls and let them proof for another 30 to 45 minutes, ensuring they're puffy and nearly doubled in size for optimal fluffiness.
To check readiness, perform the poke test; the dough should slowly spring back.
For extra flavor, consider slow fermentation in the fridge for up to 12 hours.
Step 4. Shape the Dough Into Rolls

Once the dough has risen beautifully, it's time to shape it into rolls. Start by dividing the risen dough into equal portions, roughly 3 ounces each, to ensure uniform baking.
Take one portion and shape the dough into a smooth ball by tucking the edges underneath, creating tension on the surface. Place each dough ball in a lightly greased 9×13-inch pan with some space in between to allow for proper rising.
Cover the pan with a clean towel and let the rolls rise in a warm, draft-free area until they're puffy and the sides are touching, which usually takes 30-60 minutes.
Before baking, brush the tops with an egg wash for a beautiful golden-brown crust.
Step 5. Cover and Let Rise

To ensure your rolls rise beautifully, cover them with a clean towel or plastic wrap after placing them in the greased pan. This step helps the dough rise in a warm, draft-free location until it doubles in size, typically 30 to 60 minutes.
You want your rolls to be puffy with sides touching for maximum fluffiness. If possible, use a proofing box or keep the oven light on to maintain an ideal environment for yeast activation at around 80°F.
After the initial rise, gently punch down the dough to release air, then shape it for a second rise. This process lets your rolls rise twice, ensuring they achieve that delightful, fluffy texture you crave.
Final Thoughts

Although achieving the perfect buttery roll or bun may seem daunting, focusing on a few key techniques can elevate your baking game significantly.
Start by applying an egg wash before baking for a golden brown, glossy finish. Don't forget to brush your rolls with melted butter right after baking to enhance their flavor and texture.
For even baking, position your oven rack in the middle or upper middle and maintain the proper temperature. Incorporating steam during baking helps develop a crustier outer layer; simply place a pan of water in the oven.
Lastly, pay attention to dough hydration; a well-hydrated dough leads to better crust development, resulting in tender, flaky buttery dinner rolls that everyone will love. Additionally, using proper maintenance techniques for your baking tools can also improve your results, ensuring consistent performance over time.
Frequently Asked Questions
How Do I Make My Bread Rolls Crusty?
To make your bread rolls crusty, start by baking them at a high temperature, around 400°F to 450°F, to promote browning.
Incorporate steam in the oven by placing a pan of water inside or spraying the rolls with water before closing the door.
Use a lean dough recipe for a firmer texture, and score the tops to help them expand.
Finally, let the rolls cool on a wire rack to keep that delicious crispiness.
Should You Brush Rolls With Butter Before Baking?
Brushing rolls with butter before baking is like giving them a golden crown that transforms them into royalty. You should definitely do it!
It enhances browning, making your rolls visually stunning while adding richness and flavor. For a shiny finish, consider using an egg wash mixed with water.
Just grab a pastry brush and coat the tops evenly before they go in the oven, ensuring a soft, delectable crust that everyone will adore.
How to Get Fluffier Buns?
To get fluffier buns, you should use enriched doughs that include butter, eggs, and milk.
Start with 3 3/4 to 4 cups of flour, adding more gradually until the dough is slightly sticky. Allow the dough to rise until it doubles in size, ensuring it's puffy.
Knead thoroughly for 5 to 8 minutes to develop gluten.
Finally, bake at 375°F, checking for even browning to achieve that perfect soft texture.
Should I Butter My Buns Before Baking?
Yes, you should butter your buns before baking! It enhances the flavor and gives them a beautiful, golden crust.
Just melt some butter and brush it on right before they go in the oven. This way, the fat promotes browning without soaking into the dough.
For an extra kick, mix in some herbs or garlic with the butter. You'll love the rich taste and tender texture it adds to your buns!