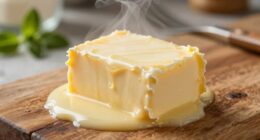

I have uncovered a secret to achieving luxurious, well-nourished hair that will make you feel like a hair care professional. It’s known as hair butter, and trust me, it will revolutionize your hair care routine.
Imagine your tresses being pampered with a concoction of natural ingredients that deeply moisturize, repair, and protect.
In this article, I’ll guide you through the step-by-step process of making your own hair butter, customized to your hair type.
Get ready to embrace the luxuriousness of healthy, beautiful hair.
Key Takeaways
- Hair butter is made from a combination of ingredients such as shea butter, coconut oil, olive oil, and essential oils.
- The base of hair butter usually consists of shea butter, coconut oil, argan oil, and essential oils, chosen based on their moisturizing, nourishing, and repairing properties.
- Essential oils like lavender oil, rosemary oil, peppermint oil, tea tree oil, and chamomile oil are commonly used in hair butter for their various benefits such as reducing inflammation, promoting hair growth, relieving itchiness, and combating dandruff.
- Hair butter can also be infused with herbs and botanicals such as rosemary, nettle, chamomile, lavender, marshmallow root, hibiscus, and calendula to add fragrance, color, and nourishing properties. These botanicals stimulate hair follicles, soothe the scalp, reduce dandruff, and provide intense moisture for smoother and shinier hair.

VEVOR Chamber Vacuum Sealer, 320W Sealing Power, Vacuum Packing Machine for Wet Foods, Meats, Marinades and More, Compact Size with 12.6 in Sealing Length, Applied in Home Kitchen and Commercial Use
-100KPa Vacuum Power: This vacuum sealer nearly removes all air to block oxidation and slow spoilage. Meat and...
As an affiliate, we earn on qualifying purchases.
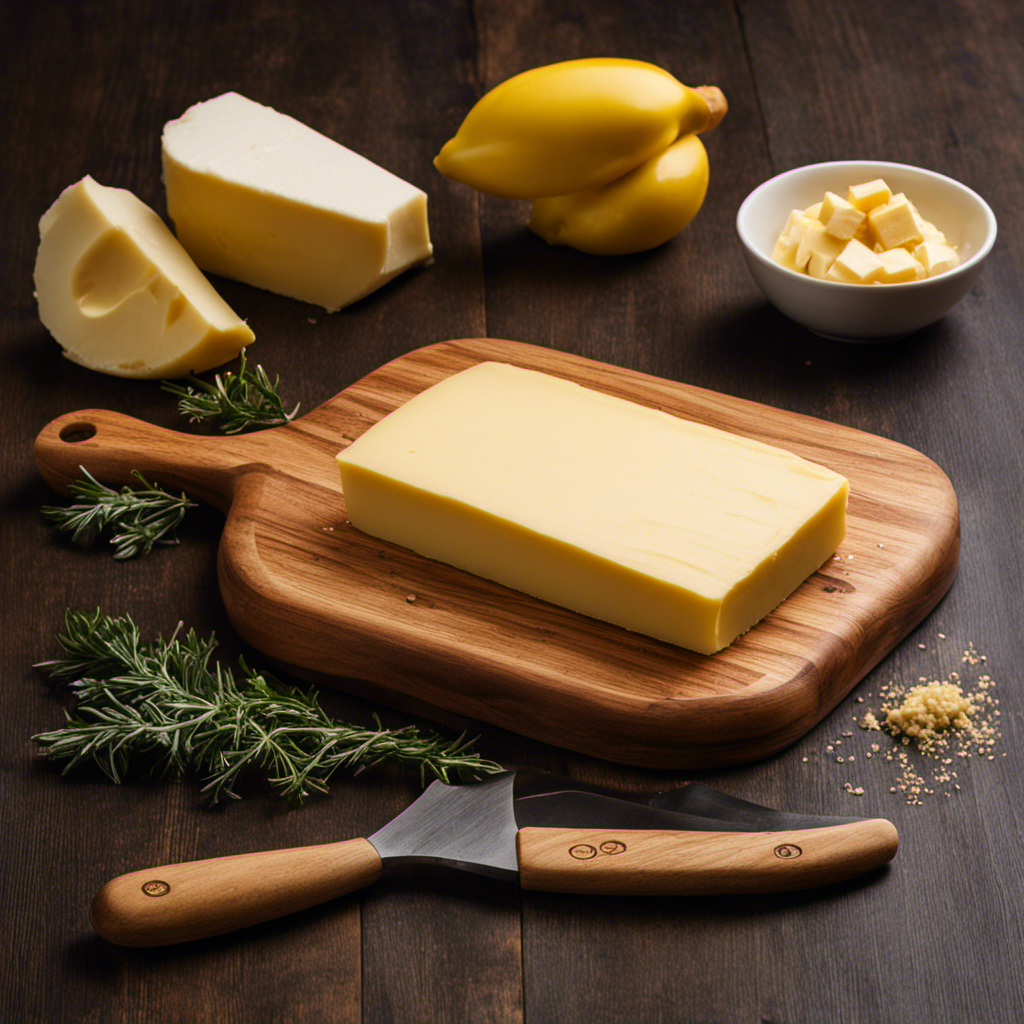
Gathering the Ingredients
First, you’ll need to gather all of the necessary ingredients for making hair butter. Hair butter is a popular natural hair product that provides numerous benefits.
It helps to moisturize and nourish the hair, making it softer and more manageable. To make hair butter, you will need ingredients such as shea butter, coconut oil, olive oil, and essential oils of your choice.
Shea butter is rich in vitamins and antioxidants that promote healthy hair growth. Coconut oil helps to hydrate and strengthen the hair, while olive oil adds shine and reduces frizz. Essential oils not only provide a pleasant fragrance but also have additional benefits for the hair.
There are various hair butter recipes available online, so you can choose one that suits your hair type and preferences.

Avid Armor Ultra Series USV32: Premium Chamber Vacuum Sealer Machine High-Performance Vacuum Chamber Sealer for Professional and Home Use, Ideal Commercial Vacuum Sealer Machine for Food Preservation
Ensures Leak-Free Sealing - Keep your liquid-rich foods fresh for longer with the Avid Armor vacuum sealer machine....
As an affiliate, we earn on qualifying purchases.
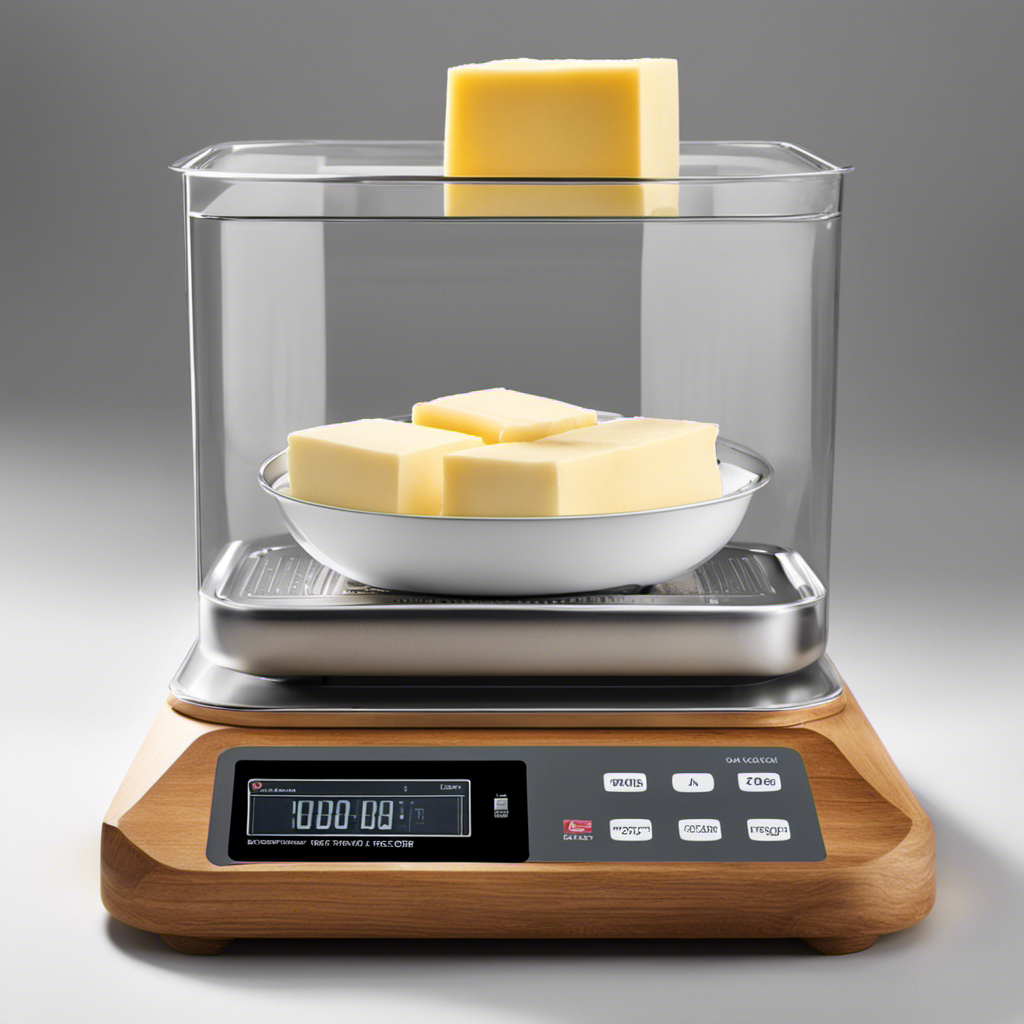
Preparing the Base
To start, you’ll need a few natural ingredients for preparing the base of your homemade hair butter. Preparing the base is a crucial step in making hair butter as it determines the consistency and effectiveness of the final product. There are various preparing techniques you can choose from, depending on your hair type and desired outcome. When choosing ingredients, it’s important to consider their properties and benefits for your hair. Here’s a table that can help you make informed decisions:
| Ingredient | Properties | Benefits |
|---|---|---|
| Shea Butter | Moisturizing, anti-inflammatory | Hydrates and soothes the scalp |
| Coconut Oil | Nourishing, anti-fungal | Promotes hair growth and strengthens follicles |
| Argan Oil | Hydrating, rich in antioxidants | Repairs damaged hair and adds shine |
| Essential Oils | Various properties (e.g., lavender for calming, peppermint for stimulating) | Enhances scent and provides additional benefits |

Gasbye Chamber Vacuum Sealer – 5.3QT Large Chamber, Replaceable 11.5" Sealing Bar with Double Seal, Perfect for Meats, Soups, Sauces & Liquids, Includes 30 Pre-Cut Vacuum Bags, Stainless Steel
[Removes Nearly All Air – Even from Ground Meat, Chunky Foods, and Liquids] Unlike traditional suction vacuum sealers...
As an affiliate, we earn on qualifying purchases.
Adding Essential Oils
When adding essential oils, you’ll want to consider their specific properties and benefits for your hair. Essential oils are highly concentrated plant extracts that can provide numerous benefits for your hair and scalp.
Some essential oil benefits include promoting hair growth, strengthening hair follicles, moisturizing the scalp, reducing dandruff, and improving overall hair health.
To create effective essential oil blends for your hair butter, you can combine oils such as lavender, rosemary, peppermint, tea tree, and chamomile.
Lavender oil is known for its soothing properties and can help reduce scalp inflammation and promote hair growth.
Rosemary oil stimulates hair follicles and increases circulation to the scalp.
Peppermint oil provides a cooling sensation and can help relieve itchiness.
Tea tree oil has antimicrobial properties that can combat dandruff and scalp infections.
Chamomile oil can soothe an irritated scalp and add shine to your hair.
Avid Armor Chamber Vacuum Sealer Machine USV20 Ultra Series for Wet Foods, Meat Vacuum Packing Machine, Compact with 11.5-Inch Vaccum Sealer Bar
Seals What Other Machines Can't -The USV20 chamber vacuum sealer delivers powerful, consistent vacuum pressure perfect for soups,...
As an affiliate, we earn on qualifying purchases.
Infusing Herbs and Botanicals
As someone who loves exploring the world of herbal infusions, I’m excited to discuss the benefits they offer.
Herbal infusions not only provide a delicious and flavorful way to enjoy botanical combinations, but they also offer a wide range of health benefits.
Additionally, infusing oils with herbs and botanicals can be a great way to enhance your skincare routine and create natural, nourishing products.
Let’s delve into the world of herbal infusions and discover the endless possibilities they hold.
Benefits of Herbal Infusions
Using herbal infusions in hair butter can provide numerous benefits for your hair. Not only do these infusions add natural fragrance and color to your hair butter, but they also enhance its nourishing properties. Here are four key benefits of using herbal infusions in your hair butter:
-
Improved Hair Growth: Certain herbs like rosemary and nettle are known to stimulate hair follicles, promoting healthier and faster hair growth.
-
Scalp Health: Herbal infusions, such as chamomile and lavender, have soothing properties that can calm an irritated scalp, reducing dandruff and itchiness.
-
Increased Moisture: Herbs like marshmallow root and aloe vera infuse hair butter with intense moisture, leaving your hair soft, hydrated, and more manageable.
-
Enhanced Shine: Herbs like hibiscus and calendula contain natural antioxidants that help to seal the hair cuticle, resulting in a smoother and shinier appearance.
Flavorful Botanical Combinations
After exploring the benefits of herbal infusions for hair butter, it’s time to delve into the realm of flavorful botanical combinations.
One of the joys of creating your own hair butter is the ability to customize it with the scents and properties of various herbs and flowers. Adding a floral fragrance to your hair butter not only enhances its aroma but can also contribute to its overall therapeutic benefits.
For example, lavender adds a delightful scent while promoting relaxation and soothing the scalp. Rosemary, on the other hand, not only imparts a fresh scent but also stimulates hair growth and improves scalp health. By experimenting with different herbs and flowers, you can create a hair butter that not only nourishes your hair but also provides the benefits of herbal remedies.
Now, let’s move on to the next section and explore the art of infusing oils for skincare.
Infusing Oils for Skincare
Now let’s dive into the world of infusing oils for skincare, where we can discover the incredible benefits of combining different botanicals with oils to nourish and rejuvenate our skin.
Here are four different methods of oil infusion that you can try:
-
Cold infusion: This method involves steeping the botanicals in a carrier oil for an extended period of time. It is a gentle process that helps to extract the beneficial properties of the botanicals without using heat.
-
Hot infusion: This method involves heating the carrier oil and botanicals together to speed up the infusion process. The heat helps to release the active compounds from the botanicals, resulting in a more concentrated infusion.
-
Double boiler method: This method is ideal for delicate botanicals that may lose their potency with direct heat. It involves placing the carrier oil and botanicals in a heat-safe container, which is then placed in a pot of simmering water.
-
Solar infusion: This method takes advantage of the sun’s natural heat to infuse the oil. Simply place the carrier oil and botanicals in a glass jar and leave it in a sunny spot for several weeks. The sun’s rays will gently warm the oil and extract the botanical’s goodness.
By infusing oils with botanicals using these methods, you can unlock a multitude of benefits for your skin. The botanicals add their own unique properties to the oils, such as antioxidants, vitamins, and minerals, which nourish and rejuvenate the skin.
Whether you choose to indulge in a soothing lavender-infused oil or a revitalizing rosehip-infused oil, oil infusions offer a natural and effective way to enhance your skincare routine.
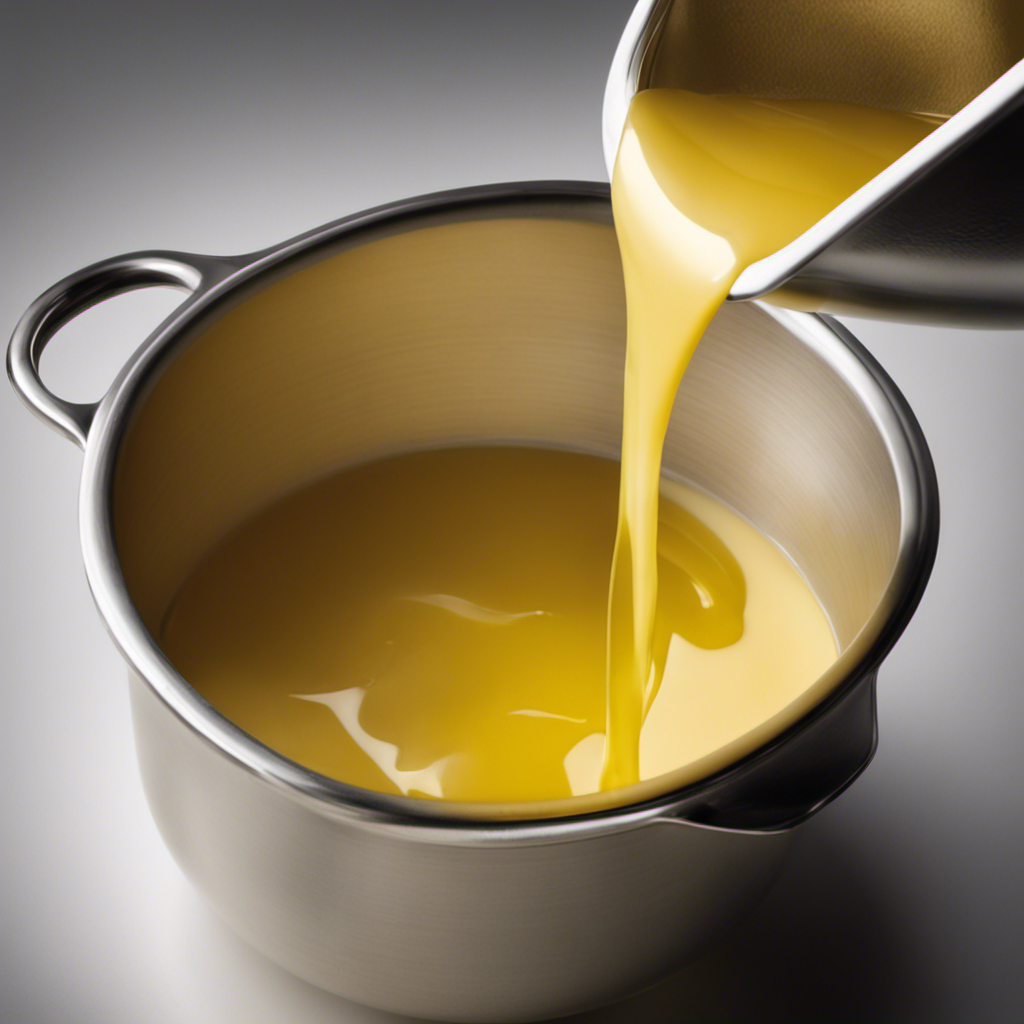
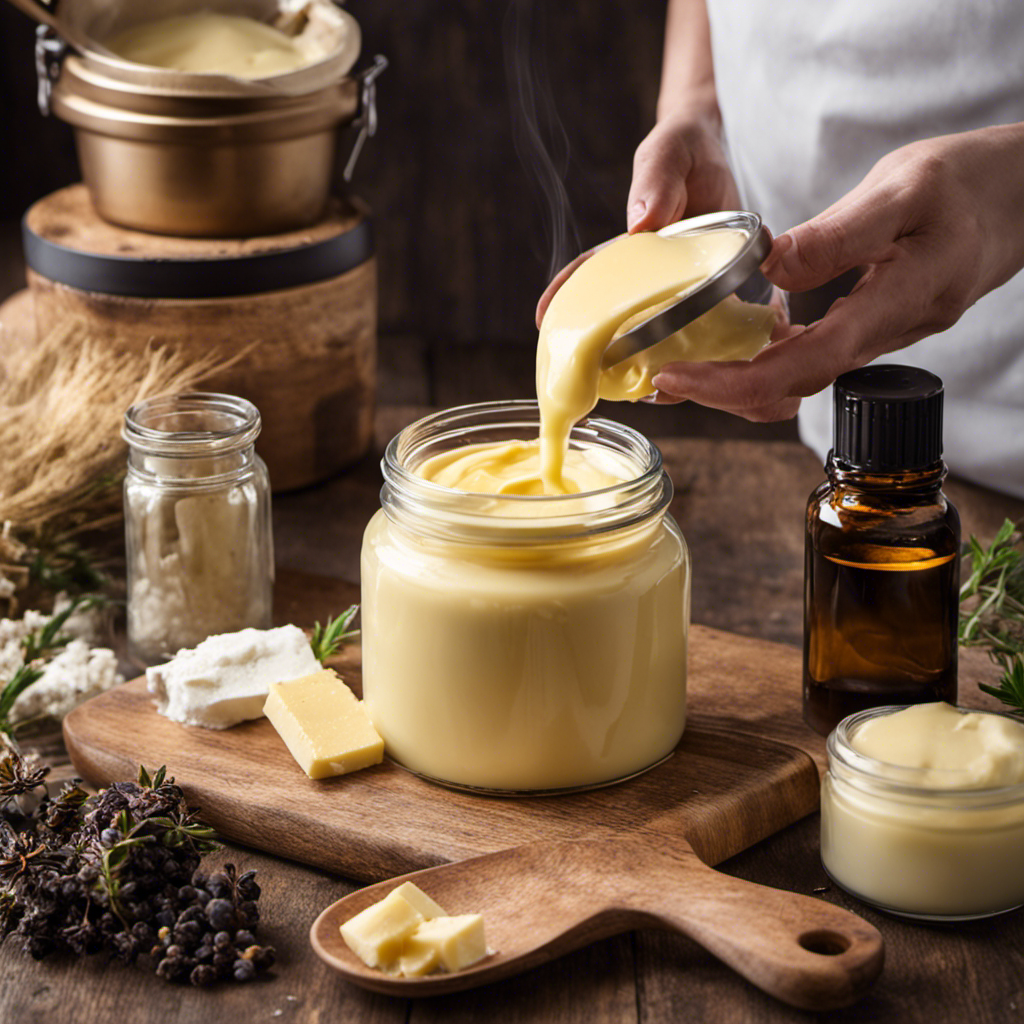
Melting and Mixing the Ingredients
When it comes to creating a luxurious and effective hair butter, the heating and blending process is crucial. By carefully melting and mixing the ingredients together, a smooth and consistent texture can be achieved.
This step is essential to ensure that all the nourishing oils and botanicals are evenly distributed throughout the product, resulting in a hair butter that is not only easy to apply but also delivers maximum benefits to your hair.
Heating and Blending Process
To heat and blend the ingredients for your hair butter, you’ll want to use a double boiler method. This technique ensures that the ingredients melt evenly without scorching or burning. Here’s how to do it:
-
Set up a double boiler by filling a saucepan with water and placing a heat-safe bowl on top. The water should not touch the bottom of the bowl.
-
Add your ingredients to the bowl, such as shea butter, coconut oil, and essential oils.
-
Turn on the heat to medium-low and let the water simmer gently. Stir the ingredients occasionally to ensure they melt and blend together smoothly.
-
Once the ingredients have melted completely and are well combined, remove the bowl from the heat.
By following these heating techniques and using the right blending equipment, you can achieve a smooth consistency for your hair butter.
Now, let’s move on to how to achieve the desired smooth consistency.
Smooth Consistency Achieved
To achieve a smooth consistency, you’ll want to continue stirring the melted ingredients until they are well combined. This step is crucial in achieving silkiness and preventing greasiness in your homemade hair butter. The key is to ensure that all the oils, butters, and essential oils are thoroughly mixed together. To help you visualize the process, here is a table that outlines the ingredients and their benefits:
| Ingredient | Benefit |
|---|---|
| Shea butter | Moisturizes and softens hair |
| Coconut oil | Adds shine and promotes hair growth |
| Argan oil | Nourishes and repairs damaged hair |
| Rosemary oil | Stimulates hair growth and reduces dandruff |
| Lavender oil | Calms the scalp and promotes relaxation |
Cooling and Setting the Hair Butter
Once the hair butter has cooled and set, it can be used to nourish and moisturize the hair. Hair butter recipes are a popular choice for those looking to achieve healthy and luscious locks. Here are the benefits of using hair butter:
-
Deep hydration: Hair butter is packed with essential oils and natural butters that deeply penetrate the hair shaft, providing intense hydration and moisture.
-
Improved hair elasticity: The nourishing ingredients in hair butter help to strengthen the hair, improving its elasticity and reducing breakage.
-
Enhanced shine and softness: Regular use of hair butter can leave your hair looking shiny, silky, and soft to the touch.
-
Protection against heat and environmental damage: Hair butter creates a protective barrier on the hair, shielding it from the damaging effects of heat styling tools and environmental pollutants.
Now that we have discussed the benefits of hair butter, let’s move on to the next step: storing and shelf life.
Storing and Shelf Life
After the hair butter has cooled and set, it can be stored in an airtight container for an extended shelf life. Storing homemade hair care products properly is essential to maintain their quality and effectiveness.
Here are some tips to ensure your hair butter stays fresh and usable for a longer period of time.
Firstly, choose a container that is made of glass or plastic and has a tight-fitting lid. This will prevent air and moisture from entering, which can lead to spoilage.
It’s also important to keep the container in a cool, dry place, away from direct sunlight. Exposure to heat and light can degrade the ingredients and reduce the product’s shelf life.
Additionally, it’s recommended to label the container with the date of preparation to keep track of its freshness. Generally, homemade hair butters can last for up to six months if stored correctly. However, it’s always best to use your senses to determine if the product has gone bad. If you notice any changes in color, texture, or smell, it’s advisable to discard it.
Using Hair Butter for Different Hair Types
After learning about the proper storage and shelf life of hair butter, let’s dive into the exciting world of using hair butter for different hair types. Hair butter is a versatile product that offers numerous benefits for our hair. Here are some key benefits and application techniques to consider:
- Hydration: Hair butter deeply moisturizes dry and brittle hair, leaving it soft and manageable.
- Nourishment: It provides essential nutrients and vitamins to promote hair growth and overall hair health.
- Styling Aid: Hair butter can be used as a natural styling product, helping to define curls, tame frizz, and add shine.
- Heat Protection: Applying hair butter before heat styling can create a protective barrier, reducing damage caused by hot tools.
To apply hair butter effectively, start with freshly washed and slightly damp hair. Take a small amount of butter and rub it between your palms to melt it. Then, distribute it evenly through your hair, focusing on the ends. Style as desired.
Now that we’ve covered the benefits and application techniques, let’s move on to troubleshooting and tips for using hair butter.
Troubleshooting and Tips
To troubleshoot any issues you may encounter while using hair butter, try adjusting the amount you use and the frequency of application.
Common hair butter mistakes can include using too much product, which can leave your hair feeling greasy and weighed down. On the other hand, using too little may not provide enough moisture and nourishment. Finding the right balance is key.
Additionally, consider customizing your hair butter for your specific needs. For example, if you have dry and damaged hair, you can add a few drops of essential oils like lavender or rosemary to promote hair growth and repair. If you have oily hair, try adding a teaspoon of lemon juice to help control excess oil production.
Frequently Asked Questions
Can I Substitute the Essential Oils Mentioned in the Article With Other Oils?
Yes, you can substitute the essential oils mentioned in the article with other oils. There are many options available, each with its own unique benefits for hair. Experimenting with different oils can help you find the perfect combination for your hair butter.
How Long Does It Take for the Hair Butter to Cool and Set Completely?
It usually takes around 1-2 hours for hair butter to cool and set completely. To speed up the process, you can place it in the refrigerator or freezer. Just be careful not to leave it in for too long.
Can I Use Fresh Herbs Instead of Dried Herbs for Infusing?
Using fresh herbs for hair butter infusion has its benefits. The natural oils and nutrients in fresh herbs can enhance hair growth and improve overall hair health. It’s a great alternative to dried herbs.
How Often Should I Use Hair Butter on My Hair?
Using hair butter regularly is beneficial for hair health. It provides essential nutrients, promotes moisture retention, and helps prevent breakage. While alternatives exist, hair butter should be used at least once a week for optimal results.
Can I Use the Hair Butter on My Hair if I Have a Sensitive Scalp?
Yes, you can use hair butter on a sensitive scalp. It’s important to choose a hair butter that is specifically formulated for sensitive scalps. If you’re concerned about essential oils, there are alternatives available.
Conclusion
In conclusion, making your own hair butter can be a rewarding and cost-effective way to nourish and moisturize your hair.
By following the steps outlined in this article, you can create a personalized hair butter that is tailored to your specific hair type and needs.
Imagine the joy of seeing your dry and damaged hair transform into healthy and luscious locks, all thanks to the homemade hair butter you made with love and care.
So why not give it a try and see the amazing results for yourself? Your hair will thank you!