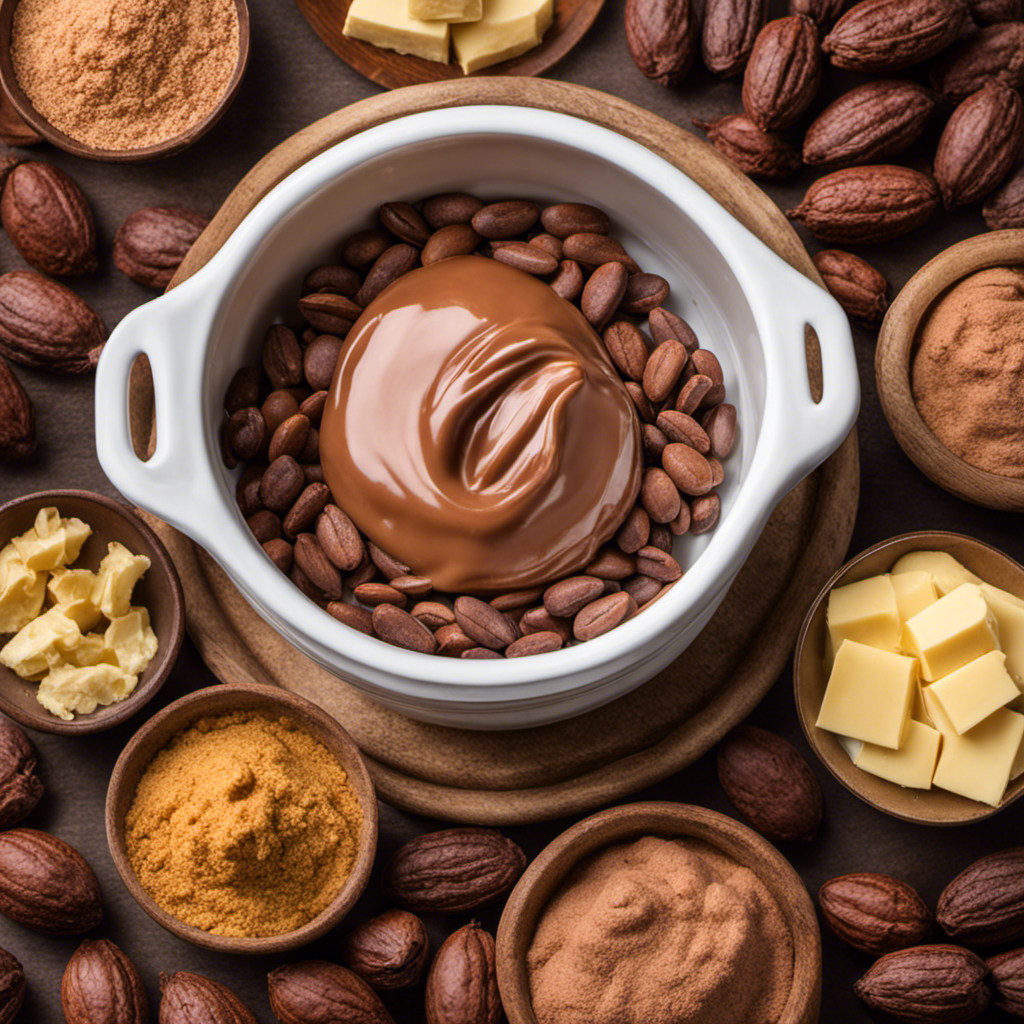
I am here to assist you in creating your own cocoa butter. Prepare yourself for a cocoa-filled journey as we explore the captivating realm of cocoa beans.
In this article, I’ll be sharing with you the step-by-step process of selecting the perfect beans, sorting and cleaning them, and extracting the rich cocoa liquor.
We’ll also explore how to cool and solidify the butter, store it, and even use it in homemade skincare products.
So, grab your apron and let’s dive into the wonders of cocoa butter making!
Key Takeaways
- Cocoa beans must be properly sorted, cleaned, roasted, and ground to make high-quality cocoa butter.
- Experimenting with spices, flavorings, nuts, and fruits can enhance the flavors of cocoa.
- There are traditional and solvent extraction methods to extract cocoa liquor from ground beans.
- Cocoa butter can be separated from cocoa liquor using a hydraulic press, and further processing can extract any remaining cocoa butter from cocoa solids.
Understanding the Basics of Cocoa Beans
To understand the basics of cocoa beans, you’ll need to know where they come from and how they are processed.
Cocoa beans are the seeds of the cacao tree, which is native to tropical regions. After harvesting, the beans are removed from their pods and left to ferment for several days. This fermentation process is crucial as it develops the characteristic flavors and aromas of cocoa.
The fermented beans are then spread out to dry under the sun. Drying is essential to reduce moisture content and prevent the growth of mold or bacteria. Once dried, the cocoa beans are ready for further processing. This involves roasting, grinding, and pressing to separate the cocoa solids from the cocoa butter.
Transitioning into the next section, selecting the right cocoa beans is vital to ensure high-quality cocoa butter production.
Selecting the Right Cocoa Beans for Cocoa Butter Making
When selecting the right cocoa beans for making cocoa butter, it’s important to consider their quality and origin. The quality of the beans greatly impacts the final product, so choosing beans that are fresh and free from defects is crucial. Look for beans that have a rich, chocolatey aroma and a glossy appearance.
Additionally, the origin of the beans can affect the flavor profile of the cocoa butter. Beans from different regions have distinct flavor characteristics, so it’s worth exploring different origins to find the taste that suits your cocoa butter recipes.
By carefully selecting high-quality beans and experimenting with different origins, you can unlock the full potential of cocoa butter and enjoy its numerous benefits.
Now, let’s delve into the next step of the cocoa butter making process – sorting and cleaning the cocoa beans.
Sorting and Cleaning the Cocoa Beans
When it comes to cocoa butter making, the quality of the beans used can greatly impact the final outcome. The flavor, texture, and aroma of the cocoa butter are all heavily influenced by the quality of the beans.
Additionally, proper cleaning of the beans is crucial in ensuring that only the highest quality beans are used, as any contaminants or impurities can negatively affect the final product.
Bean Quality Affects Outcome
Choosing high-quality beans ensures a better outcome for your cocoa butter. The quality of the beans used in the production of cocoa butter greatly affects its final properties and benefits. Here are three key factors to consider when sourcing your beans:
-
Origin: The geographical location where the beans are grown plays a crucial role in their flavor and quality. Different regions produce beans with distinct characteristics, so it’s important to choose beans from reputable sources.
-
Variety: There are various cocoa bean varieties, each with its unique flavor profile. Selecting beans from well-known varieties, such as Criollo or Trinitario, can enhance the taste and aroma of your cocoa butter.
-
Processing: The way the beans are processed after harvesting also impacts the quality of the cocoa butter. Look for beans that have been properly fermented and dried to ensure optimal flavor and texture.
Proper Cleaning Ensures Quality
Properly cleaning the beans is essential to ensure the quality of your cocoa butter. Cleaning techniques and maintaining equipment play a crucial role in achieving the desired outcome. When it comes to cleaning cocoa beans, there are several effective methods to consider. One popular technique is the wet method, where the beans are soaked in water to remove impurities. Another method involves using a winnowing machine to separate the husks from the nibs. It is important to regularly clean and maintain your equipment to prevent cross-contamination and ensure optimal performance. Regularly inspecting and servicing your machines will help extend their lifespan and ensure consistent results. By implementing proper cleaning techniques and maintaining your equipment, you can produce high-quality cocoa butter that is free from contaminants and impurities.
| Cleaning Techniques | Maintaining Equipment |
|---|---|
| Wet Method | Regular Inspection |
| Winnowing Machine | Servicing |
| Preventive Maintenance |
Roasting and Grinding the Cocoa Beans
When it comes to roasting cocoa beans, there are several techniques that can be employed. The roasting process is crucial as it helps develop the flavors and aromas in the cocoa beans. Different roasting temperatures and times can result in varying flavor profiles, from fruity and acidic to deep and rich.
Once the beans have been roasted, they can be ground to produce cocoa butter, a key ingredient in chocolate making. Grinding the roasted cocoa beans releases the fat content, which solidifies into cocoa butter.
Roasting Techniques for Cocoa
To enhance the flavor of your cocoa beans, try roasting them at different temperatures and durations. Roasting is a crucial step in the cocoa bean processing that plays a significant role in flavor development.
Here are three roasting techniques that can help you achieve the desired flavor profile:
-
Low-temperature roasting (120-140°C): This technique preserves the delicate flavors of the cocoa beans and is ideal for producing mild and fruity profiles.
-
Medium-temperature roasting (140-160°C): This technique brings out a balanced flavor profile, combining fruity and nutty notes.
-
High-temperature roasting (160-180°C): This technique creates a robust and intense flavor profile with deep cocoa and roasted notes.
Grinding Cocoa for Butter
Grinding cocoa beans for butter can be achieved by using a grinder or a food processor. Both methods have their advantages and can produce smooth and creamy cocoa butter. When using a grinder, it is important to ensure that the beans are dry and free from any moisture. The grinder should be set to a medium setting for optimal results. On the other hand, a food processor can also be used to grind cocoa beans into butter. It is recommended to use the pulse function to prevent overheating the beans and to achieve a fine consistency. Additionally, grinding cocoa beans can have alternative uses, such as making homemade chocolate or incorporating it into various recipes like desserts or skincare products.
| Advantages of Grinder | Advantages of Food Processor |
|---|---|
| Produces fine and smooth texture | Pulse function prevents overheating |
| Easy to use and clean | Versatile for other recipes |
| Allows for control over grinding consistency | Efficient and quick process |
Enhancing Flavors in Cocoa
If you want to enhance the flavors in your cocoa, try experimenting with different spices and flavorings. Adding these ingredients can create a delightful and unique taste experience. Here are three flavor pairings to consider:
-
Cinnamon: This warm and aromatic spice pairs beautifully with cocoa. It adds a subtle sweetness and depth to the flavor profile.
-
Vanilla: The smooth and creamy notes of vanilla complement the rich taste of cocoa. It adds a touch of sweetness and enhances the overall flavor.
-
Peppermint: The cool and refreshing taste of peppermint can provide a delightful contrast to the richness of cocoa. It adds a refreshing twist to your hot cocoa.
In addition to enhancing the flavors, cocoa butter also offers numerous benefits. It is rich in antioxidants and helps moisturize the skin. Cocoa butter can also improve blood flow and reduce inflammation. So not only will your cocoa taste amazing, but it will also provide some added health benefits.
Extracting Cocoa Liquor From the Ground Beans
Once you’ve roasted the cocoa beans, you can start grinding them into a fine powder. The next step is to extract cocoa liquor from this ground powder. Cocoa liquor is the liquid form of chocolate obtained by separating cocoa solids from cocoa butter. There are various methods for extracting cocoa liquor, including the traditional method and the modern solvent extraction method.
| Method | Description | Advantages | Disadvantages |
|---|---|---|---|
| Traditional Method | Involves grinding the cocoa nibs into a paste and then applying pressure to extract the cocoa liquor. | – Retains the natural flavors and aromas of cocoa. – No chemicals used. | – Time-consuming process. – Requires specialized equipment. |
| Solvent Extraction Method | Uses solvents like hexane to separate cocoa butter from the cocoa solids. | – Faster process. – Higher extraction yield. | – May alter the natural flavors and aromas of cocoa. – Requires careful removal of residual solvents. |
Both methods have their pros and cons, and the choice depends on factors like time, resources, and desired outcome.
Separating Cocoa Butter From Cocoa Liquor
To extract cocoa butter from cocoa liquor, the process of cocoa liquor separation is employed. This involves subjecting the cocoa liquor to a series of mechanical and thermal treatments.
First, the cocoa liquor is passed through a hydraulic press to separate the cocoa solids from the cocoa butter.
Then, the remaining cocoa solids are further processed to extract any remaining cocoa butter through a combination of heat and pressure.
Extracting Cocoa Butter
You can start extracting cocoa butter by grinding the cocoa nibs into a fine powder. This process helps to release the fat content in the nibs, which is the cocoa butter. Once you have the cocoa powder, you can proceed with the extraction process.
Here are three steps to follow:
-
Heat and melt the cocoa powder: Place the cocoa powder in a double boiler and heat it gently until it melts. This will separate the cocoa butter from the remaining solids.
-
Strain the mixture: Pour the melted cocoa powder through a fine mesh strainer or cheesecloth to remove any remaining solids. This will ensure a smooth and pure cocoa butter.
-
Cool and solidify: Allow the strained cocoa butter to cool and solidify. Once it has hardened, you can use it for various purposes, such as making homemade chocolate recipes or using it as a moisturizer due to its numerous cocoa butter benefits.
Making your own cocoa butter at home opens up a world of possibilities for homemade cocoa butter recipes and allows you to enjoy the many benefits it offers.
Cocoa Liquor Separation
When separating cocoa liquor, it’s important to strain the mixture to remove any remaining solids. Cocoa liquor separation is a crucial step in the process of cocoa butter extraction.
After the cocoa beans are roasted and ground, they are processed to form a thick paste known as cocoa liquor. This paste contains both cocoa solids and cocoa butter.
To separate the cocoa butter from the solids, the cocoa liquor is passed through a series of filters and strainers. These filters remove any remaining solid particles, leaving behind the liquid cocoa butter.
The filtered cocoa butter is then further processed to remove any impurities and refine its texture. This process ensures that the resulting cocoa butter is pure and of high quality, ready to be used in various applications such as chocolate making or skincare products.
Moving on to the next step, let’s discuss the process of filtering and straining cocoa butter.
Filtering and Straining Cocoa Butter
Using a fine mesh strainer, strain the melted cocoa butter to remove any impurities. This step is crucial in the process of making cocoa butter as it helps ensure the final product is of high quality. There are various filtering techniques and straining methods that can be employed to achieve the desired result. Here are three effective methods:
-
Gravity filtration: This method involves pouring the melted cocoa butter through a strainer or filter paper, allowing gravity to pull the liquid through while leaving behind any solid particles or impurities.
-
Centrifugal filtration: In this method, the melted cocoa butter is passed through a centrifuge, which uses centrifugal force to separate the impurities from the butter. This method is particularly effective in removing fine particles.
-
Charcoal filtration: Activated charcoal is often used as a filtering agent to absorb any remaining impurities in the cocoa butter. The melted butter is passed through a bed of activated charcoal, which traps the impurities and leaves behind a clean and pure cocoa butter.
Cooling and Solidifying Cocoa Butter
To cool and solidify the cocoa butter, simply place it in the refrigerator until it hardens.
Cooling is a crucial step in the process of making cocoa butter, as it helps to achieve the desired consistency and texture.
There are different methods to cool cocoa butter, depending on the consistency you want to achieve.
For a softer consistency, you can cool the cocoa butter at room temperature for a longer period of time. This will result in a more spreadable and creamy texture.
On the other hand, if you prefer a firmer consistency, you can cool the cocoa butter in the refrigerator for a shorter period of time. This will yield a harder and more solid texture, ideal for making chocolate bars or other confections.
Once the cocoa butter has hardened, it is ready for the next step of storing and preserving.
Storing and Preserving Cocoa Butter
Storing and preserving cocoa butter is important to maintain its freshness and quality. As a chocolate enthusiast, I have done extensive research on cocoa butter storage tips to ensure that my supply remains in optimal condition. Here are three key tips to help you preserve your cocoa butter:
-
Keep it in a cool and dark place: Cocoa butter is sensitive to light and heat, which can cause it to deteriorate and lose its quality. Therefore, storing it in a cool, dark pantry or cupboard is crucial.
-
Seal it tightly: Cocoa butter has a tendency to absorb odors from its surroundings. To prevent this, make sure to store it in an airtight container or wrap it tightly with plastic wrap to maintain its original aroma and flavor.
-
Avoid moisture exposure: Moisture can cause cocoa butter to become rancid. It is essential to keep it away from any sources of moisture, such as water or condensation, to ensure its longevity.
Using Cocoa Butter in Homemade Skincare Products
One of the benefits of incorporating cocoa butter into homemade skincare products is that it helps to deeply moisturize and nourish the skin. Cocoa butter is rich in fatty acids, which provide essential hydration and create a protective barrier on the skin’s surface. It also contains antioxidants that can help to combat free radicals and promote a more youthful appearance. When used for hair care, cocoa butter can help to improve the overall health and condition of the hair, making it softer and more manageable. Additionally, cocoa butter has been found to have anti-inflammatory properties, which can help to soothe irritated skin and reduce redness.
| Benefit of Cocoa Butter for the Skin | Benefit of Cocoa Butter for Hair Care |
|---|---|
| Deeply moisturizes and nourishes | Improves overall hair health |
| Provides essential hydration | Makes hair softer and more manageable |
| Creates a protective barrier | |
| Contains antioxidants | |
| Has anti-inflammatory properties |
Incorporating cocoa butter into homemade skincare products can be a game-changer for achieving healthy, radiant skin. Now, let’s move on to the next section and explore some troubleshooting tips for making cocoa butter at home.
Troubleshooting Tips for Making Cocoa Butter at Home
When making cocoa butter at home, it is important to be aware of common mistakes that can occur during the process. Troubleshooting these issues can help ensure that you end up with a high-quality cocoa butter product.
Here are some troubleshooting techniques to keep in mind:
-
Insufficient roasting: One common mistake is not roasting the cocoa beans enough. This can result in a weak cocoa flavor and a lack of aroma in the final product. Make sure to roast the beans for the recommended time and temperature to achieve the desired flavor profile.
-
Overheating: Another mistake is overheating the cocoa butter during the extraction process. This can cause the cocoa butter to lose its natural properties and become rancid. Maintain a moderate heat level and monitor the temperature closely to prevent overheating.
-
Improper storage: Improperly storing cocoa butter can lead to degradation and spoilage. It is essential to keep it in an airtight container, away from moisture, heat, and direct sunlight, to maintain its quality and extend its shelf life.
Frequently Asked Questions
How Long Does It Take to Make Cocoa Butter From Start to Finish?
I can’t answer your question without the context of how to make cocoa butter. However, factors affecting the quality of homemade cocoa butter include temperature, bean quality, and processing time. Tips for speeding up the process may include using higher temperatures and grinding the beans finely.
Can I Use Any Type of Cocoa Beans to Make Cocoa Butter?
Yes, you can use different types of cocoa beans to make cocoa butter. Homemade cocoa butter has benefits over store bought options, such as freshness and control over the quality of ingredients used.
Do I Need Any Special Equipment to Roast and Grind the Cocoa Beans?
I don’t need any special equipment to roast and grind cocoa beans. Roasting techniques can vary, but using an oven or stovetop works well. For grinding, a food processor or grinder is suitable.
Can I Use Cocoa Powder Instead of Cocoa Liquor to Make Cocoa Butter?
No, using cocoa powder instead of cocoa liquor to make cocoa butter is not recommended. Cocoa powder lacks the necessary fat content, resulting in a different texture and flavor. Cocoa liquor is the preferred ingredient for making cocoa butter.
How Long Can I Store Homemade Cocoa Butter Before It Goes Bad?
The shelf life of homemade cocoa butter depends on proper storage. It can last up to a year if stored in an airtight container in a cool, dark place. Regularly check for signs of spoilage like rancidity or mold.
Conclusion
In conclusion, making cocoa butter at home requires a thorough understanding of the cocoa bean and a careful process of sorting, roasting, grinding, and extracting.
By following the steps outlined in this article, you can create your own high-quality cocoa butter for use in homemade skincare products.
With proper storage and preservation techniques, you can enjoy the benefits of cocoa butter for a long time.
So why not embark on this exciting journey of creating your own cocoa butter and enhance your skincare routine?
