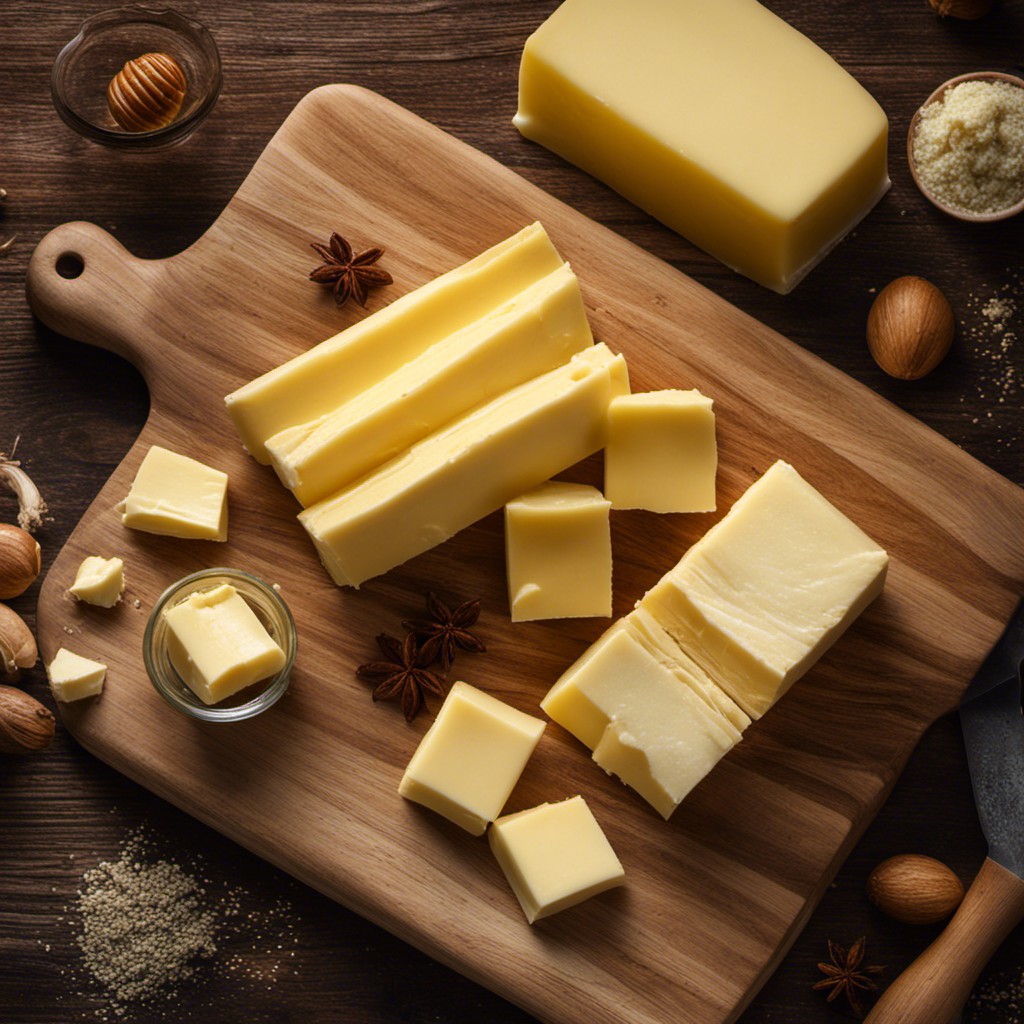
It is often claimed that the key to elevating your culinary creations is incorporating homemade butter.
Well, let me tell you, after years of experimenting in the kitchen, I’ve finally discovered the perfect recipe for making butter in the world of Skyrim.
In this article, I’ll guide you through the step-by-step process of gathering ingredients, preparing the butter churn, churning the cream, and more.
Get ready to elevate your culinary adventures in Skyrim with your very own homemade butter.
Key Takeaways
- Different types of milk, such as cow’s milk and goat’s milk, can be used to make butter in Skyrim.
- Churns can be found in various locations like farms, kitchens, and general stores, and they are usually made of wood with a handle for churning.
- Understanding the mechanics of the churn is crucial when making butter, and paying attention to the churn animation and sound can help achieve the perfect consistency.
- Factors to consider when choosing a churn include size, materials (wood, stainless steel, or glass), and durability.

The Wisemen Buttermeister Pro Electric Butter Churn 1 Gallon
As an affiliate, we earn on qualifying purchases.
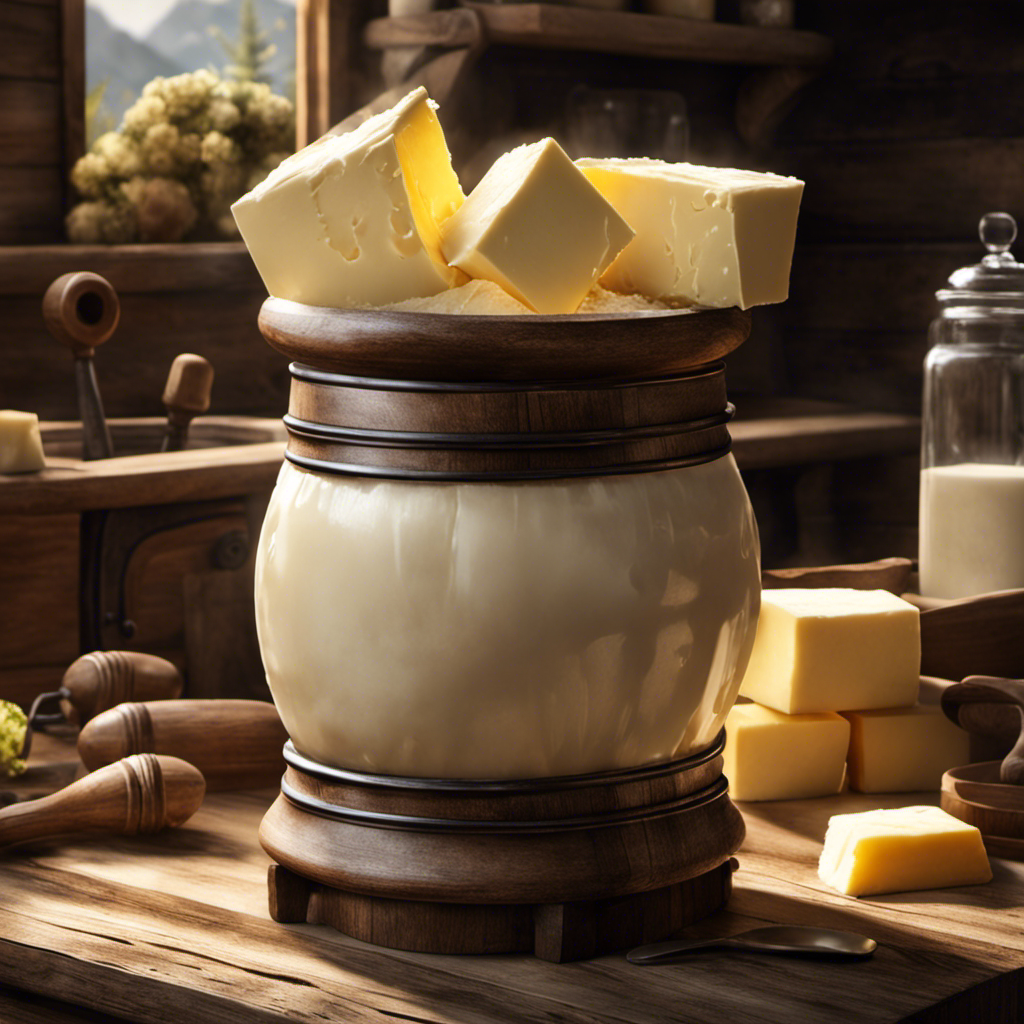
Gathering Ingredients
To make butter in Skyrim, you’ll need milk and a churn. There are different types of milk that can be used to make butter, such as cow’s milk and goat’s milk. These can be obtained by milking cows and goats respectively.
Cows can be found on farms throughout Skyrim, and goats can be found in the wild or on farms as well. Once you have obtained the milk, you will need a churn to turn it into butter. Churns can be found in various locations, such as farms, kitchens, and some general stores. They are usually made of wood and have a handle that you can use to churn the milk into butter.
With the necessary ingredients gathered, it’s time to move on to preparing the butter churn.
Buttermeister Butter Churn (1 Gallon)
As an affiliate, we earn on qualifying purchases.
Preparing the Butter Churn
When it comes to making butter, understanding the mechanics of the churn is crucial.
In this discussion, I will explain the churn mechanics, including the different types of churns available and how to choose the right one for your needs.
Additionally, I will provide some tips on achieving the perfect butter consistency for your culinary creations.
Churn Mechanics Explained
You can understand the churn mechanics in Skyrim by paying attention to the animation and the sound it makes. The butter churn in Skyrim is a simple yet effective tool for making butter. By using the correct techniques, you can ensure a smooth and efficient churning process. Troubleshooting churn problems is also important to ensure the best results. Here is a table that highlights some common butter churn techniques and solutions to common churn problems:
| Butter Churn Techniques | Troubleshooting Churn Problems |
|---|---|
| Use a steady, rhythmic motion when churning | If the churn is not moving smoothly, check for any obstructions or misalignment |
| Keep the churn at a consistent temperature | If the butter is not forming properly, the temperature may be too high or too low |
| Add salt to enhance the flavor of the butter | If the butter tastes off or has an unpleasant odor, it may be due to bacterial contamination |
| Use fresh cream for the best results | If the butter is not forming at all, the cream may be too old or not enough fat content |
| Monitor the churn for any signs of wear or damage | If the churn is leaking or making strange noises, it may be time for repairs or replacement |
Choosing the Right Churn
If you’re in the market for a new churn, consider factors such as size, materials, and durability.
When it comes to choosing churn materials, there are a few options to consider. The most common materials used for churning butter are wood, stainless steel, and glass.
Wood is a traditional choice that adds a rustic touch to your kitchen, but it may require more maintenance and can absorb flavors over time.
Stainless steel is durable and easy to clean, making it a popular choice for many.
Glass churns are a great option if you want to see the churning process in action.
In terms of size, churns come in various capacities, ranging from small tabletop churns to larger churns that can handle larger batches of butter.
Consider your needs and the amount of butter you plan to churn before making a decision.
Butter Consistency Tips
To achieve a smoother consistency, it’s important to let the butter soften before churning. Softening the butter allows it to mix more easily, resulting in a silky smooth texture.
If your butter is too hard, it can be difficult to churn and may result in lumpy or uneven butter. On the other hand, if the butter is too soft, it may not solidify properly and could become greasy.
To troubleshoot butter consistency issues, make sure you are using unsalted butter and that it is at room temperature before churning. If your butter is too hard, you can let it sit out for a while to soften. If it’s too soft, you can refrigerate it for a short time to firm it up.

IFOLO Electric Butter Churn – One-Touch Butter Maker in 5–10 Mins, 34oz Glass Jar with High-Speed Brushless Motor, High-Speed Mixing for Creamy Results
🥛[Make Butter Effortlessly – One Touch Magic] – Forget hunching over a manual churn that leaves your wrists...
As an affiliate, we earn on qualifying purchases.
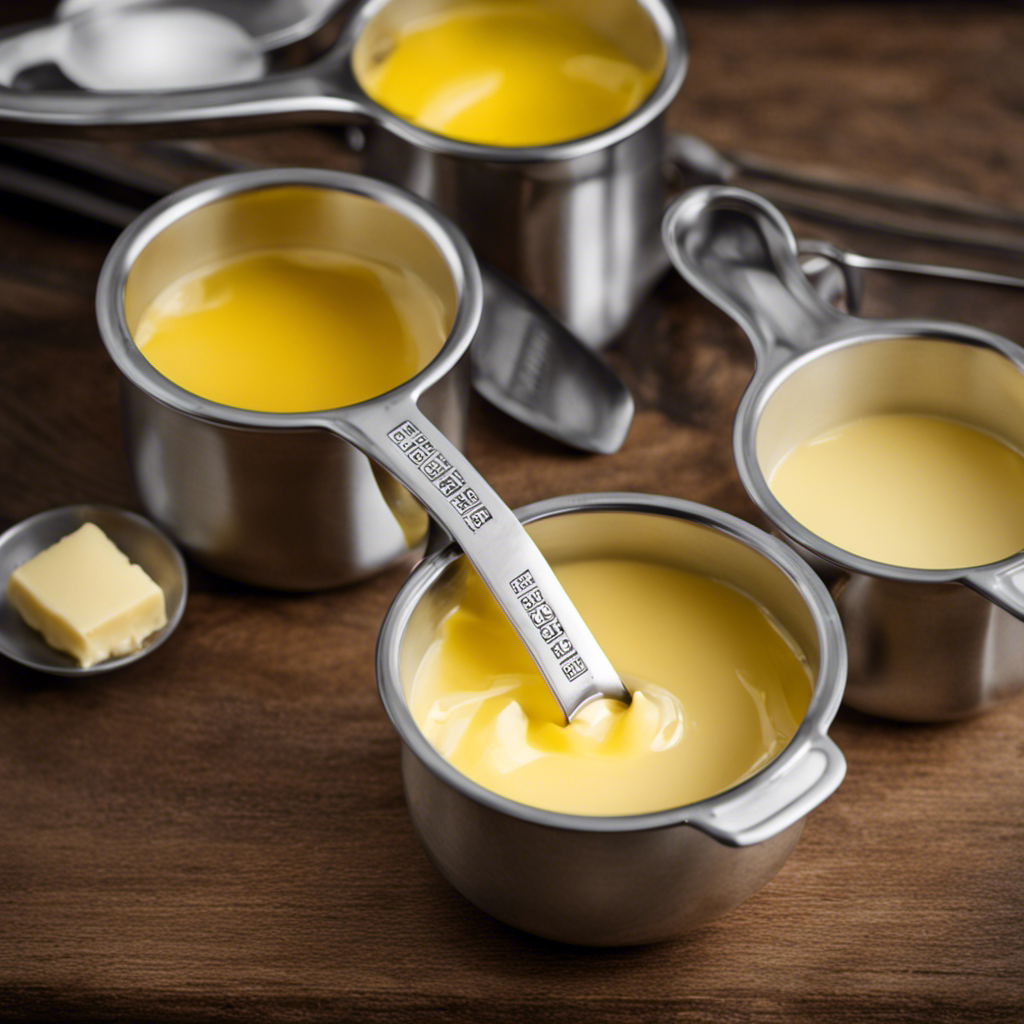
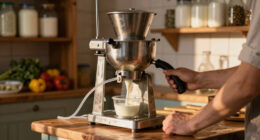
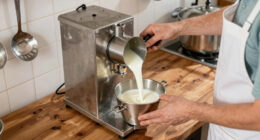
Churning the Cream
After adding the cream, let it sit and churn for about 10 minutes. This step is crucial in the butter-making process as it helps to separate the cream into butter and buttermilk. To ensure successful churning, it is important to use cream that is cold but not frozen. The ideal temperature is around 50-55°F.
Here are some cream churning techniques to help you achieve the best results:
- Use a churn or a stand mixer with a paddle attachment for faster and easier churning.
- Start churning at a low speed and gradually increase it to avoid splashing.
- If the cream is not thickening properly, try adding a pinch of salt or a few drops of lemon juice to help stabilize the emulsion.
Troubleshooting churn problems:
- If the cream is not churning at all, it might be too warm. Chill it in the refrigerator for a while before trying again.
- If the butter is not forming properly, the cream may be over-churned. Stop churning as soon as the butter starts to separate from the buttermilk.
- If the butter has a greasy texture, it may have been churned too long. Start with fresh cream and be mindful of the churning time.

ONGROK Butter Maker & Oil Infuser Machine - Sleek Butter Machine with Simple Functionality, Electric Tincture Machine Kit for Edible Herbal Oil with all Accessories (Large)
COMPLETE BUTTER MAKER MACHINE KIT: Get started right away with our ONGROK Butter Making kit, which includes silicone...
As an affiliate, we earn on qualifying purchases.
Separating the Buttermilk
In the previous subtopic, I explained the process of churning cream to make butter. Now, let’s move on to the next step: separating the buttermilk from the butter. This step is crucial as it helps achieve that creamy texture and distinct flavor in the butter.
To separate the buttermilk from the butter, you can use various cream separation techniques. One popular method is using a cheesecloth or fine-mesh strainer. Simply place the churned butter in the strainer or wrap it in cheesecloth and gently squeeze or press it. The liquid that drains out is the buttermilk, while the solid left behind is the freshly made butter.
Buttermilk, a byproduct of the butter-making process, has many uses. It can be used in baking, as a marinade for meats, or in salad dressings. It adds a tangy flavor and moisture to dishes. So, don’t discard the buttermilk; put it to good use!
| Technique | Description |
|---|---|
| Cheesecloth | Wrapping churned butter in cheesecloth and squeezing to separate buttermilk. |
| Fine-mesh strainer | Placing churned butter in a fine-mesh strainer and gently pressing to separate buttermilk. |
Washing and Kneading the Butter
Once you have separated the buttermilk from the butter, the next step is to wash and knead the butter to remove any remaining buttermilk and improve its texture.
Washing the butter involves adding cold water to the butter and kneading it to release any trapped buttermilk. Here are some techniques and methods for washing and kneading butter:
-
Washing Techniques:
-
Start by placing the butter in a bowl of cold water.
-
Gently knead the butter with your hands, squeezing out any buttermilk.
-
Change the water and repeat the process until the water runs clear.
-
Kneading Methods:
-
Use a wooden spoon or spatula to press and fold the butter repeatedly.
-
Alternatively, you can use your hands to knead the butter, similar to kneading dough.
Adding Salt (Optional
You can choose to enhance the flavor of your butter by adding salt, which is optional. Salt not only adds taste but also acts as a preservative, extending the shelf life of the butter. However, it’s important to note that excessive salt consumption can have negative health effects, so it’s best to use it in moderation. Adding salt to your butter can bring out the natural flavors and make it more enjoyable to use in various dishes. Additionally, salt can help inhibit the growth of bacteria in the butter, ensuring its freshness for a longer period. Remember to taste and adjust the salt level according to your preference. Enjoy the added flavor and the health benefits of your homemade butter!
| Benefits of Adding Salt to Butter | Recommendations |
|---|---|
| Enhances flavor | Use in moderation |
| Acts as a preservative | Taste and adjust |
| Inhibits bacterial growth | Enjoy the added flavor |
Storing and Preserving the Butter
To store and preserve your homemade butter, it’s important to keep it in an airtight container in the refrigerator. This will help maintain its freshness and prevent spoilage. Here are some effective storing techniques to ensure your butter stays delicious for longer:
-
Choose the right container: Opt for a container that is airtight and opaque to protect the butter from light and air exposure, which can cause it to spoil faster.
-
Keep it cold: Butter should always be stored in the refrigerator, as it is susceptible to melting and bacterial growth at room temperature.
-
Avoid the door: Place the butter towards the back of the refrigerator shelves where the temperature is more consistent, as the door tends to have temperature fluctuations.
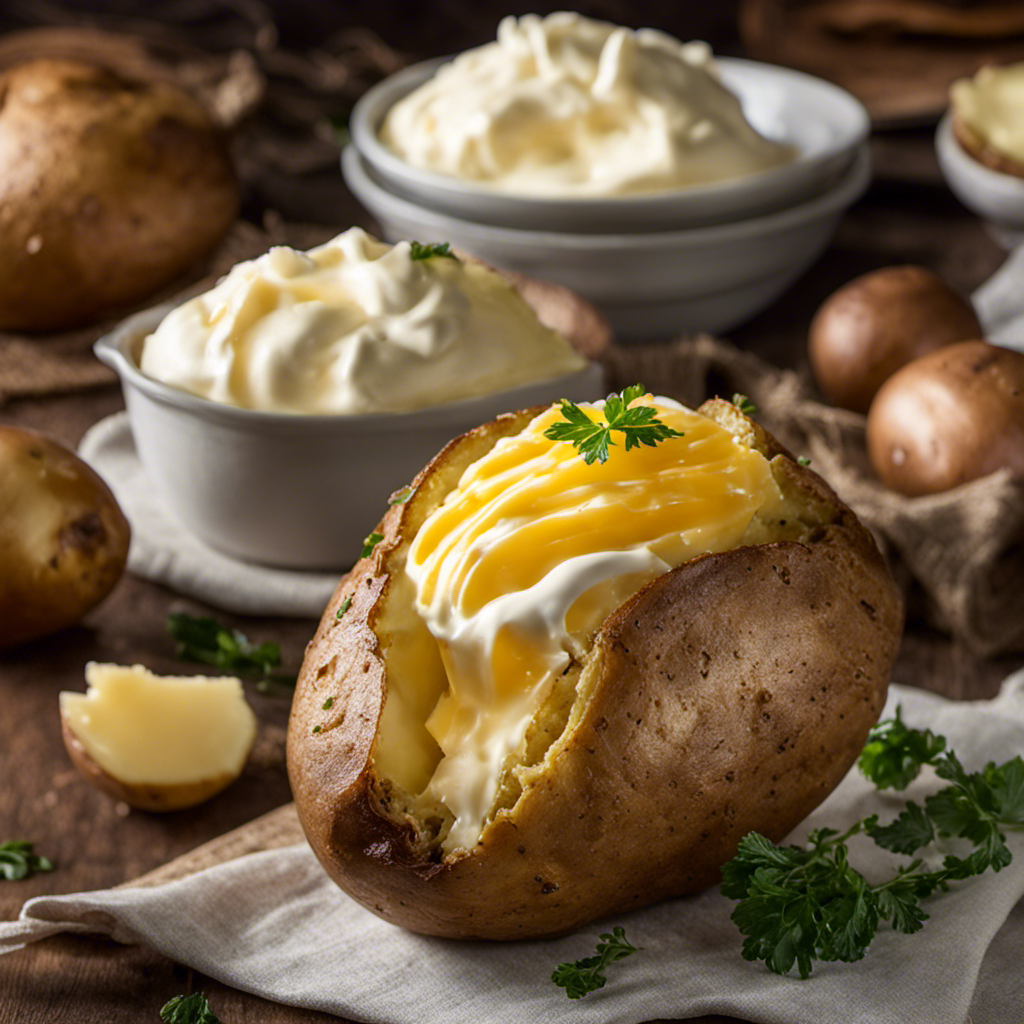
Enjoying Your Homemade Skyrim Butter
Now that you’ve successfully made your own homemade butter, it’s time to indulge in its creamy goodness.
Tasting your creation is a moment of pure satisfaction. You can savor the rich and velvety texture that only fresh butter can provide.
But don’t stop there – why not explore recipe variations and customization options to elevate your butter to new heights? You can add herbs and spices or experiment with different types of milk. The possibilities are endless when it comes to tailoring your homemade butter to suit your taste preferences.
Tasting Your Homemade Butter
Once cooled, take a small spoonful of your homemade butter and savor the creamy richness. Making your own butter is a rewarding process that allows you to control the freshness and quality of the final product.
To ensure your butter stays fresh for longer, consider using preservation techniques such as salting or freezing. Salting helps to inhibit the growth of bacteria and can extend the shelf life of your butter. Freezing is another effective method, as it slows down the oxidation process.
When it comes to pairing homemade butter with different dishes, the possibilities are endless. Spread it on warm, freshly baked bread for a simple and delicious treat. Use it to make a rich and flavorful sauce for pasta or vegetables. Or, incorporate it into your favorite baked goods for an extra layer of indulgence.
Explore and experiment with different flavor combinations to find your perfect match.
Recipe Variations and Customization
For a personalized touch, try adding various herbs and spices to your homemade butter, allowing you to create unique and flavorful combinations. Experimenting with recipe variations and flavor combinations is a fun way to elevate your butter-making game. Below is a table showcasing some popular herbs and spices that can be incorporated into your homemade butter:
| Herb/Spice | Flavor Profile |
|---|---|
| Rosemary | Earthy, aromatic |
| Thyme | Savory, slightly minty |
| Garlic | Pungent, bold |
| Cinnamon | Warm, sweet |
Frequently Asked Questions
Can I Use Any Type of Cream to Make Butter in Skyrim?
I can use any type of cream to make butter in Skyrim. Here are some tips and tricks for achieving the perfect texture and flavor when churning butter.
How Long Does It Usually Take to Churn the Cream Into Butter?
Typically, churning cream into butter takes about 10-15 minutes. The quality of the cream plays a crucial role in the process, affecting the time and outcome. Common issues include temperature and consistency, which can be resolved by adjusting the churn speed and adding ice water.
Can I Use a Blender or Mixer Instead of a Butter Churn?
Using a blender or mixer to make butter in Skyrim has its pros and cons. While it can save time and effort, the texture may not be as smooth and traditional as when using a butter churn.
Are There Any Alternative Methods to Separate the Buttermilk From the Butter?
There are alternative methods to separate the buttermilk from the butter, such as using a cheesecloth or strainer. Buttermilk can also be used in various recipes like pancakes or biscuits.
How Long Can Homemade Skyrim Butter Be Stored and Preserved?
To properly store and preserve homemade butter in Skyrim, it is important to keep it in an airtight container in the refrigerator. This will help prevent spoilage and ensure it stays fresh for an extended period of time.
Conclusion
In conclusion, crafting your own butter in Skyrim is a rewarding and delightful experience.
Like a skilled alchemist, you gather the ingredients, prepare the churn, and skillfully churn the cream until it transforms into creamy butter.
With careful precision, you separate the buttermilk, wash and knead the butter, and add a pinch of salt for that extra burst of flavor.
Finally, you store and preserve your creation, ready to enhance your culinary adventures in the vast lands of Skyrim.
Embrace the art of butter-making and savor the richness it brings to your virtual world.