Were you aware that creating butter in a Kitchenaid is simple, enjoyable, and fulfilling?
In this article, I’ll guide you through the step-by-step process of creating your own homemade butter using a Kitchenaid mixer.
With just a few simple ingredients and the right equipment, you’ll be able to enjoy the rich and creamy taste of freshly made butter right in your own kitchen.
So, let’s get started and churn out some delicious butter!
Key Takeaways
- Properly whipping the cream in a KitchenAid mixer is essential to avoid over-mixing and turning it into butter.
- Straining the buttermilk thoroughly after separating it from the butter helps preserve the butter’s freshness and prevent spoilage.
- Washing the butter molds or cookie cutters with warm water and gentle soap is important to ensure cleanliness before shaping the butter.
- Homemade butter can be stored in the refrigerator for up to two weeks in an airtight container, or frozen for up to six months to extend its shelf life.

EZ Off Jar Opener for Seniors - Under Cabinet Jar Openers for Weak Hands, Easy Grip, Arthritis jar opener, One Handed Gadgets & Bottle Opener - Essential Kitchen Gadgets for Home Assistance - White
OPEN JARS EFFORTLESSLY: Open any jar with ease using our one-handed bottle opener, perfect for tackling even the...
As an affiliate, we earn on qualifying purchases.
Gathering the Ingredients and Equipment
First, you’ll need to gather all of the ingredients and equipment needed to make butter in your KitchenAid.
For easy butter recipes, you will only require two ingredients: heavy cream and salt (optional). Make sure the heavy cream is cold, as it helps in the butter-making process.
As for equipment, you’ll need a KitchenAid stand mixer with a whisk attachment, a spatula, a fine-mesh strainer, and a bowl.
Troubleshooting common butter-making mistakes include overwhipping the cream, which results in whipped cream instead of butter. To avoid this, be careful not to overmix and keep a close eye on the texture.
Another mistake is not straining the buttermilk properly, which can make your butter spoil faster. Straining the buttermilk thoroughly will help preserve the butter’s freshness.
![DORESshop LED Night Light[2 Pack], Night Lights Plug into Wall, 3 Level Brightness Adjustable Plug in Night Light, Dusk to Dawn Sensor, Nightlights for Adults, Bedroom, Bathroom, Hallway, 3000K](https://m.media-amazon.com/images/I/51cyaOBenzL._SL500_.jpg)
DORESshop LED Night Light[2 Pack], Night Lights Plug into Wall, 3 Level Brightness Adjustable Plug in Night Light, Dusk to Dawn Sensor, Nightlights for Adults, Bedroom, Bathroom, Hallway, 3000K
3 LEVEL BRIGHTNESS: The button on the side of this plug in night light can adjust the brightness...
As an affiliate, we earn on qualifying purchases.
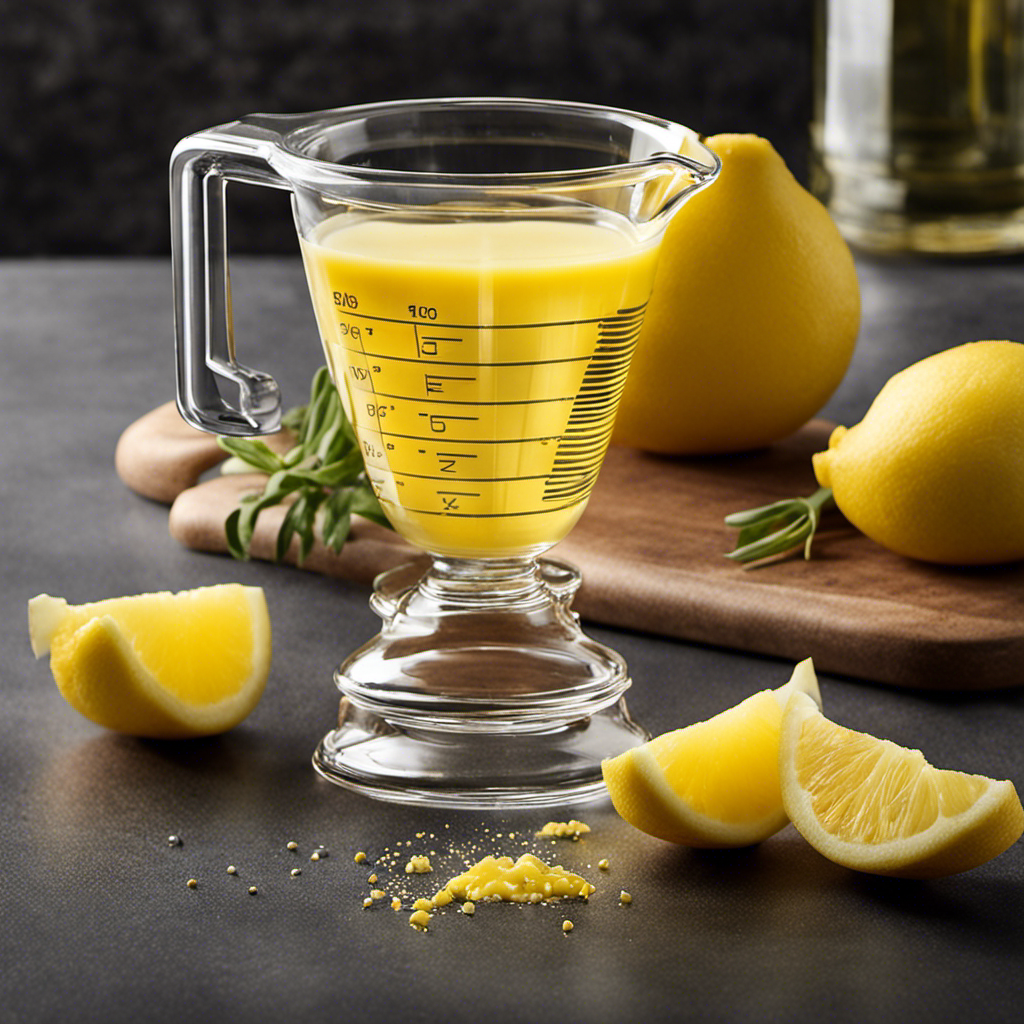
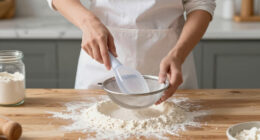
Preparing the Cream
Before you start, make sure you have all the necessary ingredients for preparing the cream.
The first step is to ensure that the cream is at room temperature. This will make it easier to incorporate air and turn it into butter. Take out the cream from the fridge and let it sit on the counter for about 30 minutes.
Next, attach the whisk attachment to your Kitchenaid mixer. This attachment will help whip the cream and turn it into butter.
Once the cream is at the right temperature and the whisk attachment is in place, you are ready to move on to the next step.
Now, let’s dive into the process of mixing the cream in the Kitchenaid.

L LOHAS LED Night Lights Plug into Wall 2-Pack, 0.3W Plug in Night Light, Dusk to Dawn, 3000K Soft White, Bright Nightlight Auto-On/Off, for Adults Kids Room Bedroom Bathroom Hallway Kitchen, Non-Dim
Auto On/Off: With built-in light sensor, the LOHAS LED home decor night light will detect the light intensity,...
As an affiliate, we earn on qualifying purchases.
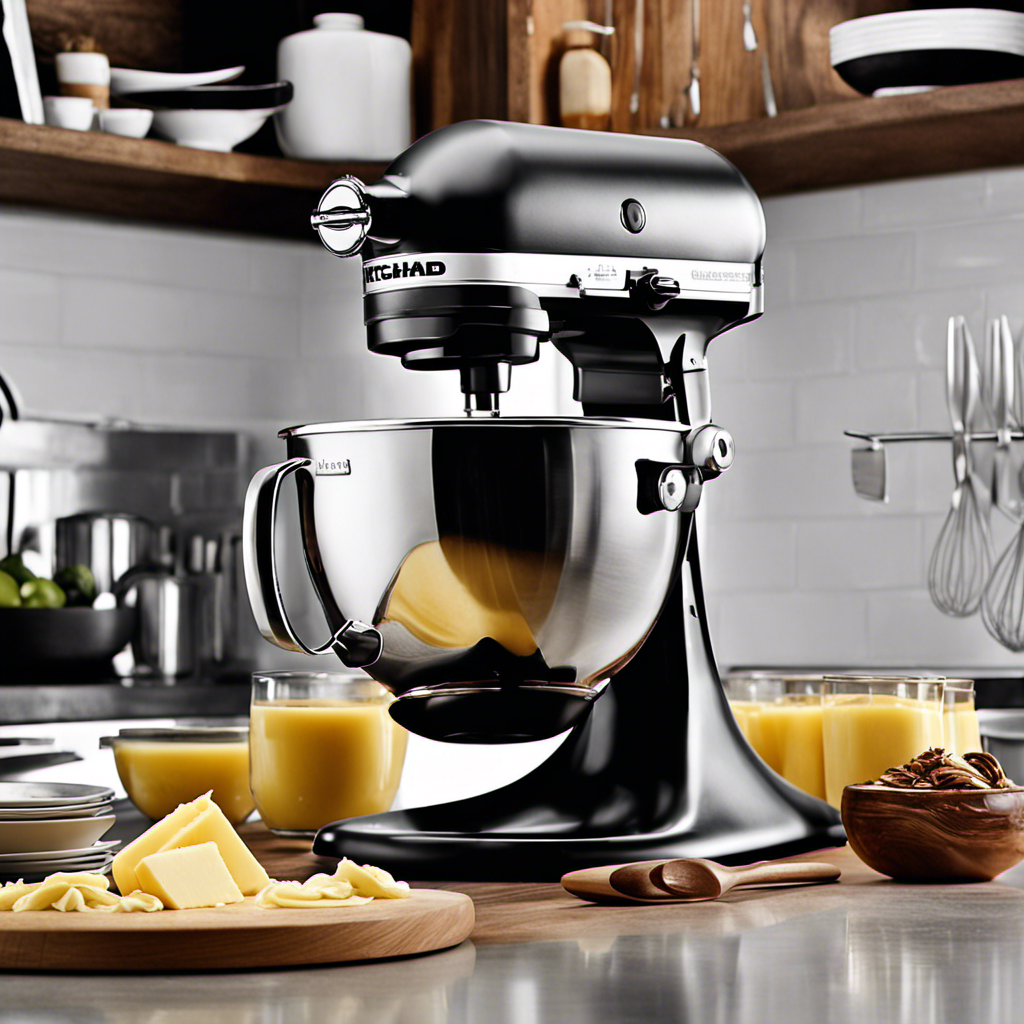
Mixing the Cream in the Kitchenaid
Now that the cream has reached room temperature, you’re ready to whip it using the whisk attachment in your Kitchenaid mixer. Start by placing the whisk attachment onto the mixer and securing it properly.
Make sure the mixer is set to medium speed before pouring in the cream. This will prevent splattering. Slowly increase the speed to high and let the mixer do its magic. The cream will start to thicken and form soft peaks.
Keep a close eye on it to avoid over-mixing, which can turn the cream into butter. If you notice the cream separating into solids and liquid, you may have over-mixed it. Stop the mixer immediately and salvage the butter by straining the liquid and pressing the solids together.
With these mixing techniques and troubleshooting tips, you’ll be well on your way to making homemade butter in no time.

Vtopmart 8 Pack Glass Food Storage Containers with Airtight Lids, Glass Meal Prep Containers, Lunch Office Meal for Microwave, Oven, Freezer and Dishwasher, BPA Free
【Set of 8 Glass Storage Containers】Rectangle (35.1OZ)+(21.6OZ)+(12.5OZ)+(5OZ); Square (27.1OZ)+(17.6OZ)+(10.8OZ)+(6.8OZ); large and small containers are versatile for different use:...
As an affiliate, we earn on qualifying purchases.
Separating the Butter From the Buttermilk
To separate the butter from the buttermilk, you’ll need a strainer and a large bowl.
After mixing the cream in the Kitchenaid until it turns into butter, it’s time to separate the two.
Place the strainer over the large bowl and pour the mixture into it.
The buttermilk will pass through the strainer and collect in the bowl, while the butter will remain in the strainer.
Press the butter gently with a spoon to remove any excess buttermilk.
Once the buttermilk is drained, transfer the butter to a separate container.
Now that you have separated the butter and the buttermilk, you can use them for different purposes.
The butter can be used for cooking, baking, or spreading on bread, while the buttermilk can be used in recipes like pancakes, biscuits, or salad dressings.
Washing and Shaping the Butter
When it comes to washing and shaping butter, there are a few key points to keep in mind.
First, it’s important to use the proper washing technique to remove any remaining buttermilk from the butter. This helps to improve its flavor and texture.
Secondly, shaping butter can be made easier by using a butter mold or simply rolling it into a log shape.
Lastly, having the right tools for butter-making, such as a butter churn or a stand mixer with a paddle attachment, can greatly assist in the process.
Proper Washing Technique
Make sure you’re using warm water and gentle soap to effectively clean your KitchenAid mixer. Here’s a proper washing technique to ensure your mixer stays in good condition:
-
Start by unplugging the mixer and removing any attachments or accessories.
-
Fill the sink with warm water and add a few drops of gentle soap.
-
Dip a soft cloth or sponge into the soapy water and gently wipe down the exterior of the mixer, paying special attention to any areas with dried-on food.
-
For the attachments, rinse them under warm water and use a small brush to remove any stuck-on residue.
-
Dry everything thoroughly with a clean towel before reattaching the accessories and storing the mixer.
By properly washing your KitchenAid mixer, you’ll not only keep it clean and in good condition, but also ensure that your butter stays fresh and delicious.
Now, let’s move on to shaping butter easily.
Shaping Butter Easily
Now that you know how to properly wash your butter, let’s move on to shaping it into fun and creative shapes! One way to do this is by using butter molds. Butter molds are specially designed containers that you can fill with softened butter and then press to create different shapes. They come in various designs, ranging from simple shapes like hearts and stars to more intricate patterns. The process is quite simple: just fill the mold with softened butter, press it firmly, and then refrigerate until the butter hardens. Once it’s ready, you can remove the butter from the mold and use it to decorate your dishes or serve it as a unique centerpiece for your table. Get creative and have fun experimenting with different butter shapes using butter molds!
| Shape | Description | Example |
|---|---|---|
| Heart | Classic symbol of love | Valentine’s Day dessert |
| Flower | Beautiful and delicate | Springtime brunch |
| Animal | Fun and playful | Kids’ birthday party |
| Monogram | Personalized touch | Wedding reception |
Tools for Butter-Making
To easily shape your butter into fun and creative shapes, you can use various tools available in your kitchen. Two popular options are butter molds and cookie cutters.
Butter molds come in different shapes and designs. They allow you to create beautiful butter shapes. Simply press the softened butter into the mold, then chill it until firm. You can then pop out the shaped butter and use it as a centerpiece for your table or as a decorative element for your dishes.
If you don’t have butter molds, cookie cutters can be a great alternative. Choose a cookie cutter with the shape you desire, press it into the softened butter, and carefully remove the excess butter around the edges. The result will be a perfectly shaped butter that adds a touch of creativity to your meals.
Another tool that can be used to shape butter is silicone ice cube trays. These versatile trays can also be used for shaping butter. Just like with butter molds, press the softened butter into the tray’s compartments, chill until firm, and then release the butter shapes by gently pushing them out. Silicone trays are great because they come in a variety of shapes and sizes, allowing you to create butter shapes that match your theme or occasion.
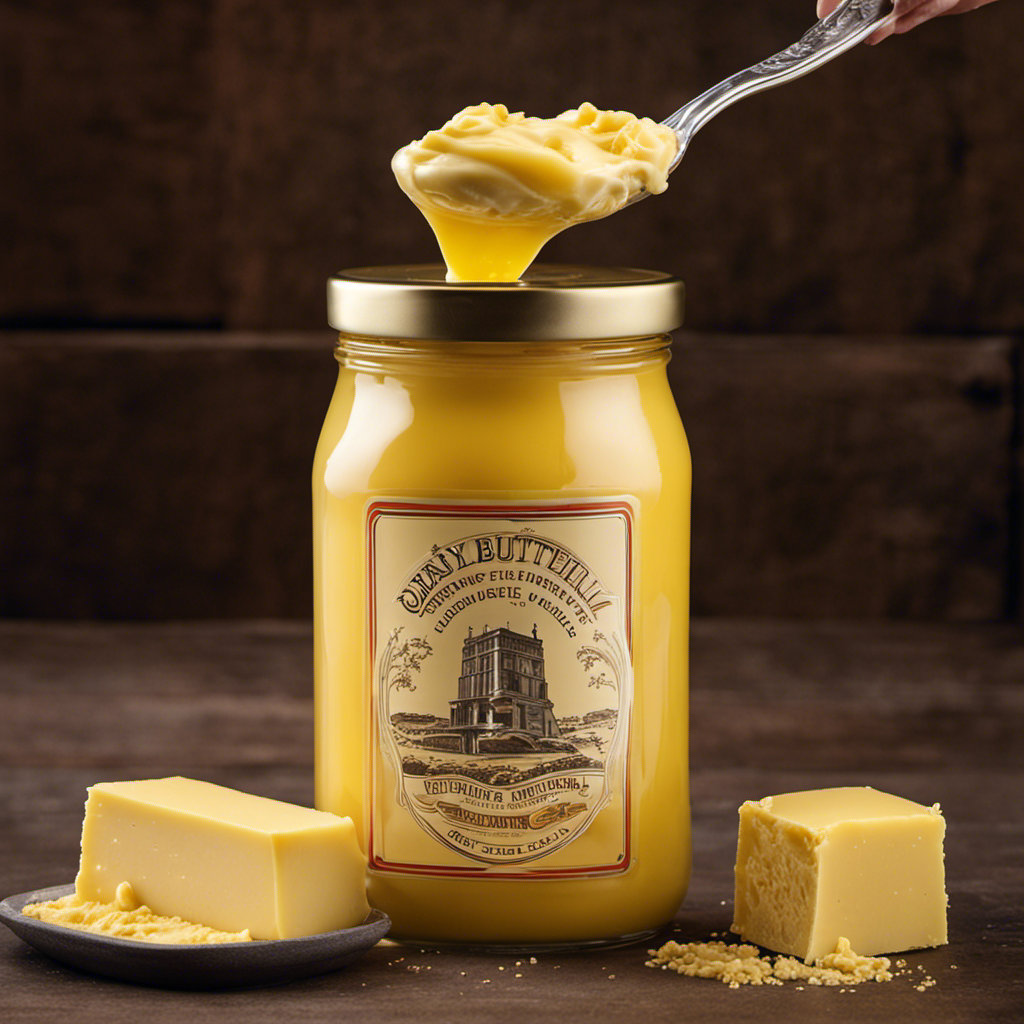
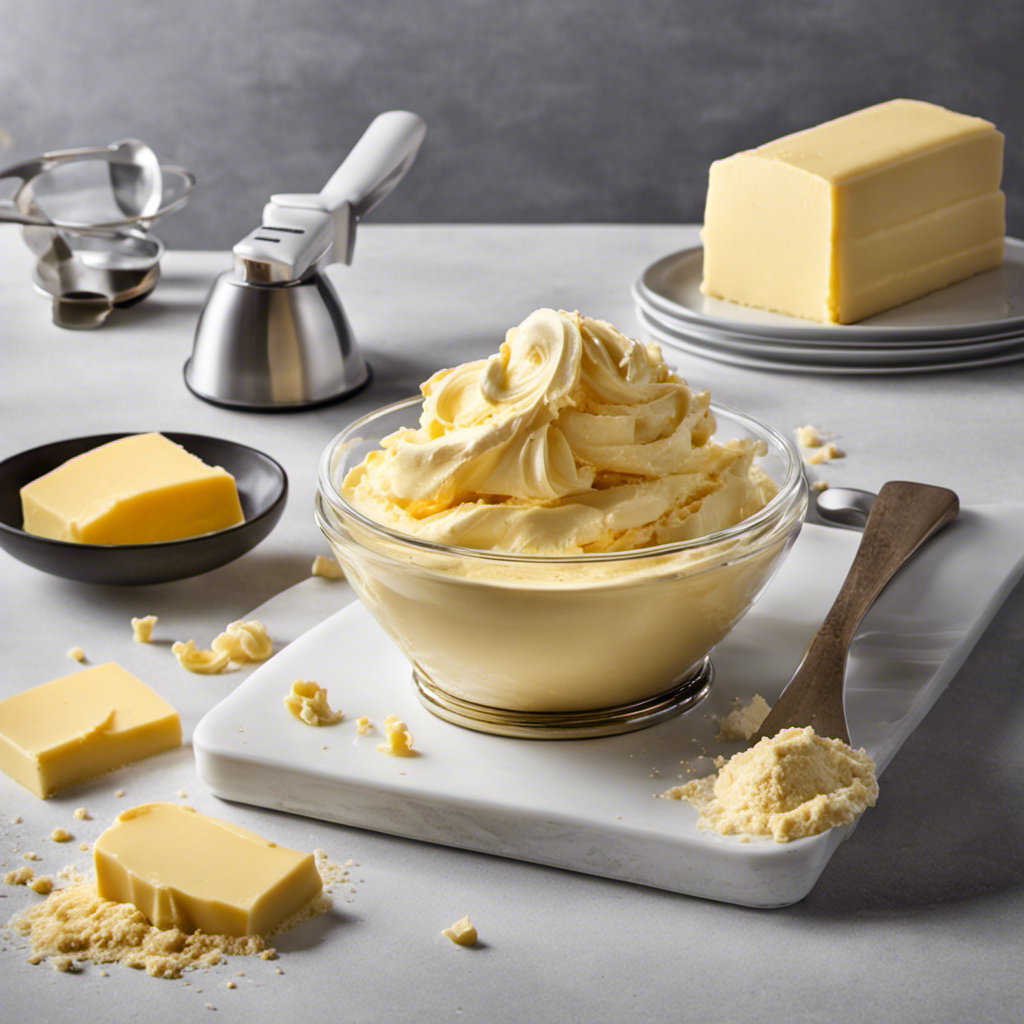
Storing and Using the Homemade Butter
You can simply store your homemade butter in an airtight container in the refrigerator for up to two weeks. It’s important to keep it in a container that is tightly sealed to prevent any odors from affecting the flavor of the butter.
If you want to store it for longer, you can also freeze your butter for up to six months. Just wrap it tightly in plastic wrap or place it in a freezer-safe container.
When it comes to using your homemade butter, the possibilities are endless. You can use it as a spread on toast or bread, melt it over vegetables or popcorn, or use it in your favorite baking recipes.
Homemade butter adds a rich and creamy flavor to any dish, so get creative and enjoy!
Frequently Asked Questions
Can I Use a Different Type of Cream or Does It Have to Be Heavy Cream?
I can use different types of cream to make butter, but heavy cream is the best option. Other alternatives include whipping cream or double cream. These creams have a higher fat content, which yields better results when making homemade butter.
Can I Use a Hand Mixer Instead of a Kitchenaid Mixer?
I can use a hand mixer instead of a Kitchenaid mixer to make butter. It’s a viable substitute. Additionally, I have the flexibility to explore alternative cream options for this process.
How Long Does It Typically Take to Separate the Butter From the Buttermilk?
To speed up butter separation, chilling the cream and using a higher speed on the Kitchenaid mixer can help. The temperature of the cream does affect separation time, with colder cream separating faster.
Can I Skip the Washing Step if I Prefer Salted Butter?
Skipping the washing step when making salted butter in a Kitchenaid? Well, let me tell you, it’s a game-changer! Just make sure to use the right cream type, whip it with a hand mixer, and voila! No extra separation time needed, and the butter’s shelf life is still amazing.
How Long Can I Store Homemade Butter Before It Goes Bad?
The shelf life of homemade butter can vary depending on how it is stored. To ensure it stays fresh, store it in an airtight container in the refrigerator. This will help prolong its shelf life.
Conclusion
In conclusion, making butter in a Kitchenaid is like mastering a symphony in your own kitchen.
With just a few simple steps, you can transform cream into a velvety, golden delight.
The process of mixing, separating, and washing the butter is like a dance of flavors, creating a masterpiece that will elevate any dish.
So why settle for store-bought when you can indulge in the heavenly bliss of homemade butter?
Get ready to savor the richness and indulge in the luxury of creating your own buttery masterpiece.