I understand your skepticism about the process of making butter from whipping cream, it may seem complicated and time-consuming. However, let me assure you that it is actually much simpler than you think!
In just a few simple steps, you can transform that carton of whipping cream in your fridge into a delicious, homemade butter. So grab your materials, chill that cream, and get ready to whip up some buttery goodness.
Trust me, once you taste the creamy, rich flavor of your homemade butter, you’ll never go back to store-bought again.
Key Takeaways
- Select the right whipping cream with the desired fat content for the desired outcome in recipes.
- Use a chilled bowl and whisk, and start at a low speed to gradually incorporate air while whipping.
- Avoid overwhipping to prevent grainy butter and separation.
- Separate and wash the butter properly to remove excess buttermilk and improve its shelf life.
Gathering the Materials
Before we begin, make sure you’ve gathered all the necessary materials. For making homemade butter, you will need some key items.
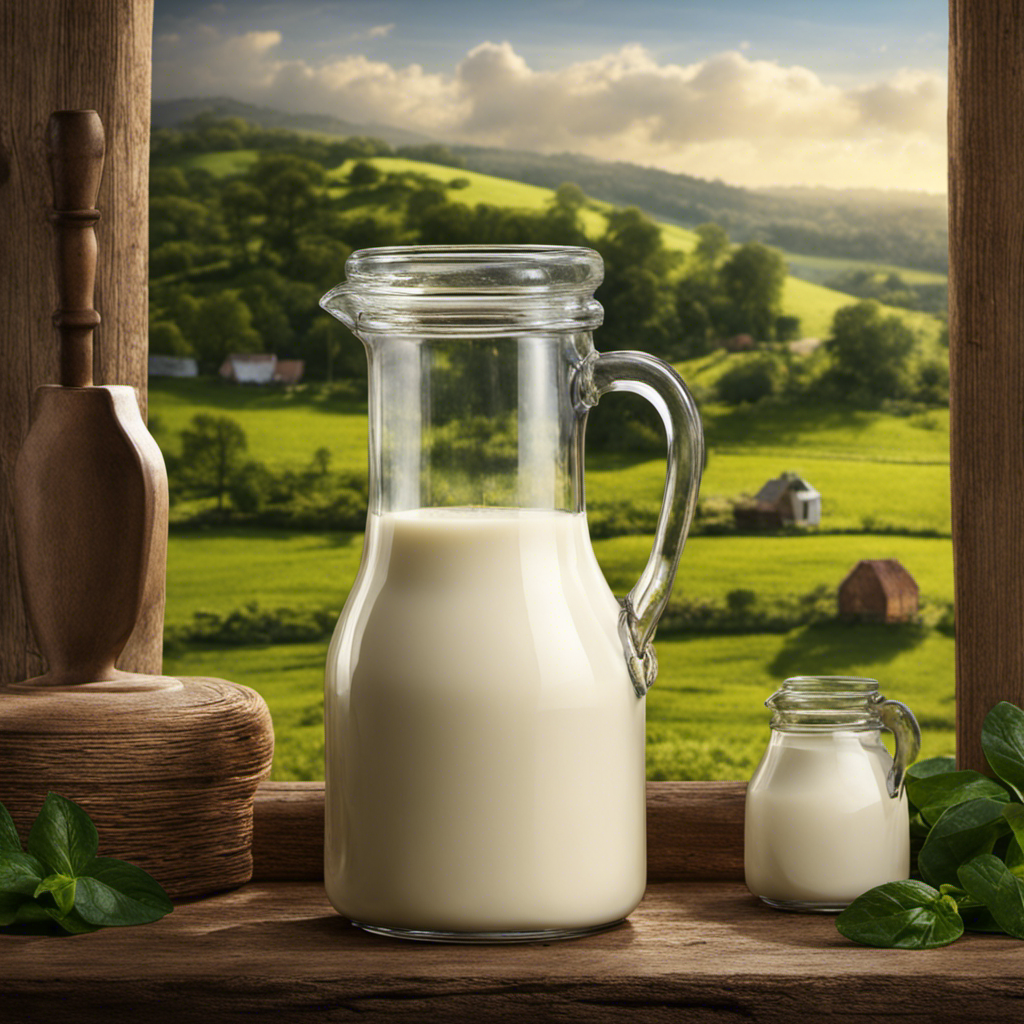
Firstly, you will need fresh whipping cream. Look for a high-quality cream with a high fat content for the best results.
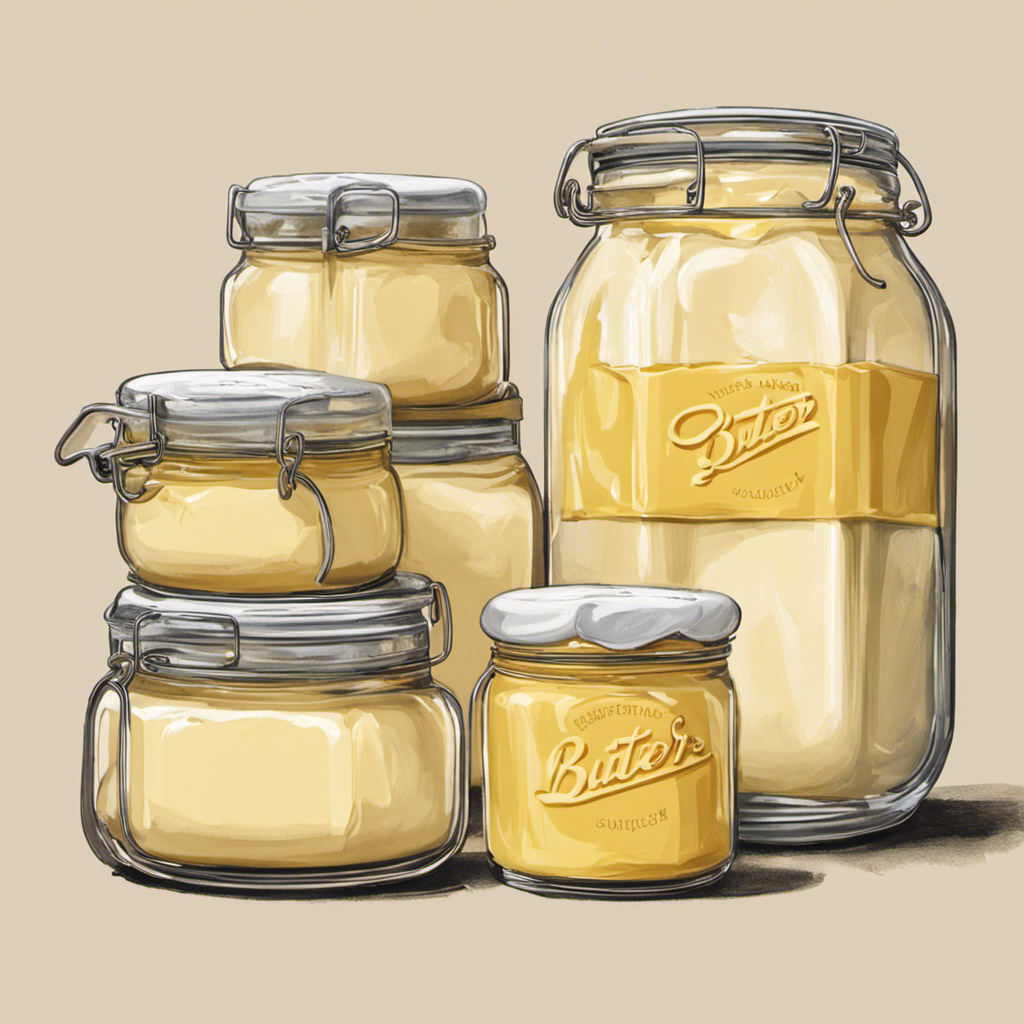
Next, you will need a container to store your homemade butter. There are various options available, such as glass jars, plastic containers, or butter keepers. Choose one that suits your preference and ensures the butter stays fresh.
Moving on to flavors, there are plenty of ways to add a delicious twist to your homemade butter. You can experiment with herbs like garlic, thyme, or rosemary. Alternatively, you can try sweet flavors like honey or cinnamon. The possibilities are endless, so get creative and have fun exploring different flavors for your homemade butter.
Selecting the Right Whipping Cream
When choosing the right whipping cream, it’s important to consider the fat content. The fat content determines the richness and thickness of the cream, which can greatly affect the outcome of your recipes.
There are different types of cream available, each with varying fat content. Heavy cream, also known as heavy whipping cream, is the richest with a fat content of around 36%. It’s perfect for making whipped cream and adding richness to sauces and soups.
Light cream has a fat content of around 20% and is best for adding a touch of creaminess to coffee or tea.
Half-and-half is a mixture of milk and cream, with a fat content of around 10-12%. It’s commonly used in coffee and as a lighter alternative to heavy cream.
When it comes to salt alternatives, you can opt for unsalted butter or low-sodium cream if you’re watching your sodium intake.
Chilling the Whipping Cream
To achieve the best results, it’s crucial to chill the whipping cream before using it in your recipes. This helps the cream to whip up faster and hold its shape better. The chilling time and temperature of the cream are important factors to consider.
Discussion Point 1: Chilling Time
It is recommended to chill the whipping cream for at least 30 minutes before using it. This allows the fat in the cream to solidify slightly, which makes it easier to whip. If the cream is not chilled enough, it may take longer to reach the desired consistency and may not hold its shape as well.
Discussion Point 2: Temperature of the Cream
The whipping cream should be cold but not frozen. Ideally, it should be around 40°F (4°C). If the cream is too warm, it will not whip properly and may become runny. On the other hand, if it is too cold, it may be difficult to incorporate air into the cream and achieve the desired volume.
| Table: | Chilling Time | Temperature of the Cream |
|---|---|---|
| At least 30 minutes | Around 40°F (4°C) |
Whipping the Cream
When it comes to whipping cream, there are a few key points to keep in mind.
First, mastering the whipping technique is crucial for achieving the perfect consistency. I’ll be sharing some helpful tips to ensure your cream whips up beautifully.
Second, having the right tools for the job makes a world of difference. I’ll be discussing the best tools to use for whipping cream, so you can achieve the best results.
Lastly, over-whipping can lead to some consequences that can ruin your whipped cream. I’ll be covering what those consequences are and how to avoid them.
Whipping Technique Tips
One important tip for whipping cream into butter is to ensure you’re using cold cream straight from the fridge. This is because cold cream has a higher fat content and will whip up more easily.
When it comes to whipping technique, there are a few key tips to keep in mind:
- Use a chilled bowl and whisk: This helps to maintain the cold temperature of the cream and promotes better whipping.
- Start at a low speed: Beginning at a low speed allows the cream to incorporate air gradually, preventing splattering.
- Avoid overwhipping: Be careful not to overwhip the cream, as this can lead to grainy butter and separation of the milk solids.
Best Tools for Whipping
Using a chilled bowl and whisk will help you maintain the cold temperature of your ingredients and achieve better results.
However, if you don’t have access to these tools, there are alternatives for whipping cream. An electric mixer with a whisk attachment can be a great option, as it saves time and effort. Another alternative is a hand mixer, which is more portable and convenient for smaller batches.
Now, let’s address some common whipping issues. If your cream is not thickening, make sure it is cold and that you’re using the correct fat percentage. If the cream starts to curdle, stop whipping immediately, as this means you have over-whipped it.
Speaking of over-whipping, let’s discuss the consequences in the next section.
Over-Whipping Consequences
If you over-whip the cream, it will become grainy and lose its smooth texture. Over-whipping introduces too much air into the cream, causing it to thicken excessively and break down. As a result, the fat globules in the cream clump together, creating a grainy consistency. This is not ideal when using the cream for toppings or fillings.
Consequences of over-whipping:
- Grainy texture
- Loss of smoothness
While over-whipped cream may not be suitable for its original purpose, there are alternative uses for it:
Alternative uses for over-whipped cream:
- Incorporate it into a cake batter for added moisture and richness.
- Use it as a base for homemade butter, by continuing to whip until the fat separates from the liquid.
Adding Salt (Optional
I love adding salt to my dishes because it enhances the flavor and brings out the best in every ingredient.
But I know there’s an ongoing debate about whether to use salt or not, with some people advocating for a salt-free diet.
In this discussion, we’ll explore the benefits of adding salt and how it can transform a dish from ordinary to extraordinary.
Salt Enhances Flavor
Adding salt to the whipped cream enhances its flavor. Salt has the ability to bring out the natural sweetness and richness of the cream, creating a more balanced and enjoyable taste. But the benefits of adding salt to whipped cream go beyond flavor enhancement.
Firstly, consuming salt in moderation can have several health benefits. It helps to regulate fluid balance in the body, supports proper muscle function, and aids in nerve transmission.
Secondly, if you prefer to explore alternative flavor enhancements, there are various options to consider. You can add a splash of vanilla extract for a subtle sweetness, a drizzle of chocolate syrup for a decadent twist, or a sprinkle of cinnamon for a warm and spicy flavor. These alternatives offer unique tastes that can elevate your whipped cream to new heights.
Salt or No Salt
In my previous subtopic, I discussed how salt enhances the flavor of butter. Now, let’s tackle the age-old debate: salted or unsalted butter? It’s a discussion point that has divided many home cooks and chefs alike.
Some argue that salted butter adds an extra depth of flavor to dishes, while others prefer the versatility of unsalted butter. When it comes to health benefits, both options have their merits. Salted butter contains trace amounts of iodine, which is essential for thyroid function. On the other hand, unsalted butter allows you to control the sodium intake in your meals.
For those looking for alternative seasonings, there are plenty of options to explore. Herbs like rosemary, thyme, or garlic can add a burst of flavor to your butter. You can even experiment with spices like paprika or cayenne pepper for a little kick.
Ultimately, the choice between salted and unsalted butter and alternative seasonings comes down to personal preference and the specific dish you’re preparing.
Benefits of Adding Salt
When using salt, you’ll notice that it helps to enhance the flavors in your dishes. It’s a staple in most kitchens and adds that extra kick to your meals.
But did you know that there are alternatives to salt that can provide the same flavor enhancement? Some popular salt alternatives include herbs and spices like garlic powder, onion powder, and black pepper. These alternatives not only bring out the flavors in your food but also offer additional health benefits.
For example, garlic powder is known for its antioxidant properties and can boost your immune system. Onion powder is rich in vitamins and minerals, while black pepper aids digestion.
Continuing to Whip
Once the cream starts to thicken, you can keep whipping it to achieve the desired consistency for butter. Continuous whipping has its benefits.
Firstly, it helps to break down the fat globules in the cream, allowing them to stick together and form butter. This continuous agitation also helps to release excess moisture, resulting in a creamier and more spreadable butter.
Secondly, different whipping techniques can be employed to achieve different results. For a light and fluffy butter, whip the cream at a high speed until it forms soft peaks. If you prefer a denser and more solid butter, continue whipping until the cream becomes stiff and separates into butter and buttermilk.
Separating the Butterfat
To separate the butterfat, you’ll want to continue agitating the cream until it separates into butter and buttermilk. The butterfat content of different types of cream can vary, with heavy cream having a higher percentage compared to light cream. This difference in butterfat content affects the flavor and texture of the resulting butter.
When it comes to the history of butter making techniques, it dates back thousands of years. Ancient civilizations discovered that agitating cream could separate the butterfat from the liquid. They used various methods, such as shaking the cream in animal skin bags or churning it in wooden barrels. Over time, these techniques evolved, and today we have modern tools like stand mixers and butter churns to make the process easier.
Now, let’s move on to the next step: draining the buttermilk.
Draining the Buttermilk
Now, you can strain the mixture through a fine mesh sieve or cheesecloth to separate the buttermilk from the butter. Straining is an essential step in the butter-making process as it helps remove any remaining liquid from the solid butter.
As the mixture passes through the sieve or cheesecloth, the golden buttermilk will slowly drip down, leaving behind the creamy, velvety butter. Buttermilk, despite its name, is not actually made from butter. It is the liquid left over after churning butter from cream.
Besides being a delicious ingredient in pancakes and baked goods, buttermilk also offers several health benefits. It is rich in probiotics, calcium, and vitamins, making it good for digestion and bone health. In addition to its culinary uses, buttermilk has been historically used as a natural beauty remedy, helping to cleanse and exfoliate the skin.
Washing the Butter
When it comes to making homemade butter, there’s an important step that often gets overlooked – washing the butter.
In this discussion, we’ll explore the reasons why washing butter is necessary and the benefits it brings to the final product.
Additionally, we’ll delve into the proper techniques for washing butter to ensure the best results and achieve that smooth, creamy texture we all love.
Discussion Point 1: Why Wash Butter
Why wash butter? It helps remove excess buttermilk and improves the shelf life of your homemade butter. When making butter, it’s important to properly wash it to ensure the final product is of high quality.
Here are some key reasons why butter washing is essential:
-
Proper butter washing techniques:
-
Rinse the butter under cold water to remove any remaining buttermilk.
-
Knead the butter to remove excess moisture.
-
Benefits of adding salt:
-
Salt acts as a preservative, extending the shelf life of the butter.
-
Salt enhances the flavor and adds a subtle depth to the butter.
By following these proper butter washing techniques and adding a pinch of salt, you can achieve a creamy, flavorful, and longer-lasting homemade butter.
Now, let’s move on to discussing proper butter washing techniques in more detail.
Discussion Point 2: Proper Butter Washing Techniques
To achieve a creamy and longer-lasting homemade butter, it’s important to properly wash the butter and remove excess moisture. When it comes to butter washing techniques, there are a few variations you can try.
One method is using cold water. After churning the butter, you can place it in a bowl of cold water and gently knead it. The water will help remove any remaining buttermilk, which can cause the butter to spoil faster.
Another technique involves using ice water. This method is particularly effective in removing even more buttermilk and excess moisture, resulting in a smoother and firmer butter.
Whichever technique you choose, the benefits of proper butter washing are undeniable. Not only does it improve the taste and texture, but it also helps to extend the shelf life of your homemade butter.
Shaping the Butter
First, take the lump of butter and shape it into a round ball. Shaping the butter is an important step in creating a visually appealing final product. Here are some shaping techniques to consider:
- Press and roll: Use the palm of your hand to press the butter into a flat shape, then gently roll it into a cylinder.
- Knife sculpting: With a sharp knife, carefully carve the butter into intricate shapes or patterns.
Now, let’s talk about butter molds. Butter molds are a fun and creative way to shape your homemade butter. They come in various designs, such as flowers, animals, or even holiday-themed shapes. Simply press the softened butter into the mold, then gently tap it out to reveal the beautiful shape.
By shaping your butter with different techniques or using molds, you can add a personal touch to your homemade butter.
Now, let’s move on to the next step: storing and enjoying your creation.
Storing and Enjoying Your Homemade Butter
Now let’s talk about how to store and enjoy your homemade butter.
Homemade butter is better because it contains no preservatives or additives, giving you a pure and natural flavor.
To store your butter, wrap it tightly in wax paper or plastic wrap and keep it in the refrigerator. This will help it stay fresh for up to two weeks.
When it comes to enjoying your homemade butter, the possibilities are endless. Spread it on warm toast or freshly baked bread for a simple and satisfying treat. Use it to sauté vegetables or melt it over grilled steak for added richness and flavor. And don’t forget about baking! Homemade butter is perfect for making flaky pie crusts and delicious cookies.
Frequently Asked Questions
How Long Does It Take to Make Butter From Whipping Cream?
It doesn’t take long to make butter from whipping cream. Once the cream is whipped, it separates into butter and buttermilk. After that, you can store the homemade butter properly and even flavor it to your liking.
Can I Use Any Type of Salt When Adding It to the Butter?
Yes, you can use different types of salt when adding it to homemade butter. It’s a great way to add flavors and enhance the taste. I personally enjoy using sea salt or Himalayan pink salt for a unique twist.
Can I Use an Electric Mixer Instead of a Hand Whisk to Whip the Cream?
Yes, you can definitely use an electric mixer instead of a hand whisk to whip the cream. It’s quicker and more efficient. Plus, you’ll get that perfect fluffy texture for your homemade butter.
Can I Use Heavy Cream Instead of Whipping Cream to Make Butter?
Yes, heavy cream can be used as an alternative ingredient for making butter from cream. It contains a higher fat content than whipping cream, which helps in the butter-making process.
How Long Can I Store Homemade Butter in the Refrigerator Before It Goes Bad?
I’ll share some storage tips for homemade butter and signs of spoiled butter. It’s important to know how long we can keep it in the refrigerator before it goes bad.
Conclusion
In conclusion, making butter from whipping cream is a simple and rewarding process. By following the steps outlined in this article, you can create your own delicious homemade butter.
So why not give it a whirl? With a little patience and effort, you’ll be churning out creamy, flavorful butter that will have you saying, ‘It’s like butter wouldn’t melt in my mouth!’
So go ahead and embark on this butter-making adventure, and indulge in the rich and wholesome taste of your very own creation.


