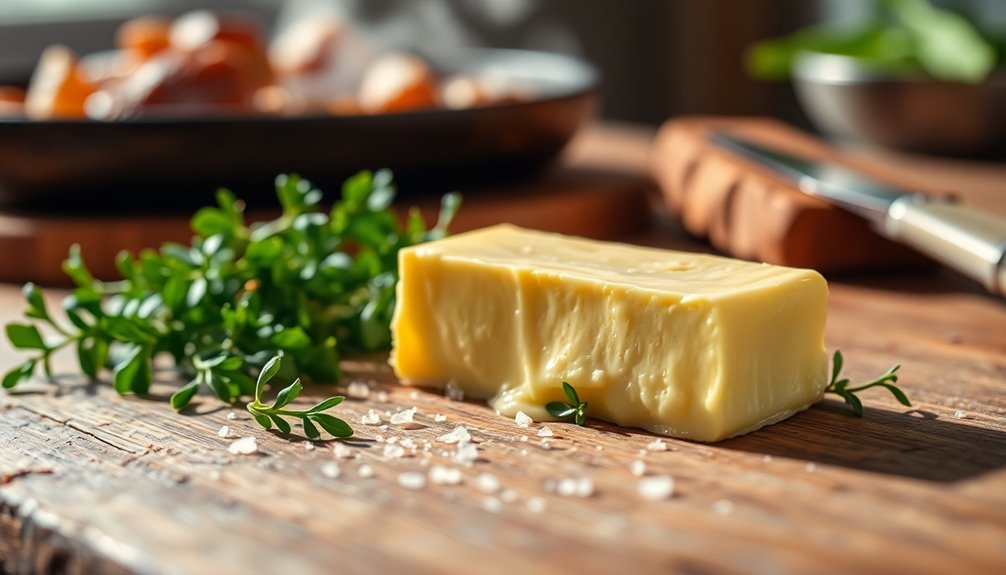
I have found that creating butter from heavy cream in a jar is not only easy, but also quite interesting.
Did you know that it takes just a few minutes of vigorous shaking to transform cream into creamy, homemade butter?
In this article, I’ll guide you through the step-by-step process of turning heavy cream into delicious butter right in the comfort of your own kitchen.
Get ready to embark on a butter-making adventure that will leave you with a fresh and satisfying end result.
Key Takeaways
- Choose the type of cream: heavy cream, light cream, or half-and-half.
- Shake the jar vigorously back and forth to agitate the cream.
- Shake the mixture for a minimum of 10 minutes for optimal separation.
- Place the butter in a bowl of cold water and knead to release buttermilk.
Gathering the Ingredients and Equipment
To start making butter from heavy cream in a jar, you’ll need to gather the necessary ingredients and equipment.
First, choose the type of cream you want to use. Heavy cream, also known as whipping cream, is the most common choice. However, you can also use light cream or even half-and-half for a lighter option.
Next, gather a clean, airtight jar with a tight-fitting lid. This will be used to shake the cream until it turns into butter.
If you’re making butter with kids, it’s important to involve them in the process. Let them help you measure the cream and pour it into the jar. This hands-on experience will make the process more enjoyable for them.
Pouring the Heavy Cream Into the Jar
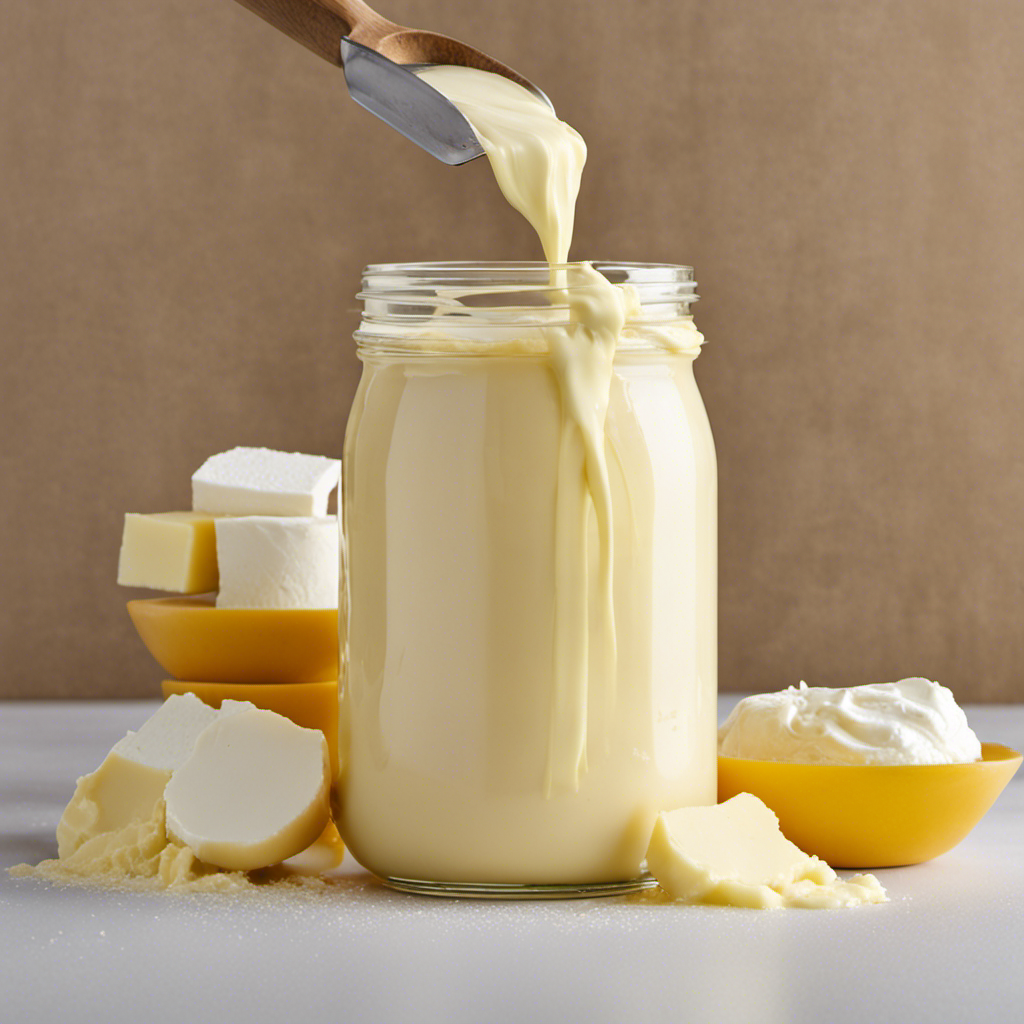
After pouring in the heavy cream, I secure the lid tightly on the jar to prevent any spills. This step is crucial in ensuring a smooth and mess-free process.
To achieve the desired results, an effective shaking technique is required. Holding the jar firmly with both hands, I begin shaking it vigorously back and forth. This motion helps to agitate the cream, causing the fat globules to separate from the milk.
It is important to maintain a consistent rhythm and intensity while shaking to ensure a thorough separation. By following this technique, the cream will gradually transform into butter, with the liquid portion separating into buttermilk.
With proper shaking and a secure lid, spills can be prevented, allowing for a successful butter-making process.
Shaking the Jar Vigorously
In order to achieve effective separation of the cream into butter and buttermilk, it is crucial to employ a vigorous shaking technique.
By vigorously shaking the jar, the fat globules in the cream are agitated and start to clump together, eventually forming butter. This process is enhanced by the application of forceful and consistent shaking motions.
The time required for separation can vary depending on various factors such as the temperature of the cream and the intensity of shaking.
Effective Shaking Technique
Start by ensuring that you have a tight grip on the jar before vigorously shaking it back and forth. This shaking motion is crucial in the process of making butter from heavy cream.
To achieve the best results, consider the following techniques:
-
Shaking duration: Shake the jar for a minimum of 10 minutes to allow the fat molecules in the cream to separate from the liquid.
-
Alternative shaking methods: If shaking for an extended period becomes tiring, you can try other techniques such as rolling the jar on a flat surface or using a blender on low speed.
-
Rhythmic shaking: Maintain a consistent rhythm and speed while shaking to create enough agitation for the fat to clump together.
-
Hand positioning: Hold the jar firmly with both hands to generate maximum force during the shaking process.
-
Rest periods: Take short breaks during the shaking process to prevent muscle fatigue and to check the progress of the cream.
Time Required for Separation
To achieve optimal separation, you’ll need to shake the mixture for a minimum of 10 minutes. This is the ideal shaking time required for the heavy cream to separate into butter and buttermilk. During this process, the fat globules in the cream agitate and collide, causing them to clump together and separate from the liquid. It is important to shake the jar vigorously and consistently to ensure thorough separation.
In my personal experience, I have found that shaking the mixture for longer than 10 minutes can yield even better results. The increased shaking time allows for more efficient separation, resulting in a higher yield of butter. However, it is essential to monitor the consistency of the mixture throughout the shaking process. Over-shaking can lead to the formation of butter grains that are too small, resulting in a greasy texture.
To illustrate the impact of separation time and optimal shaking, I have created a table below that showcases the different outcomes based on varying shaking durations.
| Shaking Duration (minutes) | Butter Consistency | Buttermilk Quantity |
|---|---|---|
| 10 | Smooth and creamy | Moderate |
| 15 | Rich and velvety | Abundant |
| 20 | Luxuriously thick | Generous |
| 25 | Silky and dense | Plentiful |
| 30 | Indulgent and firm | Copious |
As this table demonstrates, the longer the shaking duration, the more desirable the butter consistency and the larger the quantity of buttermilk obtained. However, it is important to note that individual results may vary depending on the freshness and quality of the heavy cream used. Therefore, it is recommended to experiment with different shaking times to find the optimal duration for achieving the desired butter texture and buttermilk yield.
Draining the Buttermilk
When it comes to baking, buttermilk is a versatile ingredient that can enhance the texture and flavor of various baked goods. Its tangy taste and acidity help to activate leavening agents like baking soda, resulting in lighter and fluffier baked goods.
Additionally, buttermilk adds moisture and tenderness to cakes, muffins, and biscuits, making them moist and delicious.
As for leftover buttermilk, it can be utilized in a variety of ways. It can be used to make salad dressings, marinades, or even as a substitute for regular milk in other recipes. Its unique flavor and creamy consistency can bring a delightful twist to both sweet and savory dishes.
Buttermilk for Baking
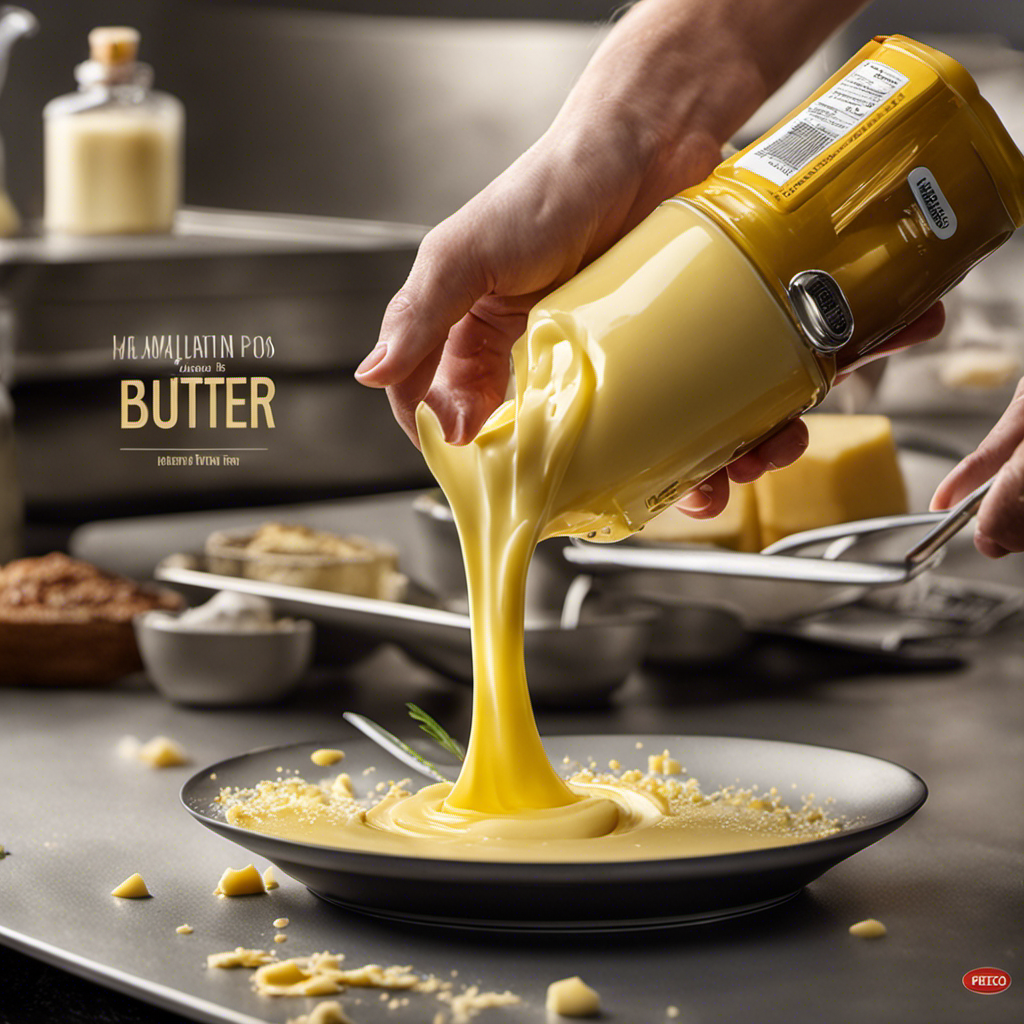
If you let the jar of heavy cream sit out for a few hours, the buttermilk will separate from the butter. Buttermilk is not only a great ingredient for baking, but it also has numerous health benefits.
Here are some substitutes for buttermilk and the benefits it offers:
-
Lemon juice or vinegar: These acidic ingredients can be added to milk to create a buttermilk substitute. They provide a tangy flavor and help in tenderizing baked goods.
-
Yogurt: Mixing yogurt with water can also be used as a substitute for buttermilk. It adds moisture and richness to baked goods.
-
Health benefits: Buttermilk is rich in probiotics, which promote a healthy gut. It is also a good source of calcium, vitamins, and minerals. Additionally, it is low in fat and calories.
Incorporating buttermilk substitutes in baking not only adds flavor and moisture but also provides various health benefits.
Uses for Leftover Buttermilk?
One way to utilize leftover buttermilk is by making tangy and moist pancakes. Buttermilk, with its acidic properties, adds a unique flavor and texture to the pancakes.
To make these pancakes, start by combining flour, sugar, baking powder, baking soda, and salt in a bowl. In a separate bowl, whisk together the leftover buttermilk, eggs, and melted butter. Gradually add the wet mixture to the dry ingredients, stirring until just combined.
Cook the pancakes on a hot griddle, flipping them when bubbles form on the surface. The result? Fluffy, tangy pancakes that are perfect for breakfast or brunch.
Besides pancakes, leftover buttermilk can be used in various recipes like biscuits, cakes, and even marinades for meat. Its tangy taste and creamy texture add a unique depth to these dishes, making them even more delicious.
Washing and Kneading the Butter
To wash and knead the butter, you’ll want to place the butter in a bowl of cold water. This washing technique helps to remove any residual buttermilk, which can cause the butter to spoil faster.
Here’s a step-by-step guide to achieving the perfect butter consistency:
- Start by placing the butter in a bowl of cold water.
- Using your hands or a wooden spatula, gently knead the butter in the water.
- As you knead, you’ll notice the water turning cloudy. This indicates the buttermilk being released from the butter.
- Drain the cloudy water and repeat the process with fresh cold water until the water runs clear.
- Once the butter is thoroughly washed, gently squeeze out any excess water and shape it into a block or roll.
Following this washing technique will result in a creamy, flavorful butter with a longer shelf life.
Storing and Using the Homemade Butter
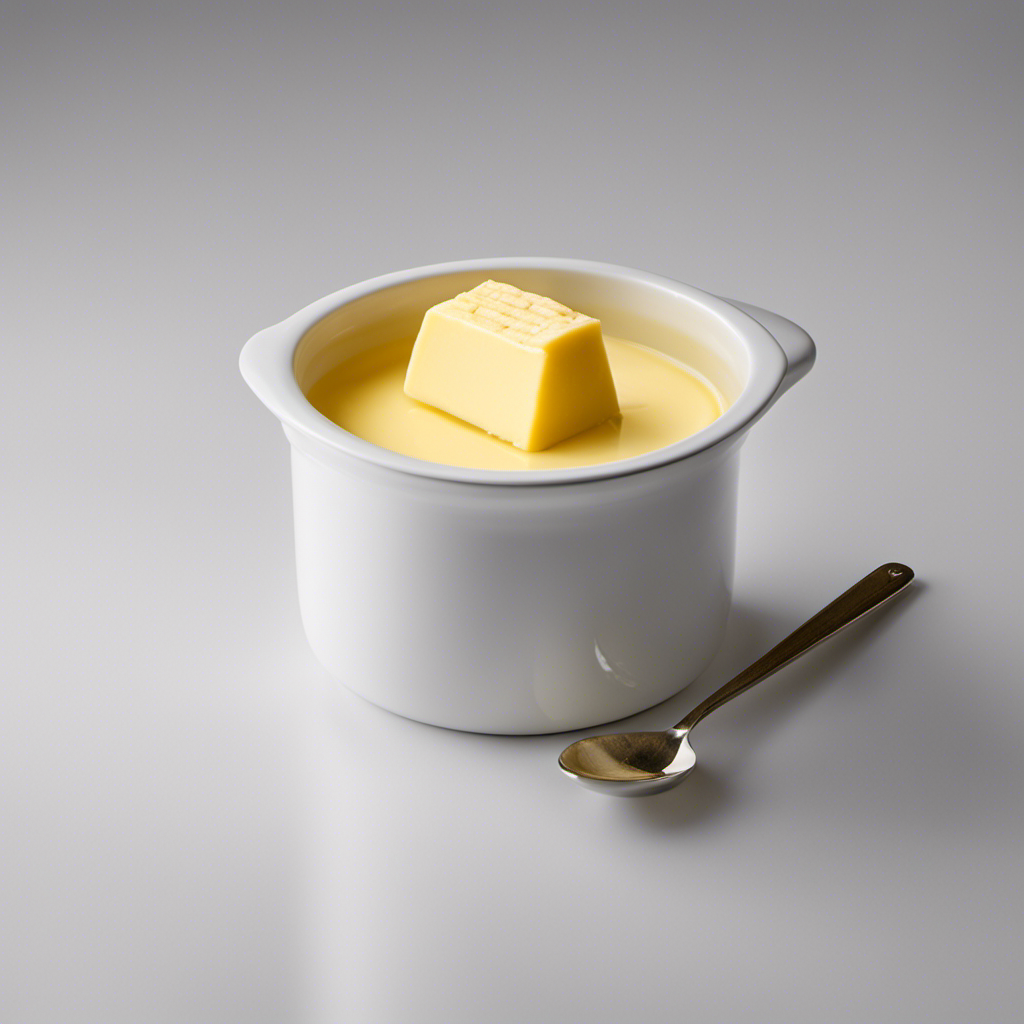
When storing your homemade butter, remember to keep it in an airtight container to maintain its freshness and prevent it from absorbing any unwanted odors from the fridge. Proper storage techniques are essential to ensure the butter remains flavorful and free from contamination. Here are some guidelines for storing your homemade butter:
| Technique | Description |
|---|---|
| Refrigeration | Store the butter in the refrigerator at a temperature between 32°F and 40°F (0°C and 4°C). |
| Freezing | For longer storage, wrap the butter tightly in wax paper or plastic wrap and freeze it. |
| Butter Bell | A butter bell can be used to keep the butter at room temperature, while preventing spoilage. |
| Butter Crock | A butter crock can be used to store the butter at room temperature, keeping it soft and spreadable. |
| Flavor Variations | Experiment with different flavor variations by adding herbs, spices, or citrus zest to the butter. |
Troubleshooting Tips for Making Butter
If your homemade butter isn’t coming together properly, it could be due to insufficient churning time or using cream that is too cold. Churning is the process of agitating cream until it separates into butter and buttermilk.
Here are some common mistakes and troubleshooting tips to help you make perfect homemade butter:
-
Insufficient churning time: Make sure to churn the cream for at least 10-15 minutes or until the butter solids have formed.
-
Using cream that is too cold: Allow the cream to come to room temperature before churning to ensure proper separation.
-
Over-churning: Be careful not to over-churn the cream, as it can result in a greasy texture.
-
Using cream with low fat content: Make sure to use heavy cream with a high fat content (at least 35%) for best results.
-
Not adding enough salt: Adding a pinch of salt helps enhance the flavor of the butter.
Frequently Asked Questions
Can I Use Any Type of Heavy Cream to Make Butter?
Yes, you can use different types of heavy cream to make butter. The fat content in the cream will affect the efficiency of butter production. Higher fat content will result in a more efficient butter-making process.
How Long Should I Shake the Jar for Before the Butter Forms?
I’ll shake the jar until the butter forms, keeping an eye out for the cream turning into butter. If it’s not happening, troubleshooting might be necessary. Let’s get scientific and precise!
Can I Use a Blender or Mixer Instead of Shaking the Jar Vigorously?
Using a blender or mixer can speed up the process of making butter from heavy cream. These tools provide a more efficient and consistent way to churn the cream, resulting in faster butter formation.
What Can I Do With the Leftover Buttermilk After Draining It From the Jar?
After draining the leftover buttermilk from the jar, I can use it in various recipes like pancakes, biscuits, or dressings. Additionally, I can make homemade cultured buttermilk by adding a bacterial culture to it.
How Long Can I Store the Homemade Butter and What Is the Best Way to Do So?
To store homemade butter and prevent spoilage, it’s important to follow best practices. Properly wrap the butter in wax paper or store it in an airtight container in the refrigerator. This helps extend its shelf life.
Conclusion
In conclusion, the process of making butter from heavy cream in a jar is not only simple but also a fascinating experiment. By following the steps outlined in this article, you can create your own homemade butter with just a few ingredients and equipment.
This hands-on approach allows you to truly understand the transformation of cream into butter, while also appreciating the effort that goes into making this everyday staple.
So, next time you have some heavy cream in your fridge, give this method a try and experience the satisfaction of making your own butter from scratch.
