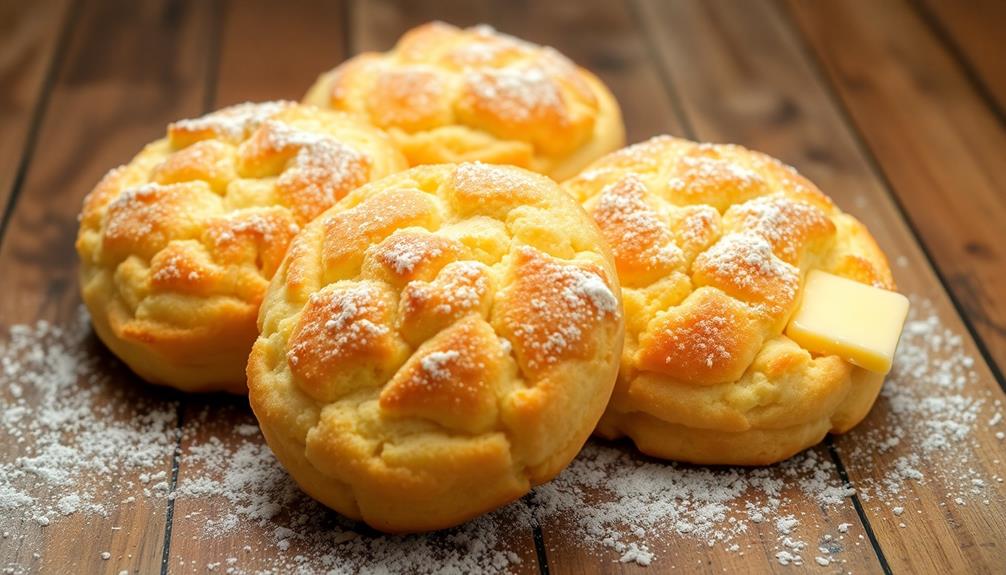
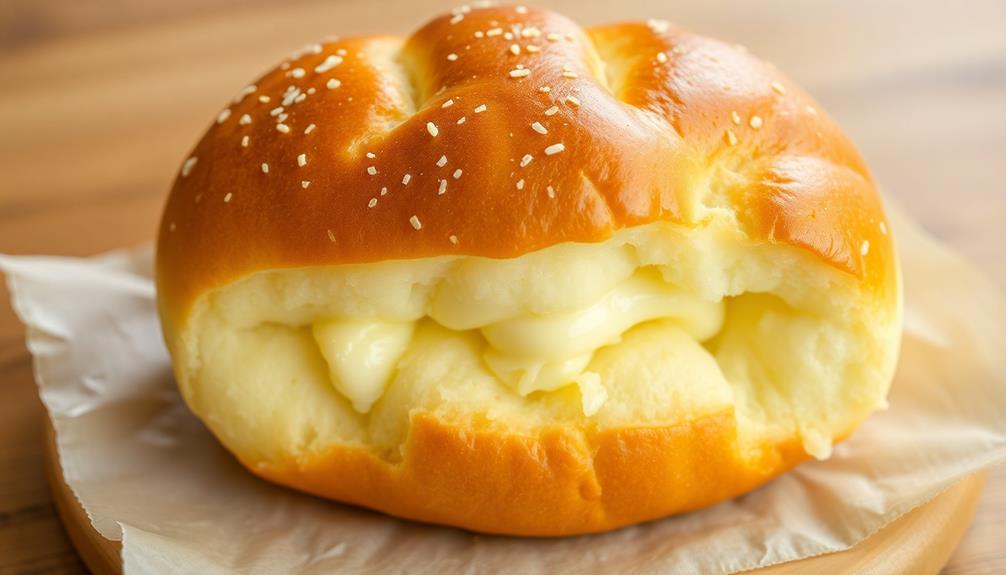
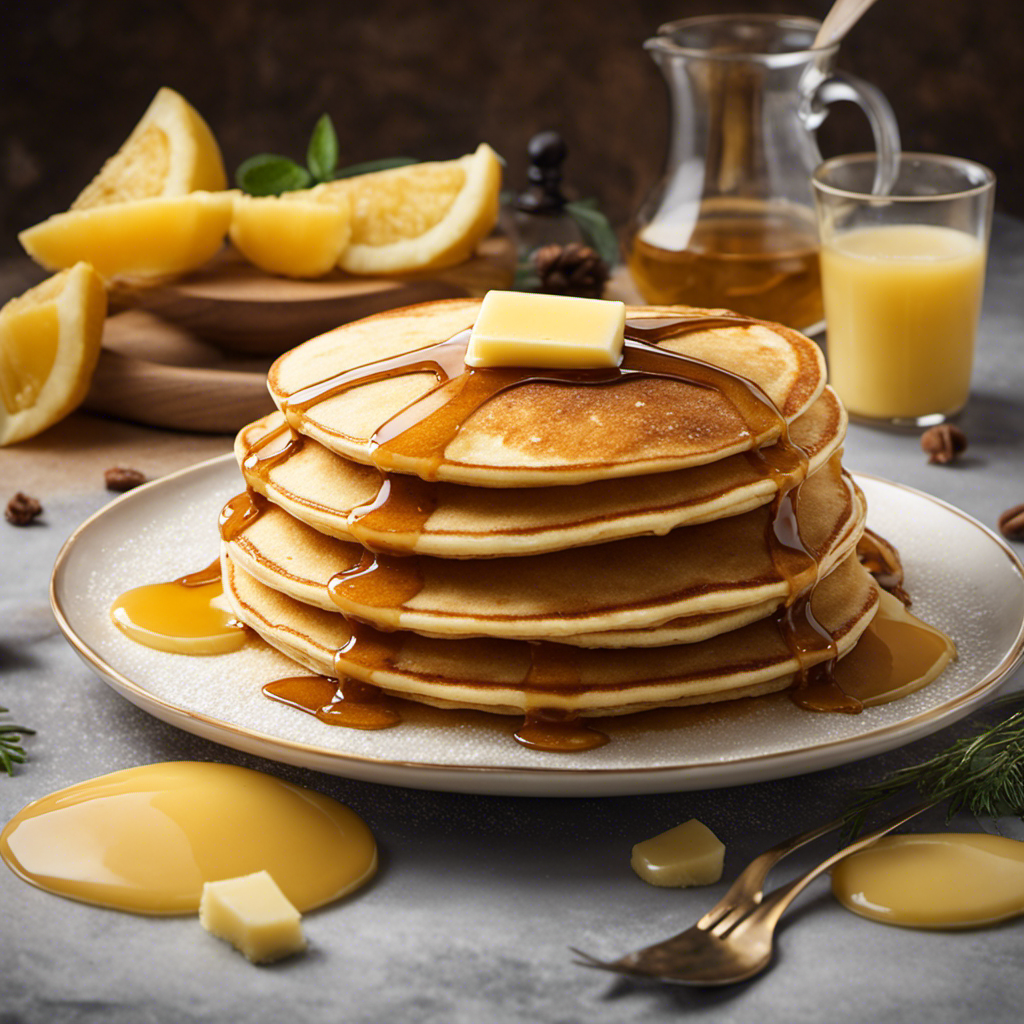
Butter roll biscuits are a Southern classic that will delight your taste buds! These soft, fluffy biscuits get their irresistible buttery goodness from the unique technique of rolling the dough with cold butter. Originating in the 19th century, these biscuits were a special treat for many families. Today, they're still a beloved comfort food, pairing perfectly with savory gravies or sweet jams. To enjoy the flaky layers and rich flavor, you'll need just a few simple ingredients. And with a quick prep and bake, you'll be savoring the warm, homemade goodness in no time. There's more to discover about these timeless biscuits…
Key Takeaways
- Butter roll biscuits are a classic Southern treat characterized by a flaky, tender, and buttery texture that makes them a beloved comfort food.
- The recipe's simplicity and emphasis on quality ingredients, such as cold butter and milk, are the keys to achieving the delicate layers and rich flavor.
- Proper technique, like minimizing dough handling and using a sharp cutter, is crucial for maintaining the biscuits' soft and fluffy interior and golden-brown exterior.
- Serving the biscuits warm, with additional butter or jam, enhances the overall indulgence and satisfaction of this comforting delicacy.
- The butter roll biscuit recipe reflects the South's culinary heritage and encourages appreciation for homemade treats that evoke feelings of comfort and delight.
History
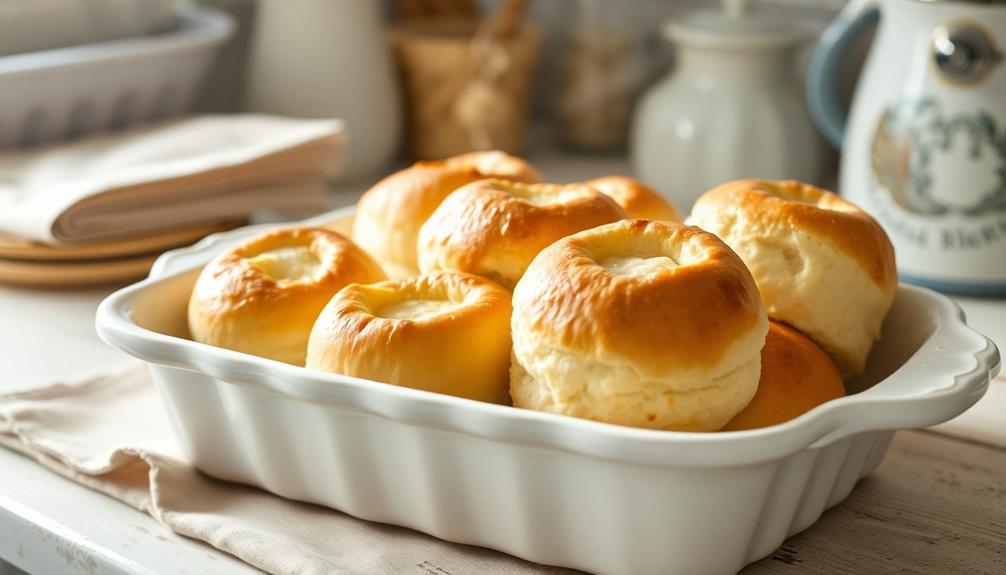
Believed to have originated in the American South during the 19th century, butter roll biscuits were a staple in the diets of many families.
These pillowy soft, golden-brown biscuits were often served alongside hearty meals, sopping up delicious sauces and gravies. The name "butter roll" comes from the traditional method of rolling the dough with generous amounts of butter, creating layers of flaky goodness.
Back then, butter was a precious commodity, so the indulgence of these buttery biscuits was a true treat. As the South's culinary traditions spread across the nation, butter roll biscuits gained popularity, becoming a beloved comfort food enjoyed by people of all backgrounds.
Today, these biscuits continue to evoke fond memories and satisfy cravings for a taste of the South's rich food heritage.
Whether served for breakfast, lunch, or dinner, butter roll biscuits remain a timeless classic, steeped in the warm and comforting flavors of the past.
Recipe

Butter Roll Biscuits are a classic Southern treat that are both buttery and flaky. These biscuits are perfect for breakfast, brunch, or as a side to any meal. The key to achieving the perfect butter roll biscuit is to work the dough as little as possible, which helps create those signature tender layers.
The dough for these biscuits comes together quickly, making them an easy option when you're short on time. The addition of cold butter and milk creates a rich, tender crumb that melts in your mouth. Serve these biscuits warm, with a pat of butter or your favorite jam, and enjoy the comforting flavors of a classic Southern staple.
Ingredients:
- 2 cups all-purpose flour
- 1 tablespoon baking powder
- 1 teaspoon salt
- 6 tablespoons cold unsalted butter, cubed
- 3/4 cup cold milk
Instructions:
Preheat your oven to 450°F (230°C) and line a baking sheet with parchment paper. In a large mixing bowl, whisk together the flour, baking powder, and salt.
Cut in the cold butter using a pastry cutter or two forks until the mixture resembles coarse crumbs. Gradually stir in the cold milk just until the dough comes together. Don't overmix.
Turn the dough out onto a lightly floured surface and gently knead it 2-3 times. Roll the dough out to a 1/2-inch thickness and cut out biscuits using a 2-inch biscuit cutter.
Place the biscuits on the prepared baking sheet, spacing them about 1 inch apart. Bake for 12-15 minutes, or until the biscuits are golden brown on top. Serve warm.
For best results, make sure all your ingredients are cold, and handle the dough as little as possible to preserve those delicate layers. Enjoy your homemade Butter Roll Biscuits!
Cooking Steps

Preheat your oven to 450°F and get ready to bake up some delicious butter roll biscuits!
The creamy texture of butter, influenced by the emulsification process during churning, is essential for achieving that soft and fluffy consistency in your biscuits.
Gently roll out the dough on a lightly floured surface, then brush the tops with melted butter for a golden-brown finish.
Once they're baked to perfection, don't forget to serve these warm biscuits with an extra pat of butter on the side, enhancing the flavor and moisture just like in many pastry recipes butter enhances flavor.
Step 1. Preheat Oven to 450°F
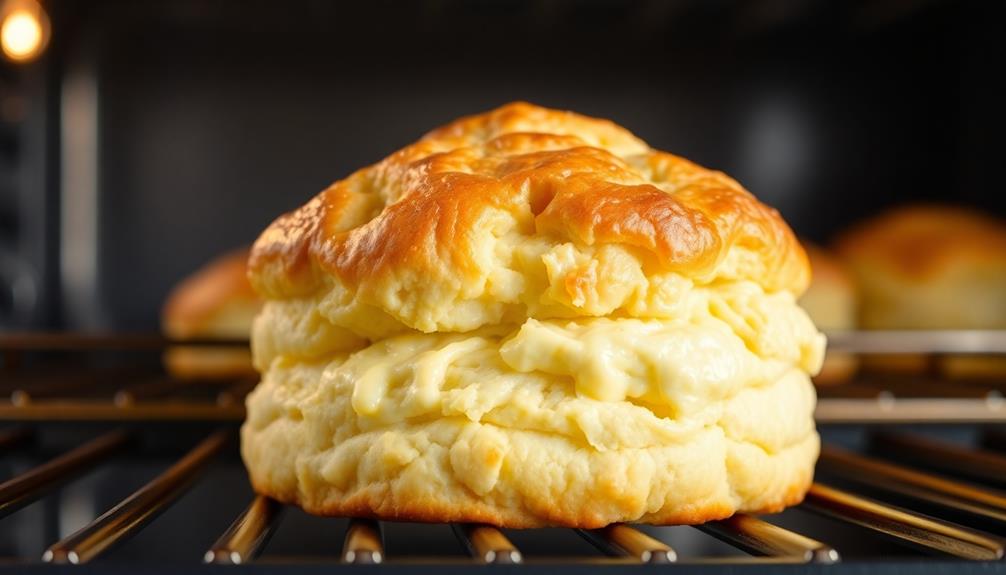
Preheat your oven to 450°F. This high temperature is crucial for ensuring your biscuits rise tall and develop that golden-brown, perfectly crisp exterior.
As the oven preheats, you'll want to make sure the racks are positioned in the center of the oven, allowing enough space for your biscuits to grow without crowding.
While you wait, take a moment to visualize those buttery, fluffy biscuits fresh from the oven. Can't you just smell the enticing aroma? The anticipation is building!
Once the oven reaches temperature, carefully slide in your baking sheet, making sure to avoid any hot spots that could cause uneven baking.
Set a timer for 12-15 minutes, keeping a close eye on your biscuits as they transform into pillowy perfection. The sound of the timer will signal it's time to pull those beauties out, ready to be served warm and enjoyed to the fullest.
Step 2. Gently Roll Out the Dough
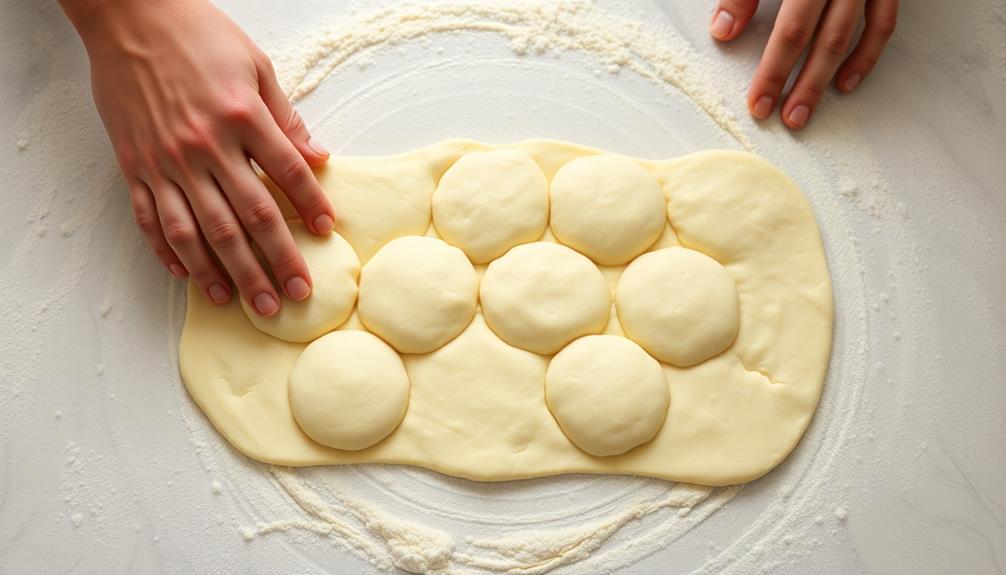
With the oven ready, it's time to turn your attention to the dough. On a lightly floured surface, gently roll out the dough into a rectangle about 1/2-inch thick. Be careful not to overwork it – you want to keep the dough light and tender.
Use your hands to shape the dough if needed, but avoid pressing down too hard.
Once the dough is rolled out, take a moment to admire its smooth, even surface. Visualize the layers of buttery goodness that will soon be revealed.
With a sharp knife or a pizza cutter, cut the dough into 8 equal rectangles. Try to make clean, decisive cuts to ensure your biscuits have neat, uniform edges.
Arrange the biscuit rectangles on the prepared baking sheet, spacing them apart slightly. This will allow the dough to rise and spread out, creating those irresistible soft, fluffy biscuits you crave.
Now you're ready for the next step – baking these beauties to buttery perfection!
Step 3. Brush Tops With Melted Butter
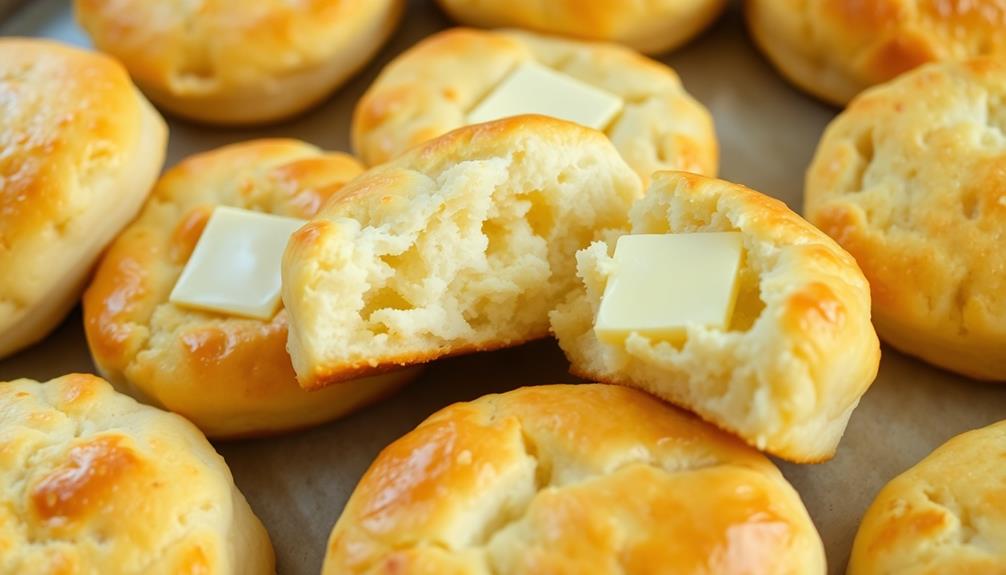
How about we start brushing that dough with some melted butter? This simple step will take your homemade biscuits to the next level of buttery goodness, especially if you choose a rich variety like European butter known for its superior flavor.
Grab a small bowl and melt a few tablespoons of butter until it's nice and smooth. Using a pastry brush, gently brush the tops of your rolled-out biscuits with the melted butter. Make sure to cover every inch so each biscuit is evenly coated.
The butter will give the biscuits a beautiful golden-brown color as they bake, plus an irresistible flavor and tender texture. Don't be shy – keep brushing until you've covered the whole tray. You'll love how the butter melts into the dough, creating pockets of buttery flavor in every bite.
Now pop those biscuits in the oven and get ready for the heavenly aroma to fill your kitchen. Mmm, can you almost taste them already?
Step 4. Bake Until Golden Brown
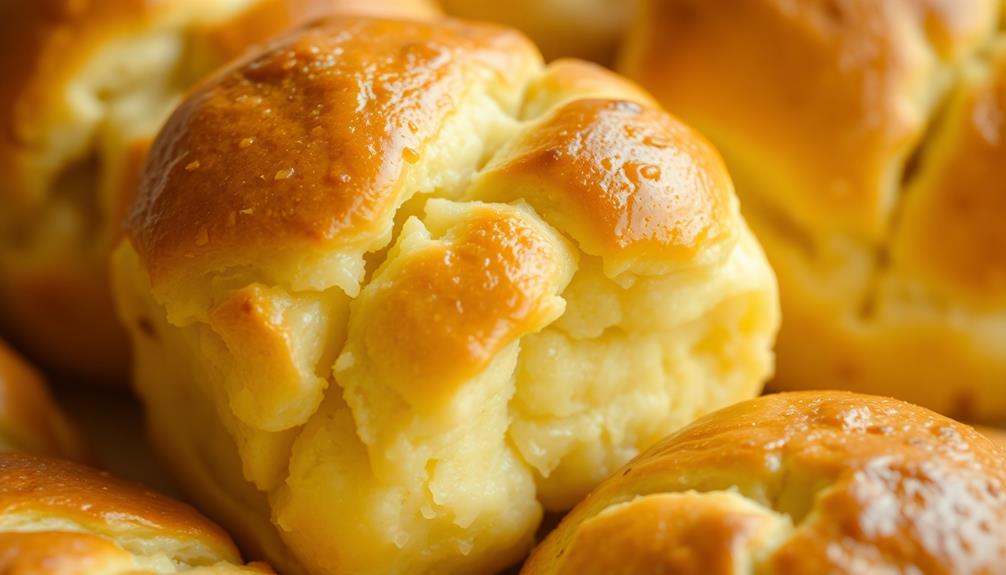
Once the biscuits have been brushed with butter, the real magic happens in the oven. Preheat that baby to a toasty 450°F (230°C) and get ready to watch these beauties transform.
While you're waiting, consider how your kitchen appliances, like a modern smart toilet can enhance your home experience.
Slide the tray of buttery biscuits onto the middle rack and let the oven work its delicious wonder. As they bake, the dough will puff up into light, airy pillows, and the tops will turn a gorgeous golden brown.
You'll know they're ready when you can gently tap the tops, and they sound hollow – about 12 to 15 minutes. Pull them out and inhale that heavenly buttery aroma.
Be careful, though – those biscuits are hot! Let them cool for a couple of minutes before diving in.
Once you take that first bite, you'll be rewarded with layers of flaky, tender goodness that practically melts in your mouth. Mmm, nothing beats homemade butter roll biscuits straight from the oven.
Step 5. Serve Warm With Additional Butter
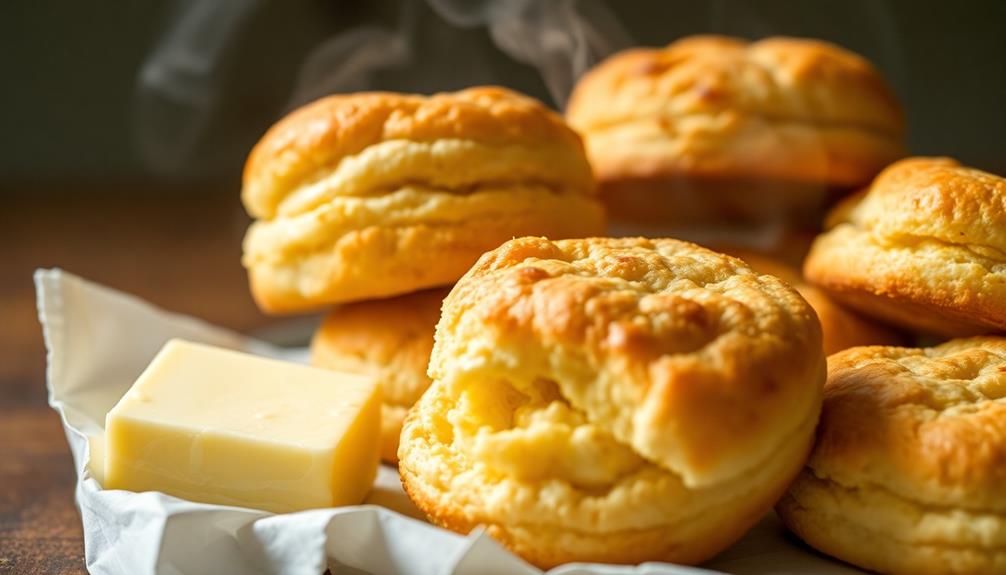
Now that those piping hot biscuits have had a chance to cool slightly, it's time to really take them to the next level. Grab a generous pat of creamy, golden butter and place it on top of each freshly baked biscuit.
As the butter melts, it'll create a rich, decadent layer that seeps into every nook and cranny. The contrast of the warm, soft biscuit and the cool, melty butter is simply divine. Go ahead, take a bite and let that buttery goodness envelop your taste buds.
You can even add a sprinkle of flaky sea salt to heighten the flavors. Serve these biscuits warm, straight from the oven, and watch as your family and friends' faces light up with delight.
The combination of fluffy texture and irresistible butter flavor is sure to have everyone reaching for seconds. Enjoy these biscuits with a smile, knowing you've created a true taste of comfort.
Final Thoughts
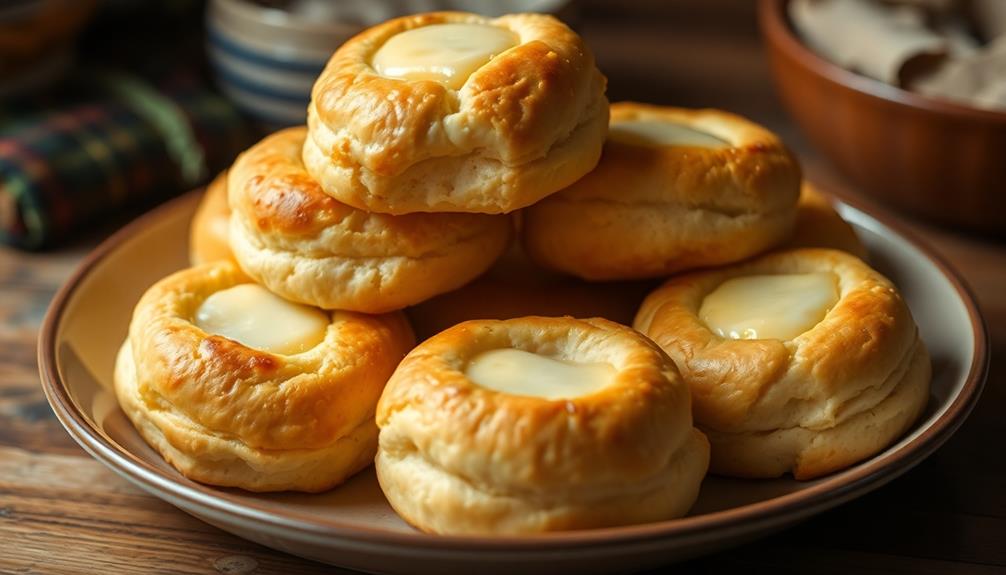
Reflecting on the recipe, you'll find that the butter roll biscuits are a delightful treat that can elevate any meal. The soft, fluffy texture and rich, buttery flavor make these biscuits a true delight. Whether you enjoy them with a hearty breakfast, a savory dinner, or as a snack on their own, they're sure to satisfy your cravings.
One of the best things about this recipe is its versatility. You can serve the biscuits warm, straight from the oven, for a comforting and indulgent experience.
Or, you can let them cool slightly and enjoy them with a pat of cool, creamy butter on top. The contrast of the warm, flaky biscuit and the cool, melting butter is simply heavenly.
As you savor each bite, you'll be reminded of the care and attention that went into crafting these delectable biscuits. The recipe's simplicity belies the depth of flavor and the love that can be found in every morsel.
Truly, these butter roll biscuits are a testament to the power of quality ingredients and skilled preparation.
Frequently Asked Questions
How Should I Store Leftover Butter Roll Biscuits?
To store leftover biscuits, keep them in an airtight container at room temperature for up to 3 days. If you won't eat them within that time, freeze them for longer storage, up to 3 months.
Can I Use a Different Type of Flour for This Recipe?
You can use a different type of flour for this recipe, but the texture and flavor may vary. All-purpose flour is typically the best choice, but you could experiment with whole wheat or bread flour if you prefer.
What Is the Ideal Temperature for Baking Butter Roll Biscuits?
The ideal temperature for baking butter roll biscuits is 425°F. This high heat ensures the outside cooks thoroughly while the inside remains soft and fluffy. Be sure to keep a close eye, as baking time can vary.
Can I Freeze the Dough for Later Use?
Sure, you can freeze the dough for later use. Just wrap it tightly and freeze it for up to 2 months. When ready to use, thaw it in the fridge overnight and bake as usual. This makes for a convenient and delicious homemade treat.
Is It Possible to Make These Biscuits Without a Rolling Pin?
You can absolutely make biscuits without a rolling pin. Simply pat the dough into a round shape with your hands, then cut out the biscuits using a cookie cutter or the rim of a glass.
