Delving into the intriguing realm of butter churning, I find myself intrigued by a pivotal question: what is the actual time required to turn cream into the delicious, golden butter that is universally cherished?
Join me on this journey as we explore the historical significance of churning butter, the traditional methods employed, and the factors that affect the time required.
Get ready to churn your way to buttery bliss!
Key Takeaways
- The time required for churning butter depends on factors such as the temperature and consistency of the cream, the fat content of the cream, and the technique used.
- Traditional methods of churning butter involve using tools like a churn and butter paddle, while modern techniques use electric churns or mixers to speed up the process.
- The optimal churning temperature for butter is around 55 to 60 degrees Fahrenheit, and the optimal churning speed is around 40-50 revolutions per minute.
- Churning your own butter at home has various benefits, including control over ingredients, cost-effectiveness, reduction of packaging waste, and the ability to appreciate distinct flavors and textures.
Historical Significance of Churning Butter
Churning butter has played a significant role in history, as it was a common practice for households like mine to make their own butter. Historical recipes and cultural traditions surrounding butter-making have been passed down through generations, shaping our understanding of food and culinary practices.
In ancient civilizations, such as the Egyptians and Romans, butter was used not only for cooking but also for medicinal purposes and as a form of currency. During the Middle Ages, butter became a staple in European diets and was often churned in large quantities by hand or using wooden churns. It was also a symbol of wealth and prosperity.
Today, while most people purchase butter from the store, the art of churning butter continues to be celebrated in some communities as a way to connect with our culinary heritage and appreciate the rich history behind this simple yet essential ingredient.
Traditional Methods of Churning Butter
Using traditional methods, it’s fascinating to see how butter is made. Historical techniques for churning butter date back centuries, and they often involved using traditional tools that are still used today.
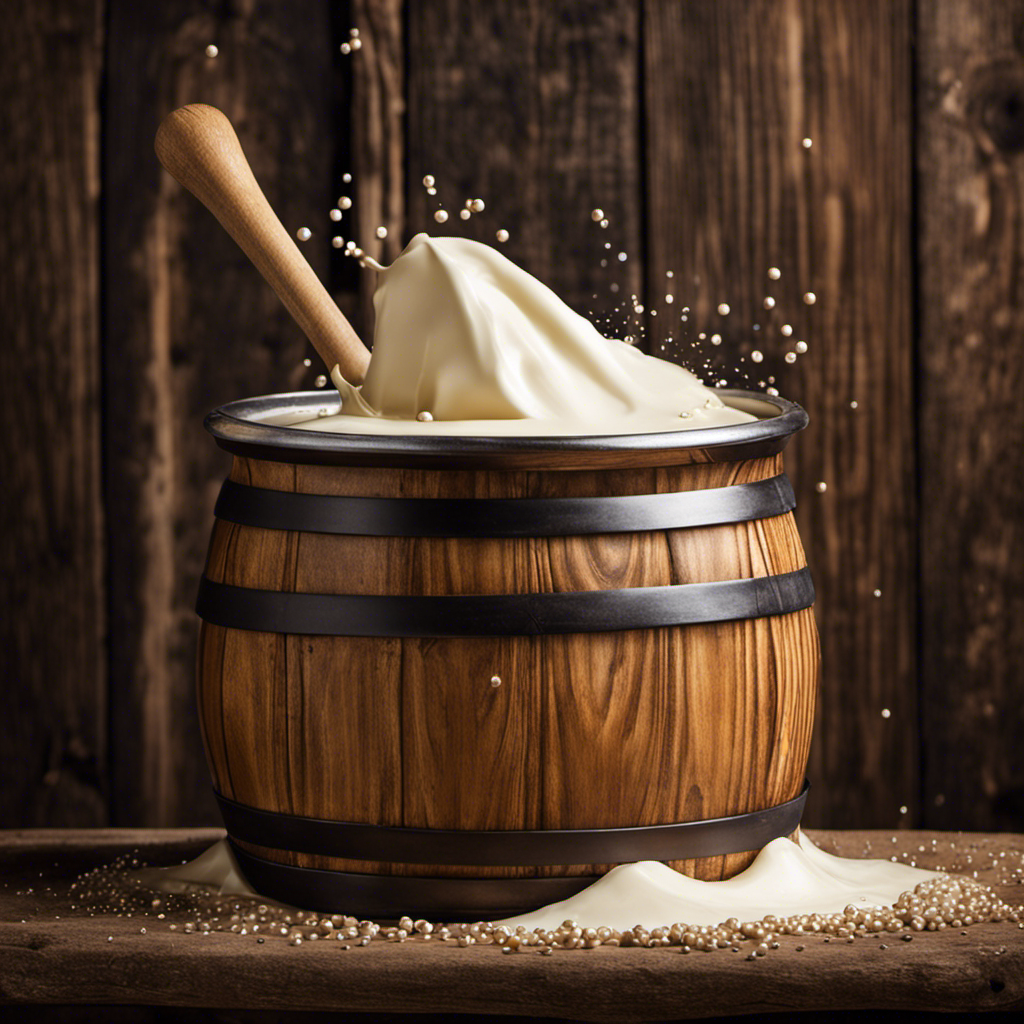
One such tool is the churn, a vessel used to agitate cream until it separates into butter and buttermilk. This process can take anywhere from 20 minutes to an hour, depending on the temperature and consistency of the cream.
Another traditional tool is the butter paddle, used to press and shape the butter after it has been churned. These tools have been used for generations, passed down from one butter maker to another.
The use of historical techniques and traditional tools adds a sense of nostalgia and authenticity to the process of churning butter.
Tools and Equipment Needed for Churning Butter
When it comes to making butter, one can’t underestimate the importance of having the right tools and equipment. The tools selection plays a crucial role in achieving the desired texture and quality of butter.
First and foremost, a butter churn is essential for the butter-making process. There are various types to choose from, including hand-cranked churns or electric churns. Additionally, a butter paddle or spatula is necessary for shaping and molding the butter.
Troubleshooting techniques are also important when it comes to tools and equipment. For example, if the butter isn’t forming properly, adjusting the temperature or churning speed may be necessary. Having the right tools and troubleshooting techniques can make a significant difference in the butter-making process.
Now, let’s move on to the step-by-step guide to churning butter.
Step-by-Step Guide to Churning Butter
To start making your own butter, you’ll want to gather all the necessary tools and equipment. In order to churn butter, you will need a churn, which can be either a hand-cranked churn or an electric churn. Historically, people used a simple wooden churn that required manual labor to turn the handle.
Additionally, you will need fresh cream, preferably at room temperature, and a pinch of salt for flavor. Troubleshooting tips for making butter include ensuring that the cream is not too cold or too warm, as this can affect the churning process. It is also important to monitor the speed at which you churn, as churning too fast or too slow can impact the final result.
Factors affecting the time required to churn butter will be discussed in the next section.
Factors Affecting the Time Required to Churn Butter
When it comes to churning butter, there are several factors that can impact the time it takes to achieve the desired results.
One of the key factors is the temperature at which the cream is churned. Higher temperatures can speed up the churning process, while lower temperatures can slow it down.
Additionally, the content of buttermilk in the cream can also influence the time required to churn butter. Cream with a higher buttermilk content may take longer to churn, as the excess liquid can interfere with the formation of butter solids.
Lastly, the technique used for churning can also affect the time it takes to churn butter. Different techniques, such as using a butter churn or a stand mixer, can yield different results in terms of the time required.
Temperature Impact on Time
You can speed up the butter churning process by raising the temperature of the cream. Agitation plays a crucial role in breaking down the fat globules in the cream, and higher temperatures can facilitate this process. When the cream is heated, the fat globules become softer and more easily disrupted, leading to faster butter formation.
The impact of agitation and the effects of cream composition are important factors to consider when it comes to butter churning. Additionally, the composition of the cream can also affect the churning time. Cream with a higher fat content tends to churn faster, as there is more fat available for butter formation.
Buttermilk Content Influence
If you increase the fat content of the cream, the churning process will be faster. This is because fat molecules help trap air and create a more stable structure, leading to quicker butter formation.
Buttermilk, a byproduct of the churning process, plays an important role in both fermentation and cooking. When cream is churned, the fat globules coalesce, separating from the liquid buttermilk. This buttermilk can be used in various culinary applications.
In terms of fermentation, buttermilk is often used as a starter culture to ferment milk and create a tangy, thick beverage. It contains lactic acid bacteria that convert lactose into lactic acid, giving buttermilk its characteristic flavor.
In cooking, buttermilk adds moisture, tenderness, and acidity to recipes, making it a versatile ingredient in pancakes, biscuits, and dressings.
Churning Technique Variation
To achieve a smoother texture in your homemade butter, consider experimenting with different churning techniques. The speed at which you churn can greatly impact the quality of the butter. Faster churning speed tends to result in a more solid and dense butter, while slower speeds can create a lighter and creamier texture. It’s important to find the right balance that suits your personal preference.
Here is a comparison of different churning speeds and their effects on butter quality:
| Churning Speed | Butter Quality |
|---|---|
| High | Dense and solid |
| Medium | Smooth and creamy |
| Low | Light and fluffy |
Different Techniques for Churning Butter
There are various techniques for churning butter, each yielding different results.
In traditional techniques, the butter is made by manually agitating cream in a container until the fat globules clump together and separate from the liquid. This method requires physical effort and takes longer to achieve desired results.
On the other hand, modern techniques involve using electric churns or mixers to speed up the process. These machines help to achieve consistent results in less time.
The flavor of butter can also vary depending on the churning technique used. Traditional methods often produce butter with a distinct, rich flavor, while modern techniques may result in a milder taste.
The choice of technique depends on personal preference and the desired flavor profile of the butter.
Tips and Tricks for Efficient Butter Churning
When it comes to churning butter, there are several key factors to consider in order to achieve optimal results.
First and foremost, the temperature at which the cream is churned plays a crucial role in the final product. Finding the right balance between too cold and too warm can greatly affect the texture and flavor of the butter.
Additionally, employing effective churning techniques, such as using a consistent and rhythmic motion, can help speed up the process and produce a smoother butter.
Optimal Churning Temperature
You should keep the butter at an optimal churning temperature for the best results.
The optimal churning temperature for butter is around 55 to 60 degrees Fahrenheit (12 to 16 degrees Celsius). At this temperature, the butterfat in the cream solidifies and separates from the liquid, allowing for easier churning and faster butter formation.
If the temperature is too low, the churning process will take longer as the cream will not separate efficiently. On the other hand, if the temperature is too high, the butterfat may melt too quickly, resulting in a softer texture and longer churning time.
Additionally, the impact of humidity on churning should also be considered. High humidity levels can cause the cream to take longer to churn into butter, as moisture in the air can affect the separation process.
Therefore, it is important to control the temperature and humidity levels to achieve optimal churning time and quality butter.
Effective Churning Techniques
Using a wooden churn and keeping the cream at the right temperature can help achieve faster and better results in the churning process. When it comes to churning butter, the optimal churning speed is around 40-50 revolutions per minute. This speed ensures that the cream is agitated enough to separate the butterfat from the buttermilk, while also preventing the butter from becoming overly stiff or grainy. By maintaining a consistent speed throughout the churning process, you can have more control over the butter’s consistency.
Additionally, using a wooden churn allows for better heat distribution, which aids in achieving the desired texture. Controlling the temperature is crucial as well, as it affects the firmness and spreadability of the butter.
Now that we understand effective churning techniques, let’s explore some butter preservation methods.
Butter Preservation Methods
To keep your butter fresh for longer, it’s important to store it properly. There are several butter preservation techniques that can help prolong its shelf life.
One innovative method is to add salt to the butter during the churning process. This not only enhances the flavor but also acts as a natural preservative.
Another technique is to store the butter in an airtight container or wrap it tightly in wax paper or aluminum foil to prevent exposure to air and moisture.
Keeping the butter in the refrigerator at a temperature between 32 and 40 degrees Fahrenheit is also crucial for maintaining its freshness.
Additionally, some people prefer to freeze their butter for long-term storage.
Butter Churning in Different Cultures and Regions
In different cultures and regions, people can churn butter using various techniques and methods. Cultural variations and regional traditions have shaped the way butter is made across the globe.
For example, in India, a traditional method called ‘Matho’ involves fermenting yogurt and then churning it to separate the butter from the buttermilk.
In Scandinavian countries, the traditional method of butter churning involves using a churn made of wood or metal and a dasher to agitate the cream until it separates into butter and buttermilk.
In the United States, the most common method of butter churning is using an electric or manual churn.
Some regions even have specific rituals or songs associated with the process of churning butter.
These cultural variations and regional traditions not only reflect the history and heritage of a particular place but also add unique flavors and textures to the final product.
Benefits of Churning Your Own Butter
Churning your own butter has numerous benefits that make it worth considering.
First and foremost, homemade butter is healthier than store-bought alternatives. It allows you to control the ingredients and avoid additives like preservatives and artificial flavors.
Additionally, churning your own butter can be cost-effective in the long run, as it eliminates the need to constantly purchase butter from the store.
Lastly, making your own butter is a sustainable choice, as it reduces packaging waste and supports a more self-sufficient lifestyle.
Healthier Than Store-Bought
Did you know that churning your own butter at home can be healthier than buying it from the store?
When you make your own butter, you have complete control over the ingredients. You can choose to use high-quality, organic cream, which is rich in nutrients like vitamins A, D, and E, as well as healthy fats. Store-bought butter, on the other hand, may contain additives, preservatives, and artificial flavors.
Additionally, homemade butter tends to have a fresher taste compared to store-bought varieties. The process of churning butter at home allows you to appreciate the distinct flavors and textures that can enhance your culinary creations.
By making your own butter, you can ensure a healthier and more delicious experience.
Now, let’s explore how churning your own butter can be cost-effective and sustainable.
Cost-Effective and Sustainable
When you make your own butter at home, it can save you money and promote sustainability. In addition to being a fun and rewarding activity, churning your own butter allows you to cut down on costs and reduce your environmental impact.
By using cost-saving techniques such as buying cream in bulk and reusing the whey for other recipes, you can significantly reduce your grocery bill. Furthermore, making butter at home reduces the need for store-bought butter, which often comes in plastic packaging and contributes to waste. By making this simple switch, you can play a part in reducing your carbon footprint and promoting a more sustainable lifestyle.
Now, let’s explore some common mistakes to avoid when churning butter.
Common Mistakes to Avoid When Churning Butter
One common mistake to avoid when churning butter is not using cream that is at room temperature. Historical techniques for making butter involved allowing the cream to naturally sour before churning. This step was important because it increased the acidity of the cream, which aided in the separation of the butterfat from the buttermilk. If the cream is too cold, it will take longer to churn and may not achieve the desired consistency.
Another mistake to avoid is over-churning the butter. This can result in the butter breaking, where the fat and buttermilk separate and the butter becomes grainy. To troubleshoot this issue, adding ice water to the churn and continuing to churn for a short period can help bring the butter back together.
By being mindful of these common mistakes, you can ensure a successful butter-churning experience.
Now, let’s explore some alternative ways to make homemade butter.
Alternative Ways to Make Homemade Butter
When it comes to making homemade butter, there are alternative techniques you can try that may suit your preferences and time constraints. These methods offer a twist on the traditional churning process and can result in delicious flavored butter options.
Here are a few ideas:
-
Mason Jar Method: Simply pour cream into a mason jar and shake vigorously until the butter separates from the buttermilk. This method is quick and easy, perfect for those who want butter in a pinch.
-
Stand Mixer Method: Using the paddle attachment on your stand mixer, whip heavy cream until it separates into butter and buttermilk. This method is convenient and requires less physical effort.
-
Food Processor Method: By pulsing cold heavy cream in a food processor, you can achieve butter in a matter of minutes. This method is efficient and allows for easy flavor customization.
Frequently Asked Questions
Can I Use an Electric Mixer or Blender to Churn Butter?
Yes, you can use an electric mixer or blender to churn butter. However, using a hand whisk is the traditional method. The time it takes to churn butter can vary depending on the method used.
How Long Does It Take to Churn Butter by Hand?
Well, let me tell you, churning butter by hand can be quite the labor of love. The time it takes depends on the churning technique, cream temperature, and fat content, but it’s usually around 20-30 minutes.
Can I Use Salted Butter for Churning?
Using salted butter for churning has its pros and cons. The salt can enhance flavor, but it may affect the texture and consistency of the butter. Alternatives to salted butter include unsalted butter or cream.
What Is the Shelf Life of Homemade Churned Butter?
The shelf life of homemade churned butter can vary depending on factors like storage conditions and freshness of ingredients. However, with proper storage, it typically lasts for about 2-3 weeks.
Can I Use Store-Bought Cream to Make Homemade Butter?
Using store-bought cream for homemade butter is possible. The process involves separating the cream from the milk, chilling it, and then churning it until it becomes butter. The time it takes to churn butter can vary depending on the method used and the desired consistency. Experimenting with different flavors, such as adding salt or herbs, can enhance the taste of homemade butter.
Conclusion
Well, who would’ve thought that churning butter could be such an art form?
After diving into the historical significance, traditional methods, and step-by-step guide of butter churning, it’s clear that this is no simple task.
The time it takes to churn butter can vary depending on factors like temperature and fat content, but one thing is certain – it’s not a quick process.
So, next time you pick up a tub of store-bought butter, just imagine the hours of labor and love that went into churning it.
